How To Remove A Camera Lens Protector On An iPhone (Without Scratching The Glass)
We may receive a commission on purchases made from links.
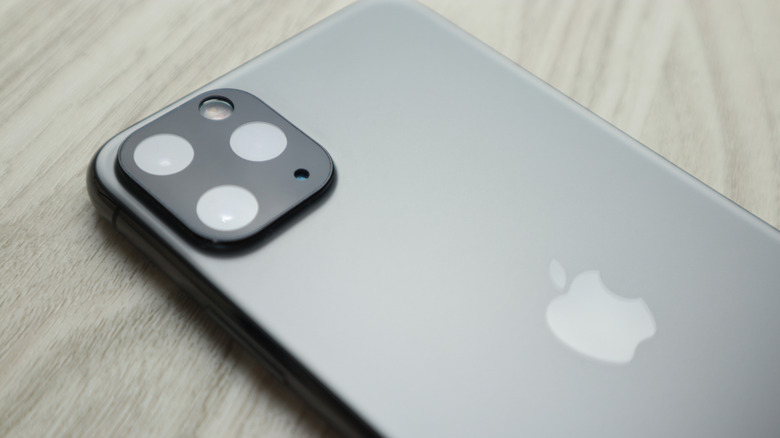
These days, it's pretty common to get a lens protector in tandem with a screen display protector for your iPhone. With the its high price tag and repair costs, many iPhone owners prefer not taking any unnecessary risks. Designed to help protect your camera lens in an accidental impact, they either come as individual covers attached directly on each lens or a square that covers all of them altogether. Before attaching the protector, you would usually wipe down the surface with a microfiber cloth, use alcohol to sanitize it, and finish off with a sticky strip to make sure the lens is super clean. If you're unlucky, you might later find trapped dust particles ruining your shots. And it's possible that the lens protector could interfere with other iPhone functions.
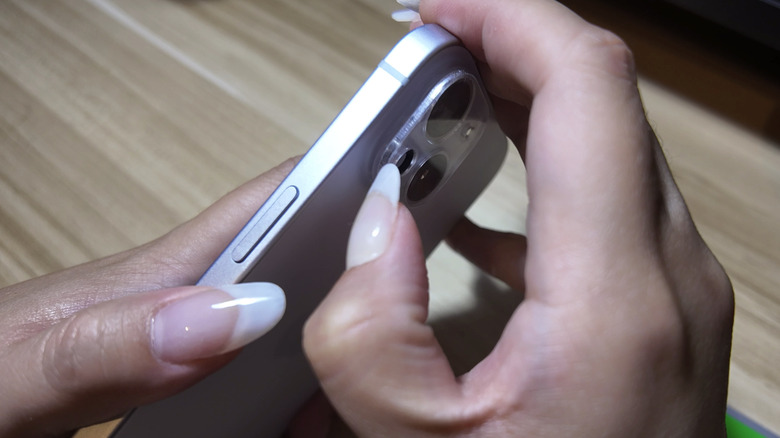
Thankfully, removing the lens protector can be as easy as using your fingernail and pulling at its corners with an even pressure. When doing this, try to do it slowly and carefully to avoid leaving behind sticky residue. However, this isn't ideal for everyone, especially if you love getting your nails done and don't want to risk ruining them. If you need some extra help, here are some tips to help you remove lens screen protectors easily.
Ways to remove an iPhone lens protector
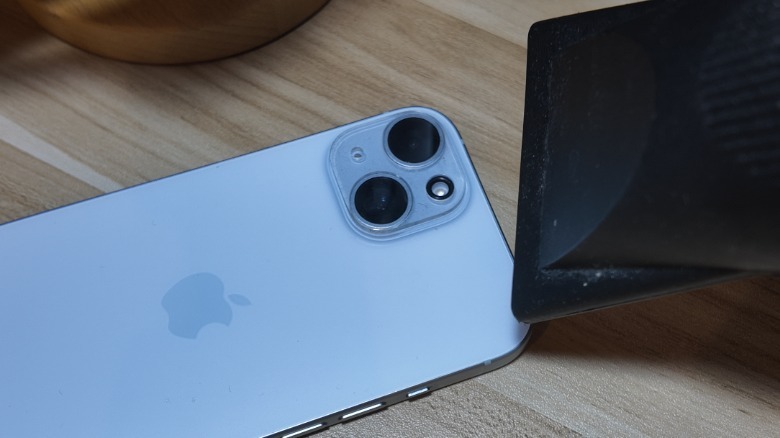
If it's difficult to pull out the lens protector with just your nails, you'll need to loosen the adhesive or use another item to help lift the edges. To loosen the adhesive, the most straightforward way is to use a hairdryer and gently apply hot air to the lens protector for a few seconds.
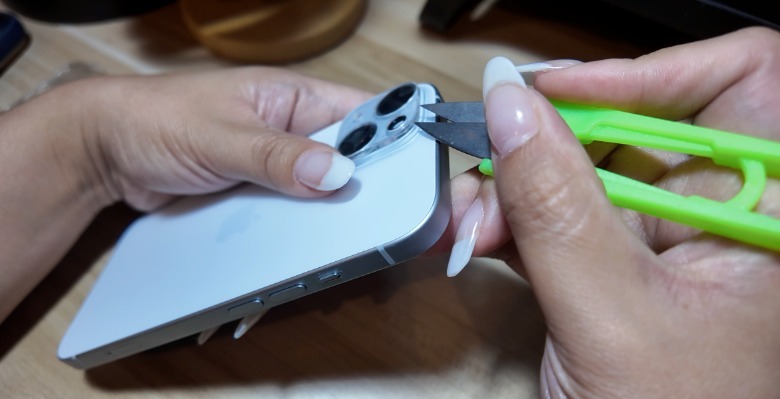
Afterwards, you can use a flat, sturdy item to help lift an edge of the camera lens screen protector. Some items that can work perfectly for this include razors, credit cards, or even a seam cutter, which you can find in many household sewing kits. If you're the type to enjoy tinkering with your gadgets anyway, you may already have a flat prying tool you can use for the same effect.
When removing your iPhone camera cover, try to keep a steady hand to avoid damaging your lens by accident. Depending on your iPhone model, the cost of replacing the lens can cost more than a hundred dollars if you don't have any insurance. But if your device is no longer under warranty and you're comfortable with your repair skills, you can get rear camera lens replacements kit as well. On Amazon, the Vimour Rear Camera Lens replacement kit, which is available for the iPhone 13 and succeeding models, starts at $9.88 and is rated 4.3 stars on average by over 480 reviewers.
Should you get an iPhone lens protector?
It's important to note that Apple does not officially recommend lens protectors for its camera. While it lists several screen protectors in its official online store, it doesn't have a single camera lens protector up for sale. Because of this, it's possible that there has yet to be a design manufactured up to Apple's standards without impacting the device's performance. So, while it is possible for lens protectors to prevent some damage to your camera lens, it may not be the ideal solution for you. Alternatively, you may just want to get an iPhone case that has provisions for protecting your camera lens instead. If you don't know how to start looking, you can check out our review of the best major smartphone case brands for some inspiration. There's no shortage of durable iPhone cases that even have MagSafe charging capabilities.
That said, it's important to manage your expectations when companies market their products as "military grade" — which is a term without a precise definition, and while some may be more durable than other options, there's no guarantee how effective it will be at protecting your camera lenses.
