How To Properly Clean A Wrapped Car (And What To Avoid Doing)
We may receive a commission on purchases made from links.
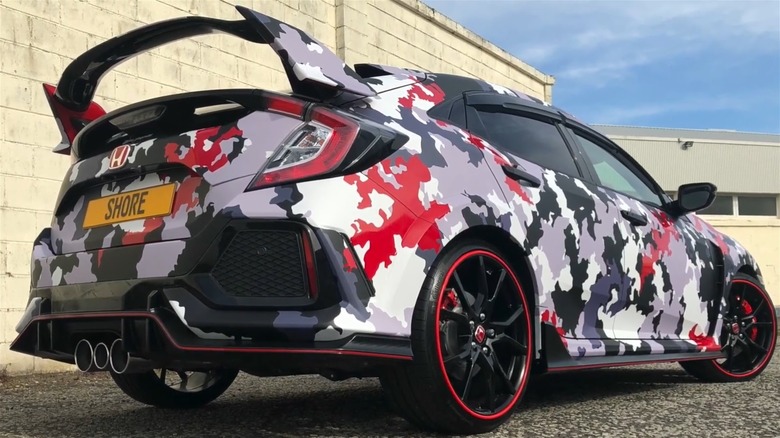
There are a variety of ways to alter the look of your car, from aftermarket accessories to window tinting and exterior lighting. But what about changing the color or adding a design to the body of the car? Fortunately, autobody paint isn't your only option, as you can also opt for wrapping your car. In fact, with the easiest DIY method for vinyl wrapping your car, you could be sporting a new look in little time. While wrapping offers more options in terms of looks and can be less expensive than paint, a car wrap isn't a permanent option.
Essentially, the way car wraps actually work is a giant vinyl sticker is used to cover the entire car or only certain sections. The process of adding a wrap to the exterior of a vehicle can take less time than the paint process and can be removed, returning the car to its previous state, which makes it a compelling option.
However, in order for the vinyl on a wrapped car to last, there is a proper way to clean it, and some things you should never do for fear of damaging the surface.
Always hand wash and use a sealant or surface protectant
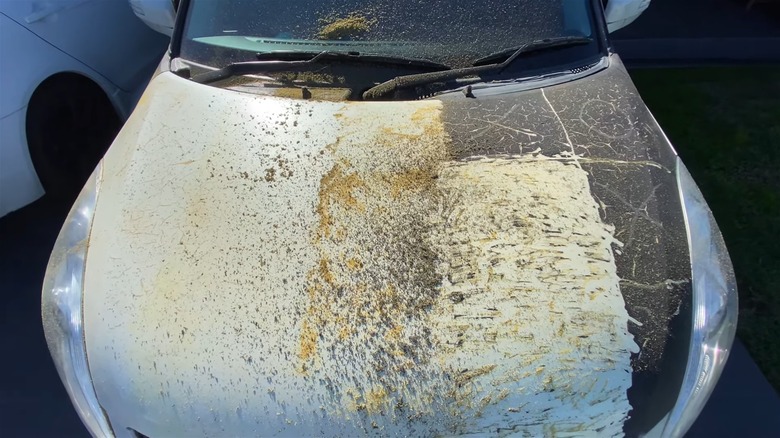
To keep your wrapped car looking its best, the range of wash frequency is between once a week and every four weeks, depending on how quickly the vehicle becomes dirty. Unfortunately, if you wait too long to clean the outside of your wrapped car, debris can cause small areas of damage and fade the color.
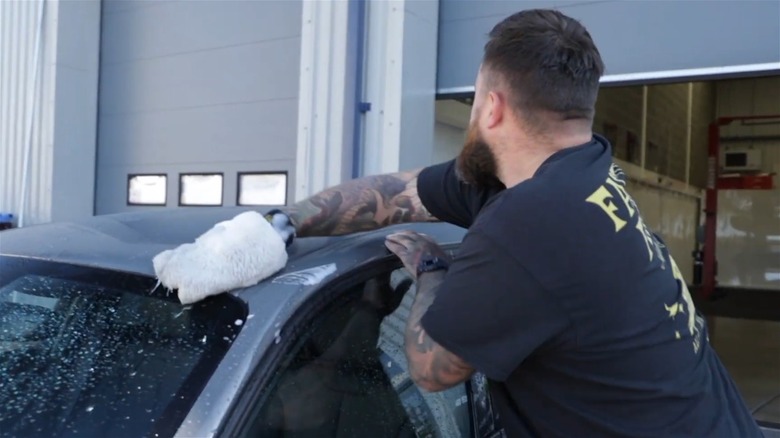
First, you'll need a car shampoo made for vinyl wraps that doesn't use harsh chemicals and can clean without compromising the surface. Then, you'll need a soft microfiber hand mitt or towel that can safely scrub the wrap. Before you add shampoo, start with a low-pressure rinse to help remove any material from the vinyl. You should consider using two buckets, one with the shampoo mixture and the other with regular water for rinsing.
Then, you'll dip the microfiber into the special cleaning solution and apply the shampoo by gently gliding the microfiber over the car's exterior. You will need to periodically dip the mitt or cloth into the rinse bucket to remove any material accumulated while washing and then submerge it in the shampoo bucket for more soap.
After you have thoroughly applied shampoo to all the areas of the wrap, you should wash clean using minimal pressure from a garden hose. Lastly, you'll want to add a sealant, which can help minimize the effects of UV rays, redirect water, and add an extra shine. Adding sealant is just a matter of applying the product to a soft microfiber cloth and then wiping it onto the surface of the vinyl wrap.
Never do these things to a car wrap
One of the first big no-nos in terms of preserving your car wrap is using automatic car washes, as the high-pressured water and spinning bristles car wreak havoc on the vinyl. While a paint job can handle the abuse from an automatic car wash, a vinyl wrap is just too vulnerable.
Even when adding sealant to protect from the effects of the sun, it can be a good idea to park in the shade and use a product like the Car Cover Waterproof All Weather for Automobiles or keep your vehicle in a garage. Temperature is not related to UV levels, so a clear day, whether it's hot or cold outside, can cause differences in the color of your wrap over time.
Lastly, any type of physical damage to the body of the car will negatively impact the look of the wrap. The vinyl can begin to peel or even tear due to a collision and may have to be replaced as a result. Wraps don't typically work well on vehicles with body damage, so you may need to visit an autobody shop before reapplying the wrap.


