USB Flash Drive Or External Hard Drive Not Showing Up On Mac? Here's How To Fix It
We may receive a commission on purchases made from links.
No matter how diligent you are with deleting your trash files or clearing your cache on your Mac, your computer is bound to run out of storage at some point. With every software update and apps that you need to download for your day-to-day life, it can be easy to burn through the internal storage capacity, especially for older models.
As for digital storage, it's always a good idea to put your eggs in multiple baskets, especially if you're trying to save incredibly important documents or media files with sentimental value. While backing up your Mac to iCloud can be an easy and straightforward experience, it's not a foolproof solution as it can still be affected by sudden outages. Not to mention, not everyone is comfortable having their files up in the cloud, especially if you're concerned with security and privacy.
Aside from acting as a storage solution, thumb drives and external hard drives are also a great and stable way to transfer large documents and files without relying on the speed of your internet connection. That is, if you can get them to show up on your Mac.
When it comes to USB flash drives and external hard drive issues, there are three components that could be potentially causing problems: the external storage device, the cable, and the Mac itself. Here's how to check each one for issues and resolve your external storage problems.
Force mount your USB flash drive and check your Mac port

Firstly, it's important to check if your USB flash drive has any signs of physical damage, like being bent or having rust. If this is the case, you may need to repair it first or no amount of tinkering with the software will help. Next, if you've accidentally unmounted your USB flash drive, you might want to try force mounting your USB flash drive to make it usable again. Here's how to do it.
-
Connect your USB flash drive to your Mac.
-
In the Utilities folder in the Applications folder, launch Disk Utility.
-
Under External, click your USB flash drive's name.
-
In the upper-right corner of the Disk Utility window, click Mount.
The method above also works for other storage solutions, such as external hard drives. Alternatively, the Mac has a built-in feature for repairing faulty external storage devices, so if you suspect that your flash drive needs a check-up, keep it connected and follow these steps:
-
Launch Disk Utility.
-
Under External, click your USB flash drive's name.
-
In the upper-right corner of the Disk Utility window, click First Aid.
-
In the pop-up, click Run.
If you've determined that the external storage device works with other computers, but not your Mac, the next thing you should check is your Mac port. If you haven't been regularly cleaning your Mac, it's bound to have some dust and debris in its USB ports that can make it hard for your USB flash drive or external hard drive to connect properly. To resolve this, you can use a can of compressed air or a soft-bristled brush to dislodge trapped particles.
Reformat your external hard drive
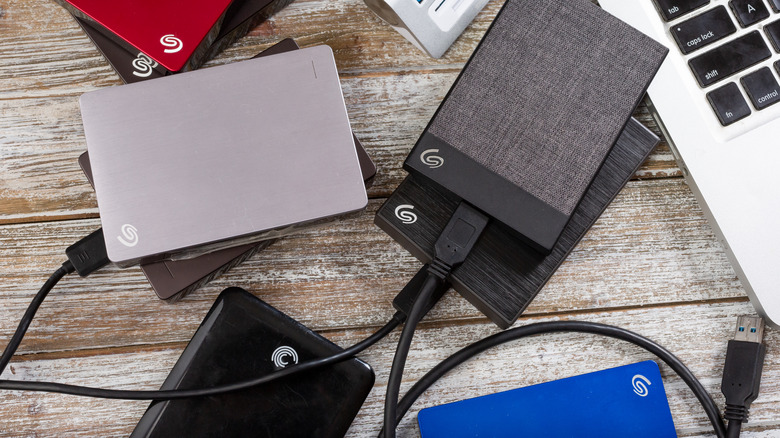
Similar to the steps above for a USB flash drive, you may also try to force mount or repair an external hard drive. In addition, you may need to reformat your external hard drive to work with your Mac. Take note, you will lose whatever media or files that are on your external hard drive during this process, so you have to make sure that the files are saved elsewhere before proceeding.
Depending on if you are using your external hard drive with Windows, Mac, or both, the ideal file format will vary. If you're not sure what format you should choose, you can consult Apple's recommendations. Once you're ready to format your storage device, here's what you need to do:
-
Connect your external hard drive to your Mac.
-
In the Utilities folder in the Applications folder, launch Disk Utility.
-
In the left sidebar, click your external hard drive's name.
-
In the upper-right corner of the Disk Utility window, click Erase.
-
In the pop-up, type your preferred name.
-
Select your preferred format.
-
To confirm your decision, click Erase.
Unfortunately, it's also possible for external hard drives to fail, such as if it was accidentally dropped or submerged in water, which means you'll need to replace it entirely. To prevent any issues in the future, you might also want to invest in storage cases for your external hard drives that offer added protection like water resistance or shock absorption, such as the highly-rated Lacdo Hard Drive Carrying Case or the ProCase Hard Drive Case.
A faulty or broken cable
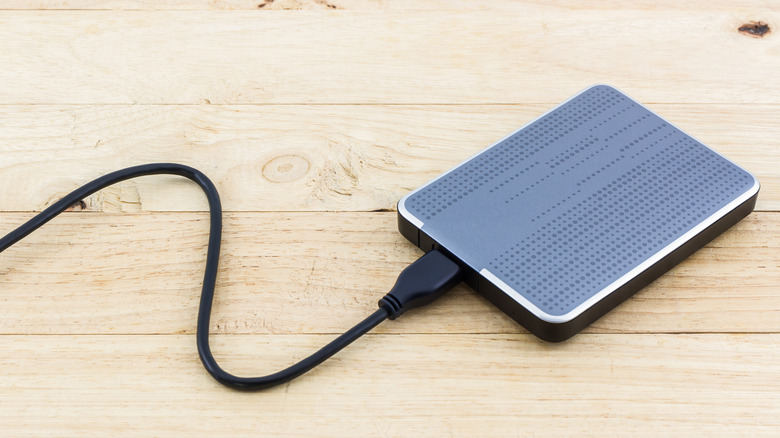
In some cases, both the external hard drive and Mac port may be working, but a faulty cable could be causing the issues between them. To know if your cable is the source of your problems, there are a couple of things you can check. First, you'll need to make sure there is physical damage on the cable, such as cuts or bite marks.
Second, if you live near the ocean or in a very humid environment, it's possible that your cables have also been corroded by moisture. Typically, this will manifest in rust forming near the edges of the connectors. Lastly, if you've replaced your external hard drive cable with a third-party cable in the past, this might lead to poor data transfer speeds or issues with connection stability as well.
Depending on the damage, you might need to snag some WD-40 for rust removal or electric tape for cuts from your garage toolbox. However, the easiest and safest solution to all these problems is to purchase a new cable from the same manufacturer as your external hard drive and take better care of it. Alternatively, you can snag one of the highly-rated cables that have been tried-and-tested by thousands of other users, like the ITD ITANDA USB 3.0 Micro Cable or the AINOPE USB 3.0 Cable.
Change your dongle or USB-C hub
Gone are the days of bulky laptops that weigh like a ton of bricks in our bags. While some powerful Mac models still weigh quite a bit, there are many MacBooks that are designed to feel as light as possible.
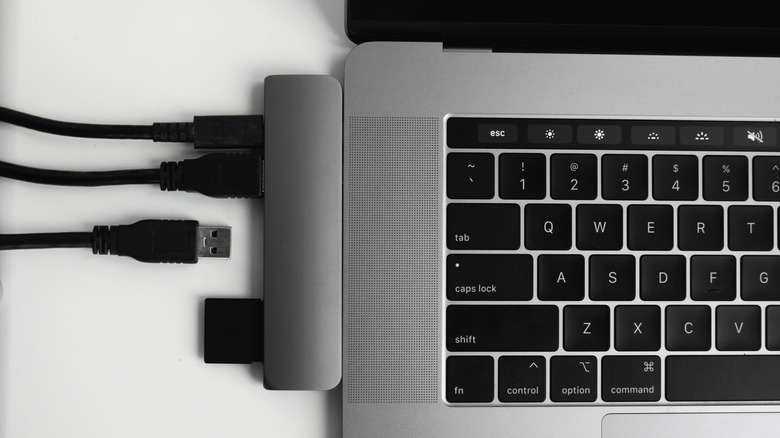
However, everything has a price, and the one many of us had to pay for a lighter Mac was having fewer ports and relying on dongles and USB-C hubs (or docking stations). Although fewer ports work for Mac users who rely mostly on wireless connections, there are still times that nothing beats the stability of a wired connection, especially when you are transferring large files to your external hard drive.
Unfortunately, not all dongles or USB-C hubs are made equal, especially if they're made by third-party manufacturers who didn't do enough testing with your particular Mac model. One way to prevent faulty or incompatible dongles is by purchasing official Apple adapters. For example, if your external hard drive or flash drive has a USB plug and you need to connect it to your Mac via the USB-C or Thunderbolt port, you can get the USB-C to USB Adapter. Alternatively, if you tend to use your Mac for presentation purposes, you can also buy the USB-C VGA Multiport Adapter that also has a USB-A and USB-C port. While you're at it, you might even want to check out some of our other recommendations for the best cheap MacBook accessories you can get today to optimize your Mac experience.
Finder settings, restarting, and macOS updates
Depending on your Finder app settings, the ability to see mounted external hard drives may be limited. To make your external hard drive and USB appear on your desktop, here's how you can change your Finder app settings to do just that:
-
On your Mac, switch to the Finder app.
-
In the upper-left corner of the screen, click Finder > Settings.
-
Click on General at the top of the Finder Settings window.
-
Under Show these items on the desktop, click the box next to External disks.
If there's nothing wrong with your external hard drive, cable, or Mac's USB port and you've tinkered with your Finder app settings, your Mac may not be identifying your USB flash drive or external hard drive because of some random glitch. Thankfully, you can easily restart your Mac by clicking the Apple logo in the upper-left corner of the screen and selecting Restart. Afterward, you can wait a few minutes, try connecting your thumb drive or external hard drive again, and see if that makes a difference.
As a last resort, you can also check if your Mac is due for a software update. If there is a known bug that is causing issues with identifying peripherals, especially after a major operating system update, there might be an available patch that can resolve your external storage device mounting problem. Here is how to find out if your Mac is due for an update:
-
In the upper-left corner of the screen, click the Apple logo.
-
Select About This Mac > More Info > Software Update.
-
If there is an update available, click Restart Now.
Alternative data transfer and storage solutions
Depending on what you were planning to do with your USB flash drive or external hard drive, there are a couple of alternative solutions you can try if the methods above don't work. For example, if you were planning to use the flash drive or external hard drive to send large files, you can use wireless solutions like AirDrop, Dropbox Transfer, or other file-sharing apps. Should you prefer more private solutions for smaller files, you can even use encrypted messaging services, like WhatsApp.
As for storing large files, you can invest in cloud storage solutions, like iCloud+, Dropbox, Google Drive, OneDrive, and so on. In fact, many of these iCloud alternatives even work seamlessly across your other Apple devices, like the iPhone and iPad.
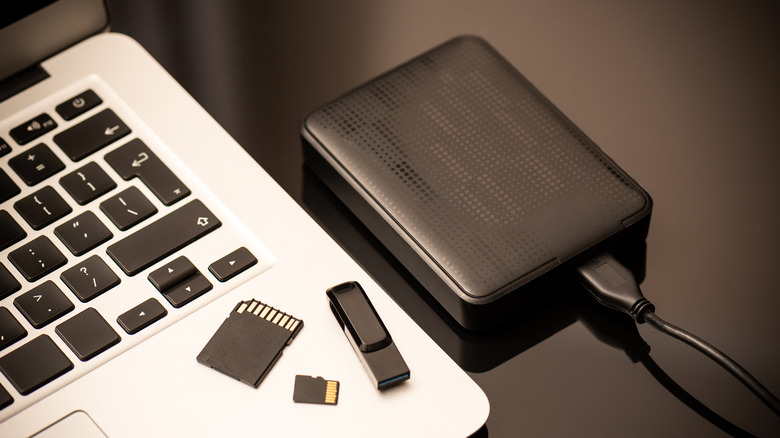
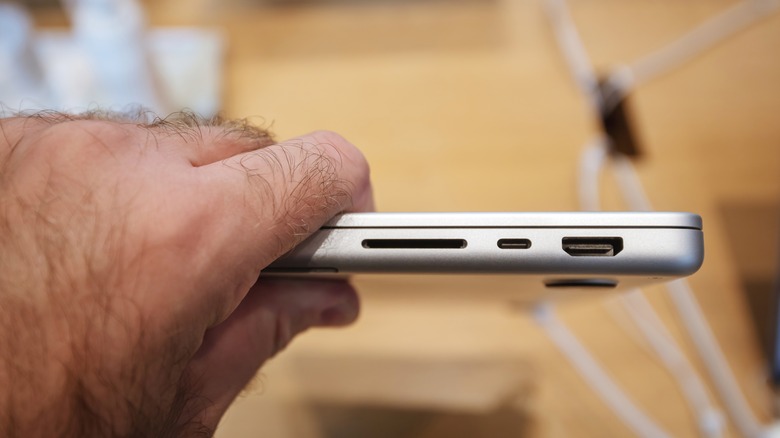
But, if you genuinely prefer the psychological safety of not having anything important on the cloud, you can also opt for other physical storage solutions. Aside from utilizing your iPhone's Files app, you can also try using SD or microSD cards. Not only are they small and lightweight, but they're also affordable. Because of their size, SD and microSD cards are good for discrete storage needs. And the best part? With some Mac models, like the 14-inch and 16-inch MacBook Pro (2021 onward) and Mac Studio, you won't even need an external dongle, because it will already have a SDXC slot built in. Just don't forget to format your SD card for your Mac, too.