6 Useful Ways To Use Apple's Continuity Feature On iPhone And Mac
For many Apple fans, it can be difficult to express what exactly about the ecosystem keeps us coming back. Some people will claim that it's because of the sleek designs that stand the test of time. Others will say that its simple operating system with an intuitive interface is perfect for their day-to-day technology needs. However, one big thing that sets Apple apart from the competition is that its various products simply work well together, and part of how it does this is with Continuity.
In 2014, Apple first used the term Continuity with iOS 8 and OSX Yosemite. Since then, it has been a pillar for the Apple ecosystem and a key part of its user experience. Designed to make all your Apple devices feel like instruments that have a role in the orchestra of your life, Continuity takes the interactions between your iPhone, iPad, Apple Watch, Apple TV, Apple Vision Pro, and Mac to the next level.
Knowing over 40% of iPhone users also own a MacBook (via Statista), it's unsurprising that a lot of people can benefit from making the most out of the two devices. So, if you're of the millions of iPhone & Mac owners, here are some useful ways to use Continuity that you might be missing out on today.
Use Handoff across native Apple Apps
While it has been around for over a decade, Handoff has been the gift that keeps on giving. A key part of Continuity, Handoff lets you move seamlessly between native Apple apps on your iPhone and Mac, like Notes, Safari, and more. To use Handoff between your iPhone and Mac, you'll need to fulfill some basic requirements. First, your iPhone and Mac need to run on at least iOS 8 and OSX Yosemite, respectively. Next, you'll need to be logged into the same Apple ID, plus have Wi-Fi and Bluetooth enabled. For this to work, you also have to make sure your two devices are within short proximity to each other.
 Quina Baterna/SlashGear
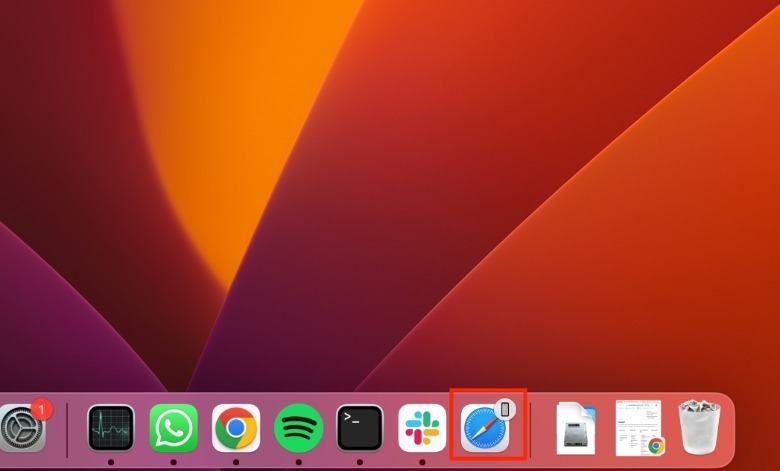
To use Handoff, simply open one of the designated Apple apps on your iPhone, like Safari. Then, on your Mac, watch out for the app icon to appear on your dock with a little gray circle with an iPhone silhouette inside. When you hover over it with your mouse, it should have "From iPhone" under its app name.
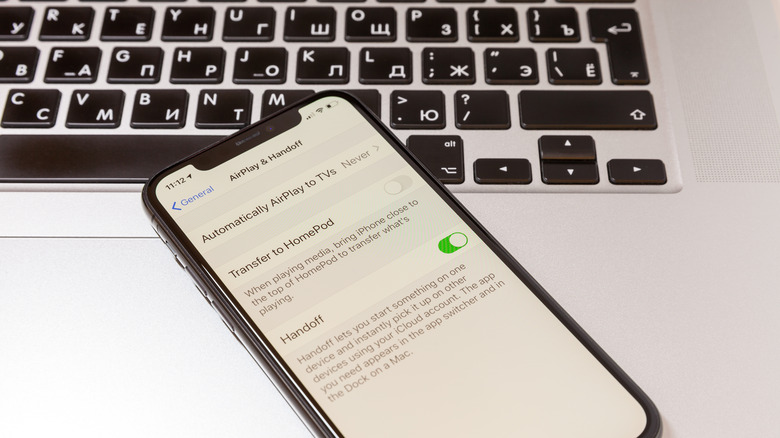
Although Apple keeps Handoff on by default, you may have turned off this feature in the past. To turn it on again on iPhone, launch the Settings app > General > Airplay & Handoff and toggle on the button next to Handoff. While on Mac, go to System Settings > AirDrop & Handoff. Next, to Allow Handoff between this Mac and your iCloud devices, toggle on the button.
Universal Clipboard and AirDrop
The mechanism behind being able to copy and paste between devices, the Universal Clipboard feature, is a major workflow tool that lets you shift things like text and media between your iPhone, Mac, and other Apple devices. It works by adding anything you've copied in an Apple device, like your iPhone, to the clipboard of nearby devices as well, such as your Mac. To use Universal Clipboard, you need at least an iPhone 5 running on iOS 10 and a Mac device with macOS Sierra or later. In addition, you'll need to make sure that both devices are linked by the same Apple ID and Wi-Fi, as well as Bluetooth enabled.
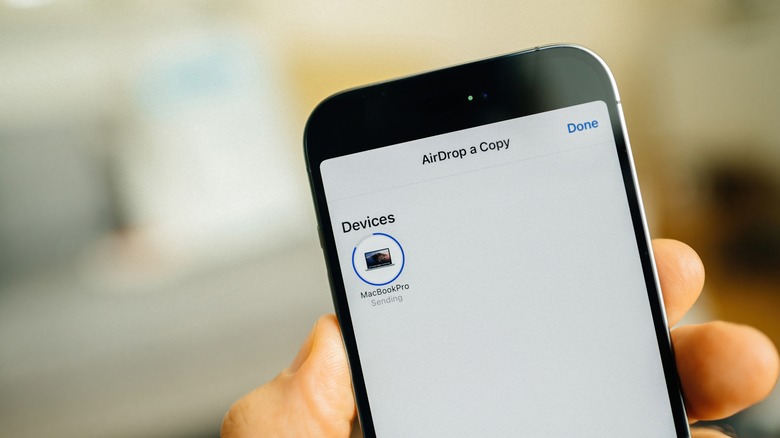
Another cool way to share what you're looking at from one screen to another is by using AirDrop to send things between your iPhone and Mac. Take note, while you can send things via AirDrop to other people's Apple devices, you won't need to manually accept it anymore if you're sending things to your own. Unlike Universal Clipboard, AirDrop can be used to share things that can't easily be copied unto the clipboard. Additionally, Universal Clipboard can only copy one thing at a time, while AirDrop lets you send multiple media files simultaneously. For example, you can use it to share Safari web pages, Apple Maps locations, Keynote presentations, and more. But, if you do encounter issues with your AirDrop, you can check out our tips on how to fix it.
Enable text forwarding and cellular calls
While a little bit old school, many of us still use texts for our 2-Factor Authentication (2FA), which we use to confirm online transactions or account logins. However, it can be annoying when you need it and your iPhone is not within reach. Thankfully, you can easily set up text forwarding, which lets you receive your iPhone's text messages on your Mac.
Continuity's text forwarding and call features can help make sure you don't miss anything important. But take note, your devices need to be running on at least OS X Yosemite and iOS 8.1 for this to work. Plus, aside from being linked by the same Apple account, they also need to be online through data or Wi-Fi. If you fulfill these requirements, here's how to receive iPhone text messages through your Mac.
-
On your iPhone, go to the Settings app > Messages.
-
Next to iMessage, toggle on the button.
-
On your Mac, launch the Messages app.
-
Tap Text Message Forwarding.
-
Next to your Mac's name, toggle on the button.
 Quina Baterna/SlashGear
- On your iPhone, go to the Settings app > Phone.
- Under Calls, tap Calls on Other Devices.
- Next to your Mac name, toggle on the button.
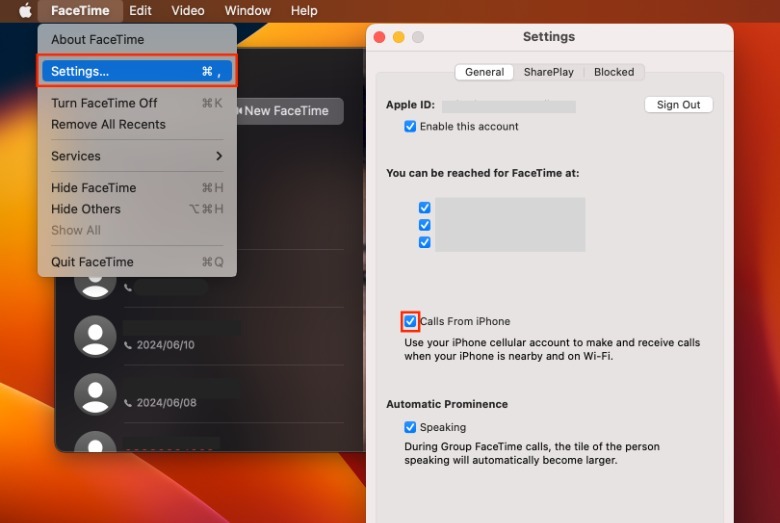
- On your Mac, launch the FaceTime app.
- In the upper-left corner of the screen, tap FaceTime > Settings.
- Next to Calls From iPhone, click the box.
Use your iPhone as a camera

Previously, content creators needed to buy expensive, fancy cameras to be able to churn out quality videos. These days, iPhone cameras are more than enough for the average person, especially because you can easily use it as a web camera. In 2018, Apple launched the Continuity Camera feature, which lets you use your iPhone as a web camera as long your devices are running on macOS Ventura and iOS 16 onwards. In addition, both devices need to have Bluetooth turned on, be on the same Wi-Fi connection, and be physically close to each other. If your devices meet these requirements, you can enable Continuity Camera on iPhone by tapping the Settings app > General > AirPlay & Handoff. Then, next to Continuity Camera, toggle on the button.
Afterward, you'll be able to see the option to use your iPhone as a camera and microphone source for compatible Mac apps. If you are not seeing the option to use your iPhone as a web camera, make sure that your iPhone and Mac are paired, your Mac is tagged as a trusted computer for your iPhone, and that they're signed in to the same Apple ID. Aside from the native apps like QuickTime Player and FaceTime, you can also use your iPhone as a camera for third-party video calling apps like Zoom, Microsoft Teams, and WhatsApp. In the same vein, Continuity Camera also lets you scan and mark up documents with your iPhone as well.
Integrate iPhone widgets to your Mac desktop
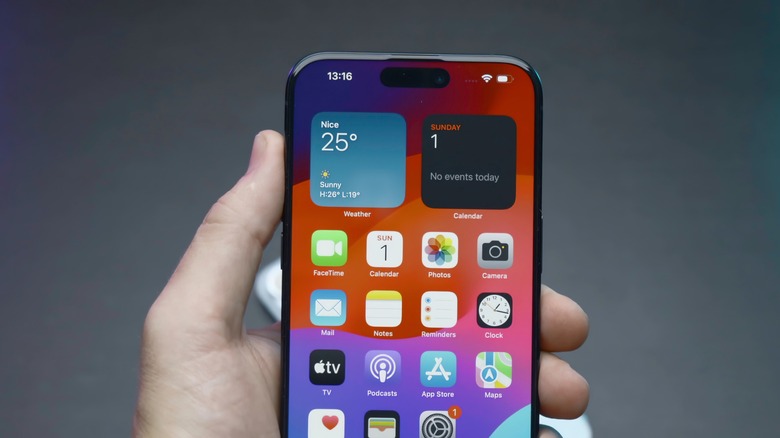
For some people, it can be hard to live without widgets. Even since Apple reintroduced widgets, it opened up new ways for iPhone users to make the best out of their apps and customize their screen to their heart's content. In fact, there are so many cool widgets that you can use for your iPhone lock screen alone.
But did you know that you can use Continuity to add your iPhone's widgets on your Mac as well? To make this work, both devices need to be connected to the same Wi-Fi signal and be updated to iOS 17 and macOS Sonoma or later. If you have these locked in, you can head over to our guide for how to use iPhone widgets on your Mac.
While you shouldn't expect the same level of functionality for your iPhone widgets on Mac, you can check out our recommendations for the best widgets for MacBook users available today. Some of these include the Fantastical Calendar app, Bear Markdown Notes, and the Widget Art Gallery.
Instant Hotspots
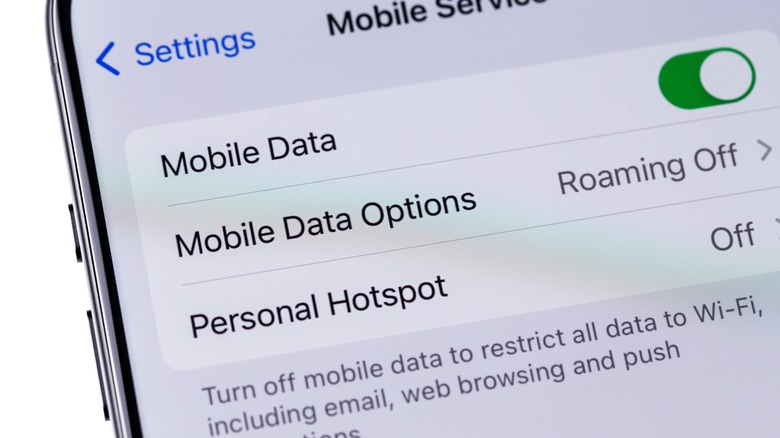
It's no secret that you can use your iPhone as a personal hotspot, which anyone who knows the password can use. But one neat thing about having iPhone and Mac devices linked by the same account is that you don't even need a password to connect to your personal hotspot. After all, you've already confirmed with Apple that you own both devices.
To use Instant Hotspot, you'll need to make sure that your iPhone providing the hotspot runs on at least iOS 8.1, while the connecting Mac needs to be on OSX Yosemite or later. On the other hand, if you own an iPad, all iPad models will be able to work with this feature.
If you meet these system requirements, you can turn on the instant personal hotspot by swiping down from the upper-right corner of the screen, long pressing the connectivity section of your control panel, and tapping Personal Hotspot. Then, on your Mac, tap the Wireless icon in the upper-right portion of the screen and select your iPhone hotspot name.
Additionally, you can set up your iPhone personal hotspot to let iPhone users who are part of your Apple Family to automatically connect with it. Here's how.
 Quina Baterna/SlashGear
-
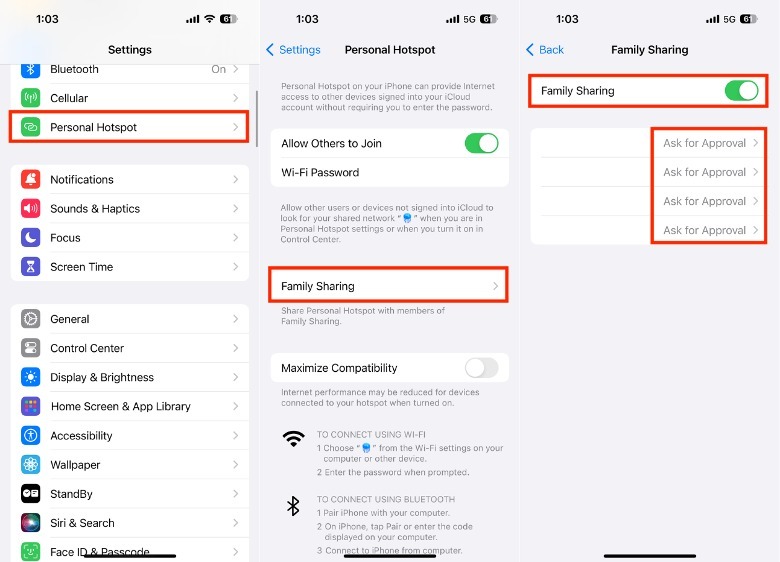
In your iPhone Settings app, tap Personal Hotspot > Family Sharing.
-
Next to Family Sharing, toggle on the button.
-
Next to the name of the family members you want to give automatic access to your personal hotspot, tap Ask for Approval.
-
Under their name, tap Automatic.