Kawasaki Motorcycle Maintenance: A DIY Guide For Common Issues
Kawasaki makes some of the most revered and impressive motorcycles, like the Concours 14 and Ninja H2R. Those unfamiliar with the brand will be surprised by where Kawasaki motorcycles are made and who owns the company now. For many, there's nothing better than the feeling of rushing wind and acceleration as they effortlessly navigate the roadways. Unfortunately, a thrilling ride can be hampered or cut short by several mechanical issues. After all, a modern bike has a number of complex components and systems that can break down, taking you from cruising speed to walking in no time.
Fortunately, if you pay close attention, your bike will warn you of impending problems before they wreak havoc and some issues you can actually take care of yourself. Whether it's an engine running too hot, electrical malfunctions, weak braking performance, tire damage, or extra vibration, there are plenty of do-it-yourself steps to help get your bike back into shape. While Kawasaki motorcycles are renowned for their durability and reliable operation, it's always a good idea to be prepared if something goes sideways.
Overheating engine
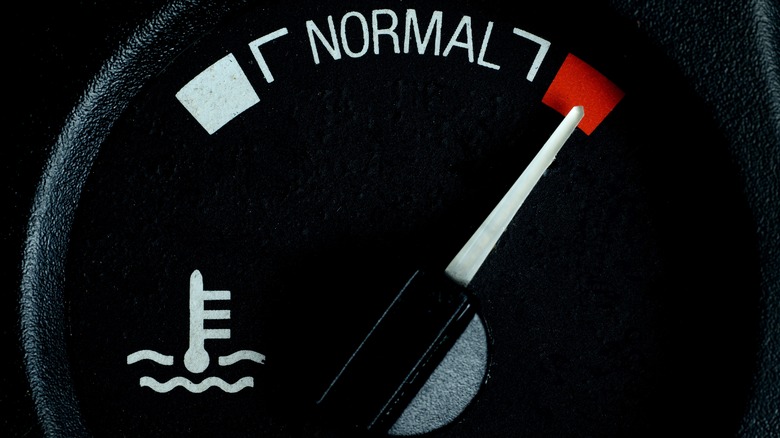
It's not unusual for engines to put out heat as they run. However, too much heat is bad for your motorcycle and could cause noticeable dips in performance. Most motorcycles have an engine temperature gauge, but you can also feel when something's wrong, even without one. For example, acceleration may feel labored, or you can't seem to hit the same speeds as before. If you experience a decrease in your bike's performance, your first step should be to shut it off and let it cool down. Then, check your coolant level; if it is low, add the appropriate amount to resolve the issue.
If the coolant level is good, a few other places could be causing the overheating problem. A radiator cap must hold a certain amount of PSI pressure for the engine cooling system to work correctly. These caps can go bad, so you could replace the radiator cap to help resolve the issue. Special fins in the radiator work to disperse heat and move it away from the engine, but sometimes, these fins can accumulate grit and grime. Ensure the fins can perform properly by clearing them of any buildup.
Electrical trouble
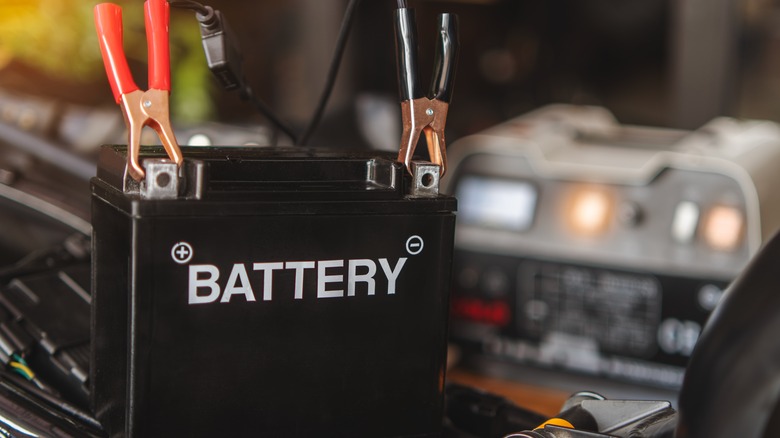
Say you go to start your motorcycle, and it struggles and then refuses to turn over, or you notice your lights are flickering or dimming. These problems could be related to your bike's electrical system, including your battery. Your first step should be to examine the battery and verify you have a tight positive and negative connection from the wires to the battery terminals. If you notice a buildup of corrosion around the terminals or wires, you must use a battery cleaner to remove the material.
If the wires are seated tightly and the area is clear of corrosion, you should verify the battery's voltage using a motorcycle battery tester. For testing, you should keep the bike turned off for no less than an hour and then connect the tester tool. Your Kawasaki motorcycle battery should output 12.6 or 12.7 volts if in good working condition. If your voltage readings are less, it could mean the battery needs to be replaced. Fortunately, swapping out a motorcycle battery is straightforward, requiring that you undo the cables from the old unit, remove it, then set the new battery in place and connect the wires to the appropriate positive or negative terminals(red wire is positive, black is negative).
Substandard stopping power
Kawasaki motorcycles are some of the most robust available, so brakes are vital. In fact, if you own one of the fastest motorcycles Kawasaki ever built, you'd better ensure your bike's stopping power is healthy. Fortunately, there are some steps you can take to identify and possibly resolve problems with your brakes.
First, you'll need to check your brake fluid levels and its color to help narrow down the cause of your spongy brakes. If the fluid is low, you can top it off and bleed the brake lines to remove any air within the system. If the fluid appears dark, flush the old brake fluid out and replace it with fresh product. Remember, if you don't feel comfortable or confident addressing your brakes, you should take your bike to a professional shop for assistance.
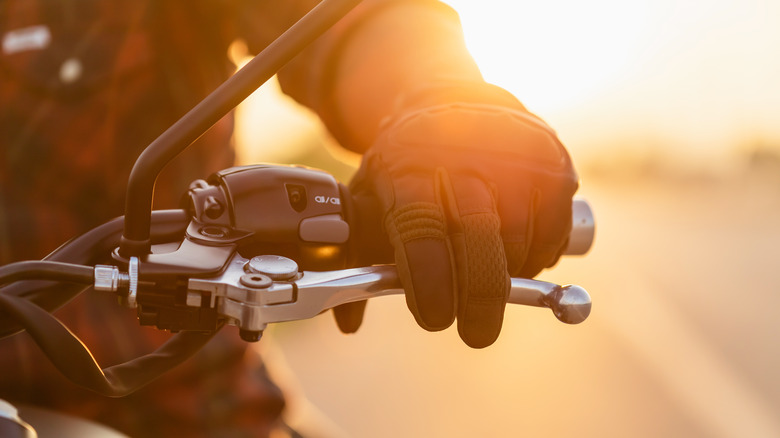
Bleeding the lines is simply the process of ridding the brake system of any air. You'll need to depress the braking lever, untighten the associated bleeder valve, capture the fluid into a safe container, retighten the bleeder valve, and then let go of the brake and allow it to return to its resting position. Repeat this until the brake lever feels tight and responsive if topping off the fluid. If flushing the system, you'll continue bleeding the lines until all the dirty fluid is replaced. The steps are the same for both the front and rear brakes.
Tire damage and handling
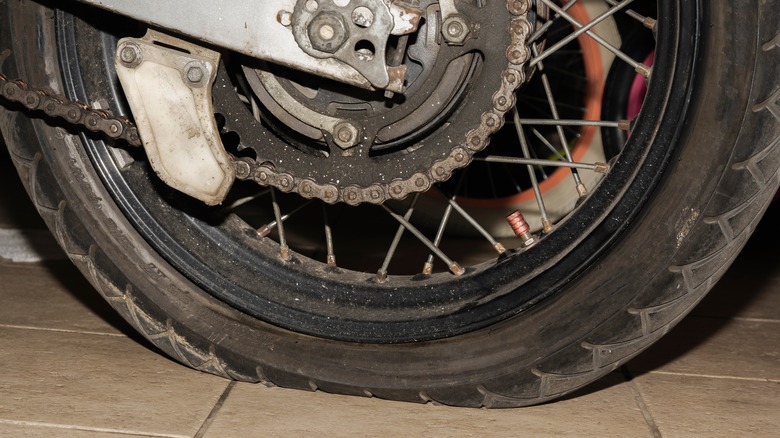
Tires are the motorcycle's connection to the pavement, so they should never be an afterthought or neglected. You should always check the pressure and verify your tires aren't below or above the recommended PSI, as this can damage them. In addition, low PSI in your bike's tires can cause sluggish handling, where you'll need to put a lot more effort into turning than usual. Regular tire inspection also helps you find small punctures that could leave you stranded on the roadside if not addressed immediately.
If the damage is located in the tire's tread area and is small, you can use one of several available motorcycle tire patch kits to plug these punctures before they get worse. These patch kits are also portable, so you can take them on the road in case you experience issues while out for a ride. Most of these products include specialized tools and an assortment of mushroom-shaped plugs. Remember, though, this isn't a permanent solution and should be used to get you to the tire shop for a replacement. While you can purchase a motorcycle tire changer to use at home, professional shops are equipped with more comprehensive tools to help expertly balance the tire once installed.
Increased ride vibration
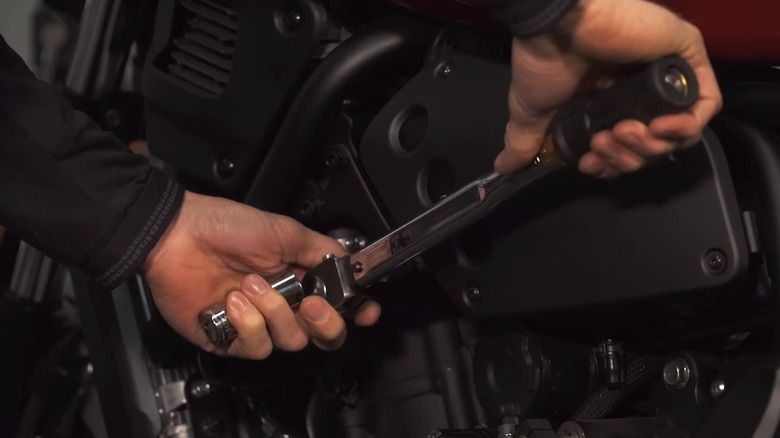
You will feel the engine and the road's contours much more with a motorcycle than in a car. There is always a bit of vibration during travel, but this can get more severe over time, making your ride less enjoyable. While it may seem like a significant problem requiring a professional mechanic, it could also be something simple. There are bolts all over your Kawasaki, attaching the various components to the frame. Over time, these bolts can loosen, which allows these components to move around more, causing additional vibration.
If you notice abnormal reverberation through your bike as you're traveling, you should stop and check the bolts attaching everything to the frame. If you find a loose bolt, tighten it, and once you have ensured nothing else is loose, you should notice a reduction in vibration. Of course, if the issue persists, you should consult a professional. If you're new to bikes and feeling intimidated, there are several Kawasaki motorcycles that are cheap and easy to maintain.
