Raspberry Pi 2 Hands-On: First Boot On 2nd-Gen
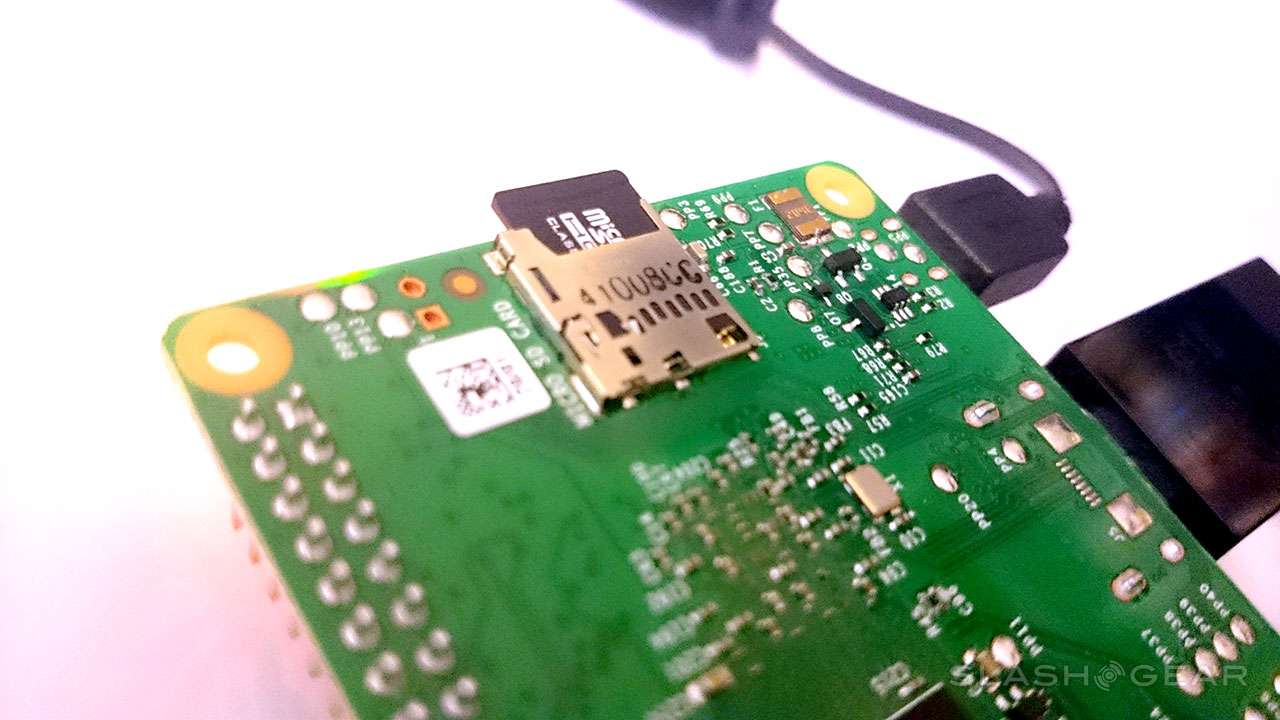
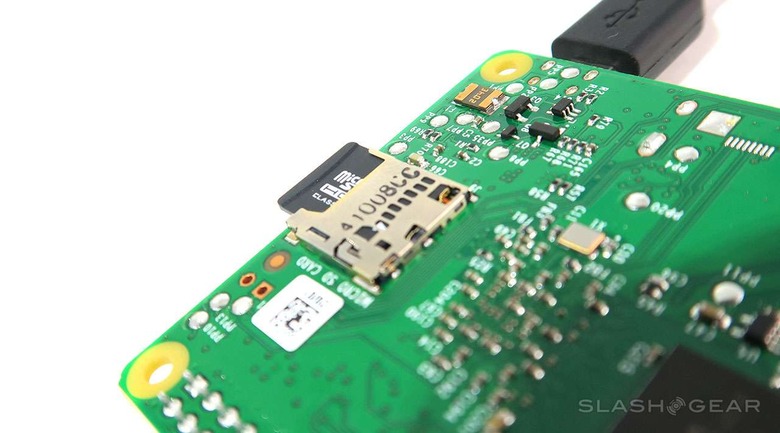
Today we took the Raspberry Pi 2 out of the box and the static shielding bag to give it a first start-up and go. As you'd expect, loading software to an SD card is much the same as it was in the past – except here you're using a much smaller microSD card instead. After that, you've got a more powerful processor and 1GB of RAM to work, so it's time to get quick. Today we're checking in on the basics – getting an operating system running and heading to boot.
While we'll have Windows 10 support later this year, right now we're still working with Raspbian a port of the OS Debian wheezy, an operating system based on Linux. Once our microSD card was loaded up with software from Raspberry Pi's repository, booting up was just a matter of plugging the board in.
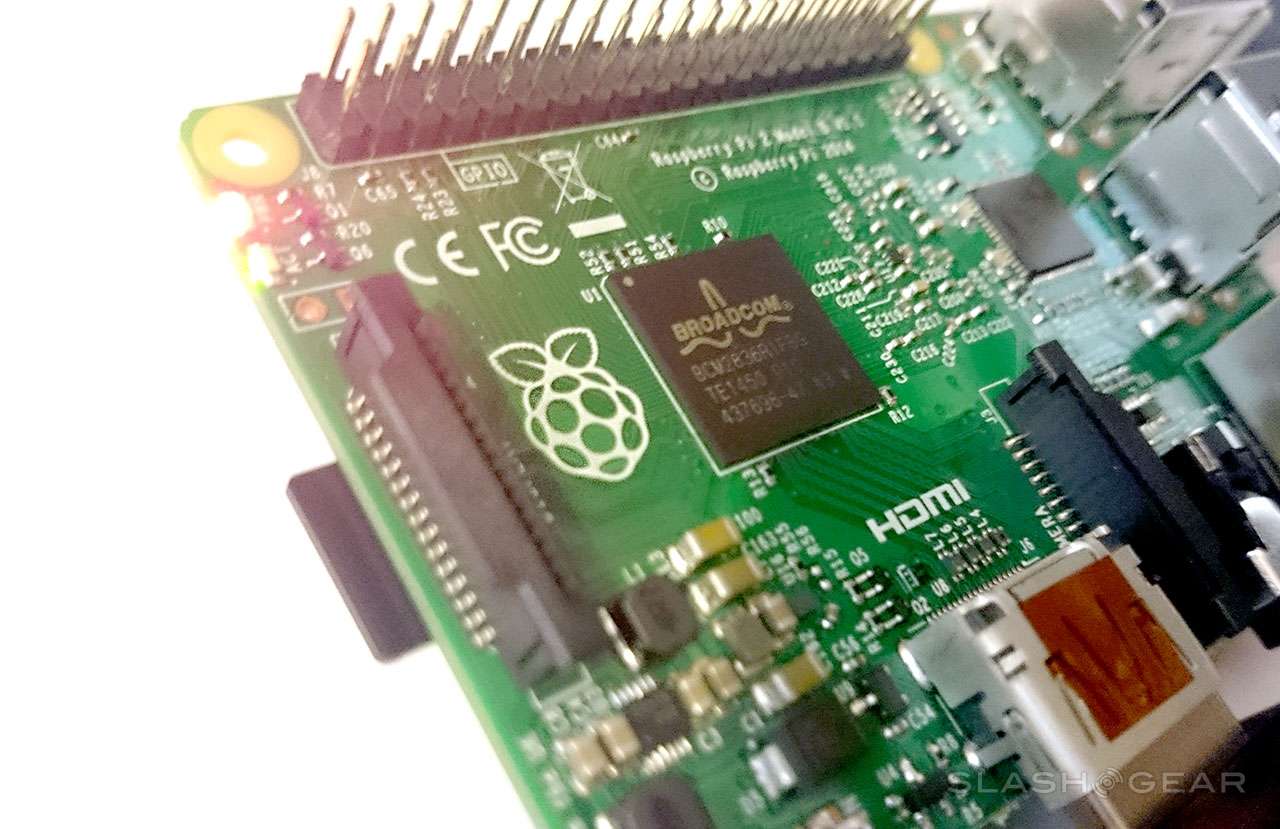
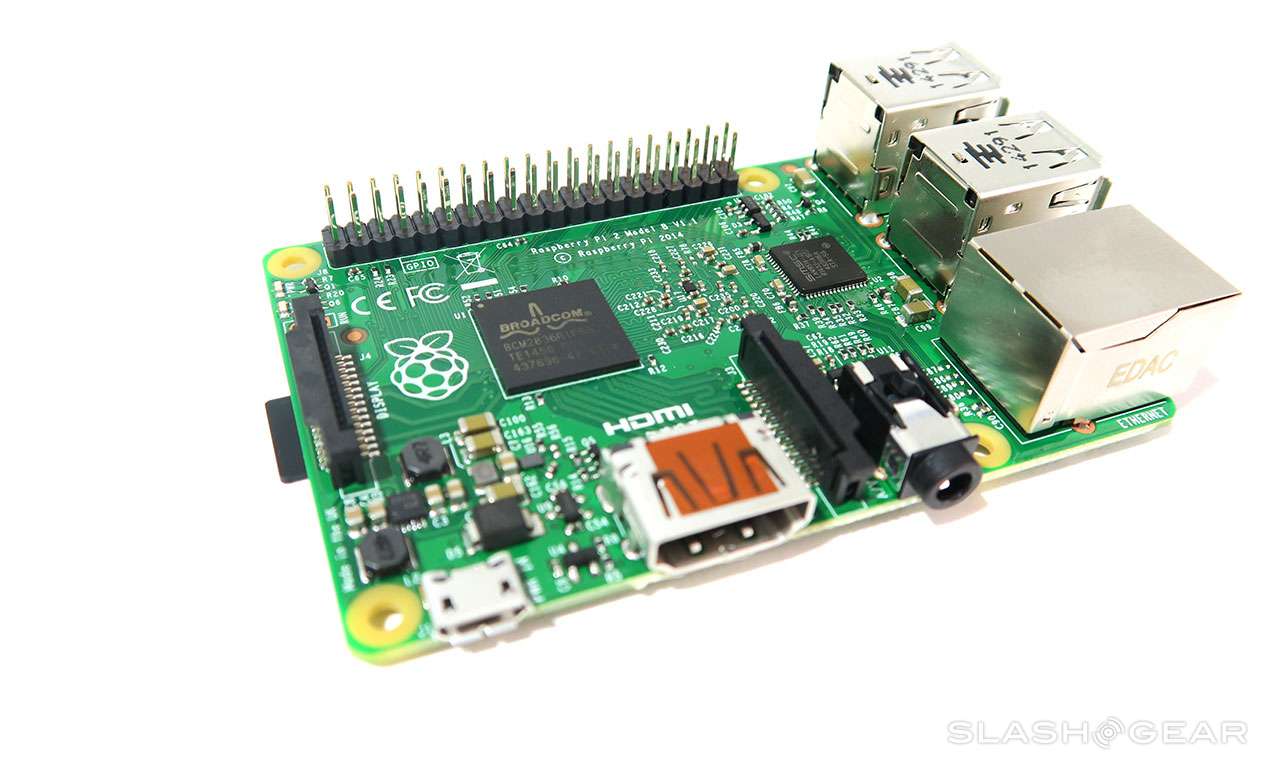
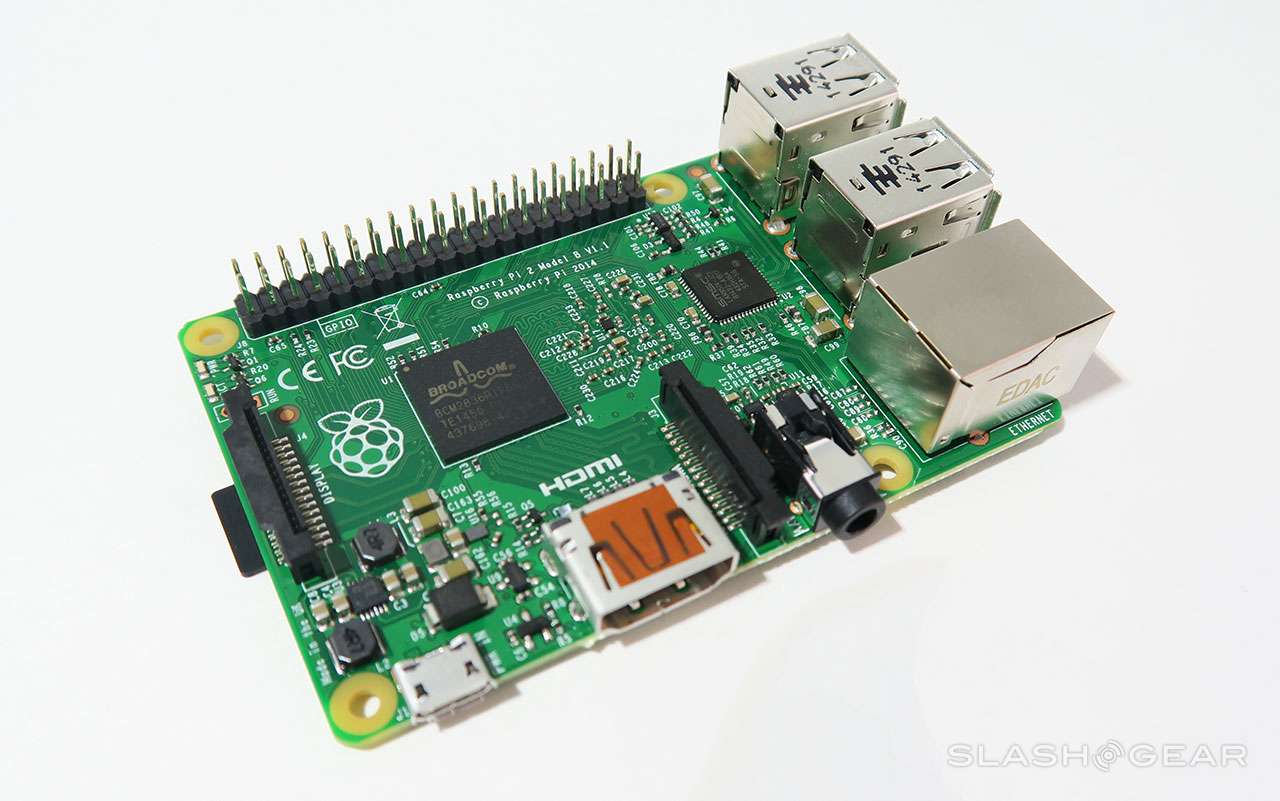
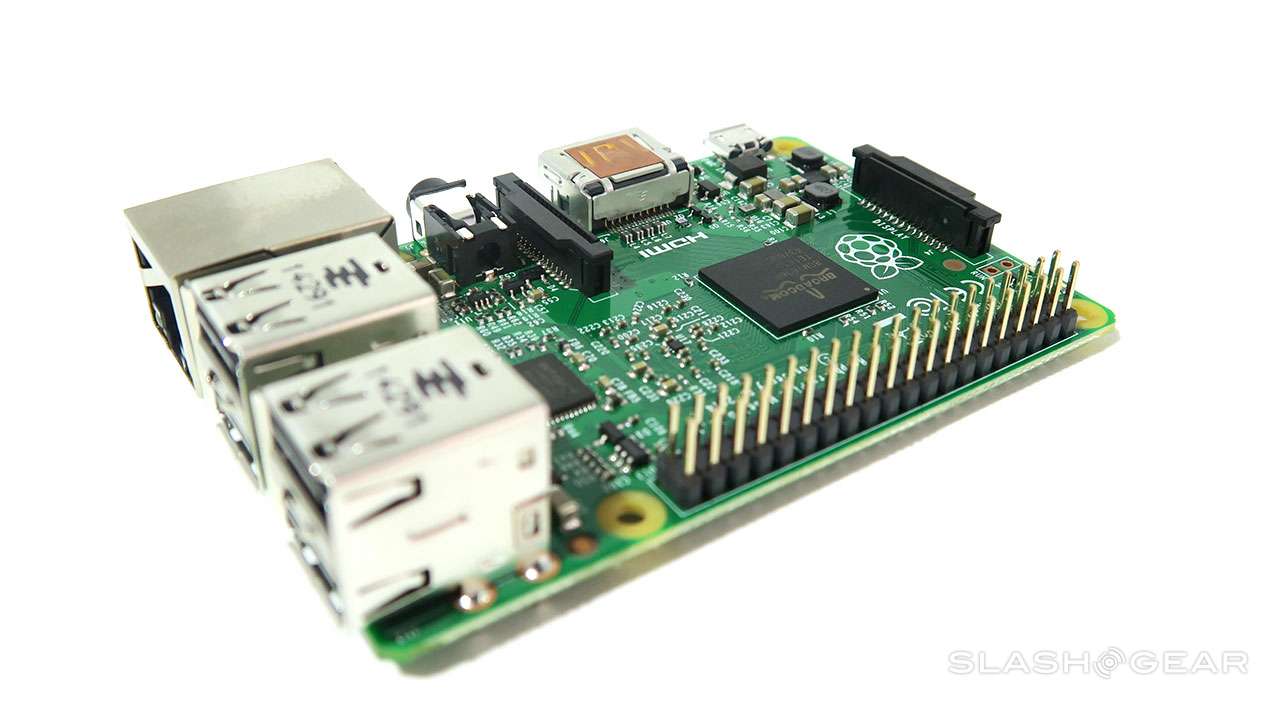
This new board works with the following specifications:
• Processor (SoC): Broadcom BCM2836 (CPU, GPU, DSP, SDRAM, and single USB port)
- CPU 900 MHz quad-core ARM Cortex A7 (ARMv7 instruction set)
- GPU Broadcom VideoCore IV @ 250 MHz
- OpenGL ES 2.0 (24 GFLOPS)
- 1080p30 MPEG-2 and VC-1 decoder (with license)
- 1080p30 h.264/MPEG-4 AVC high-profile decoder and encoder
• Memory: 1 GB (shared with GPU)
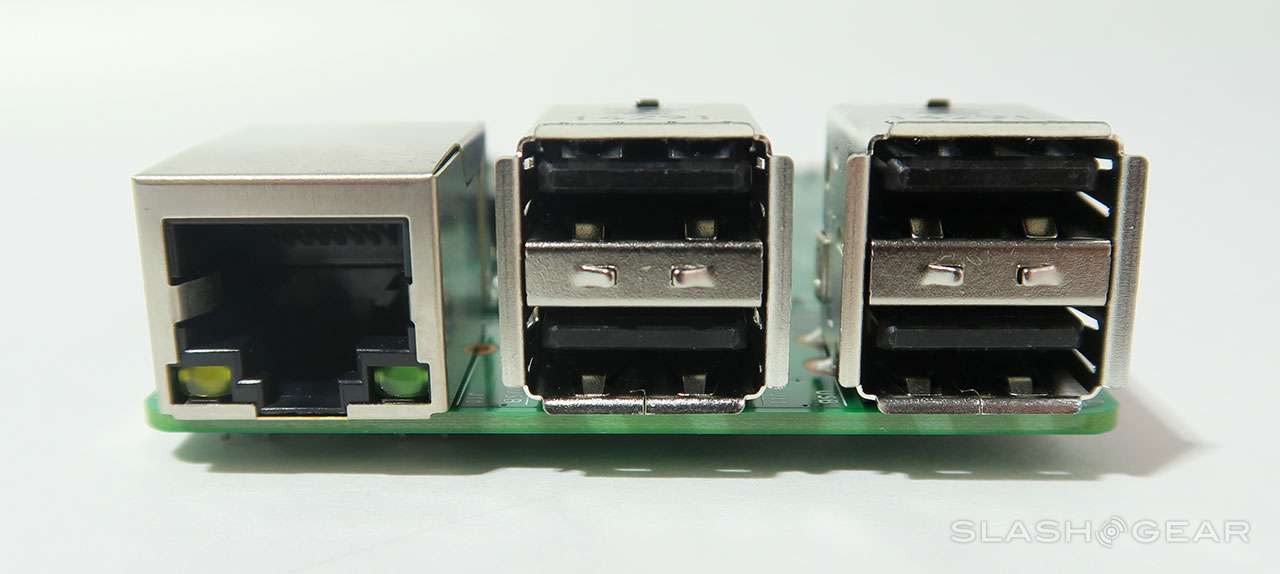
• USB ports: 4
• Video input: 15-pin MIPI camera interface (CSI) connector
• Video outputs: HDMI, composite video (PAL and NTSC) via 3.5 mm jack
• Audio inputs: I²S
• Audio outputs: Analog via 3.5 mm jack; digital via HDMI and I²S
• Storage: MicroSD
• Network: 10/100 Mbit/s Ethernet
• Peripherals: 17 GPIO plus specific functions, and HAT ID bus
• Power: rating 800 mA (4.0 W)
• Power source: 5 V via MicroUSB or GPIO header
• Size: 85.60 mm × 56.5 mm
• Weight: 45 g (1.6 oz)
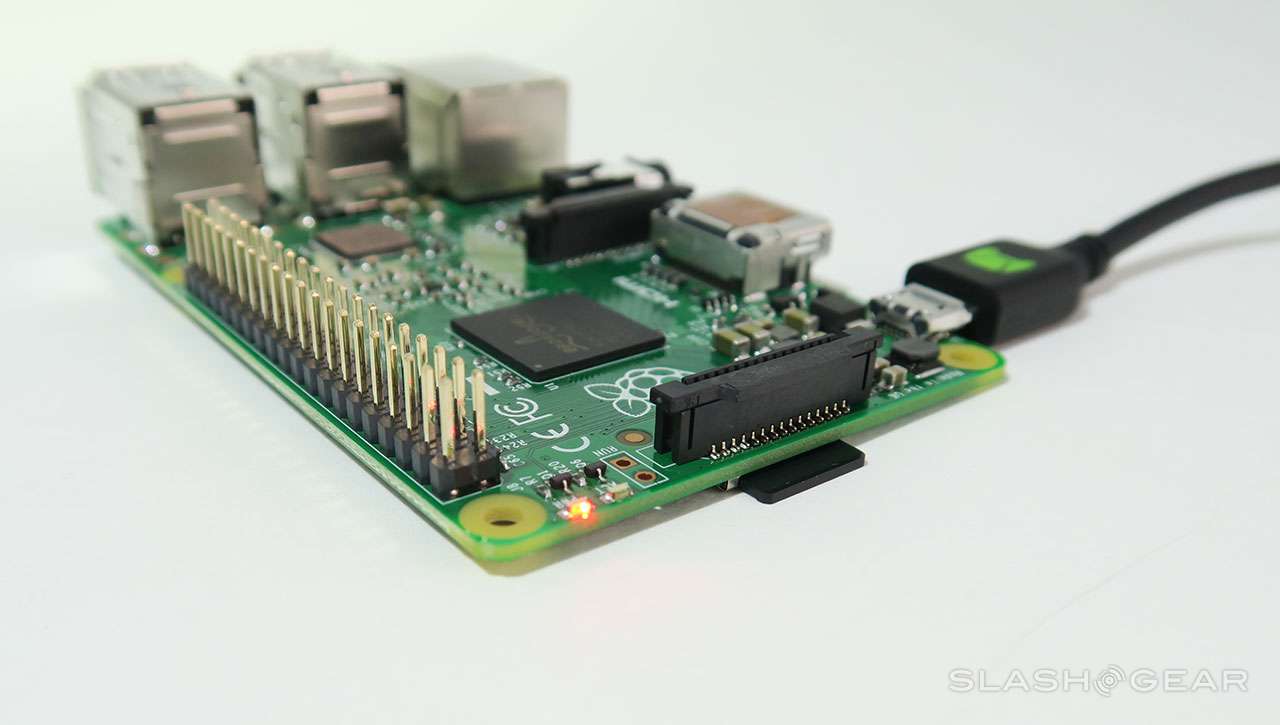
The board is powered via a single standard micro-USB port. This means you can use the same plug and cord you use for your smartphone, more than likely. To see what you're doing on the device you'll be plugging in a monitor with a full-sized HDMI cord.
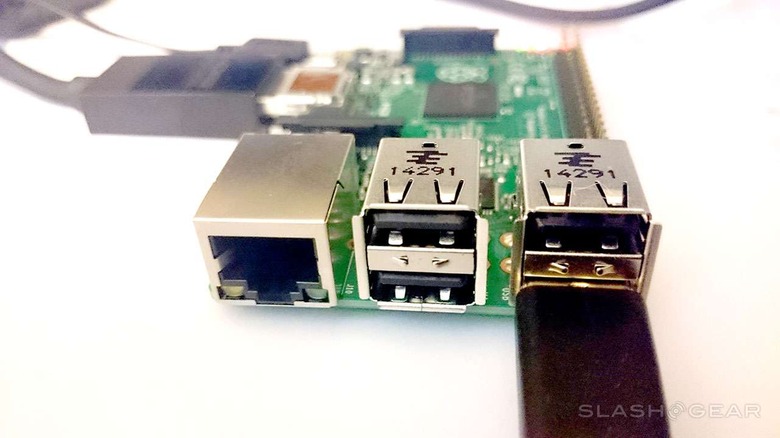
Right out of the box this board works with standard USB mice and keyboards. You'll need one of each to move through the menus provided by the Raspberry Pi-provided software on your microSD card.
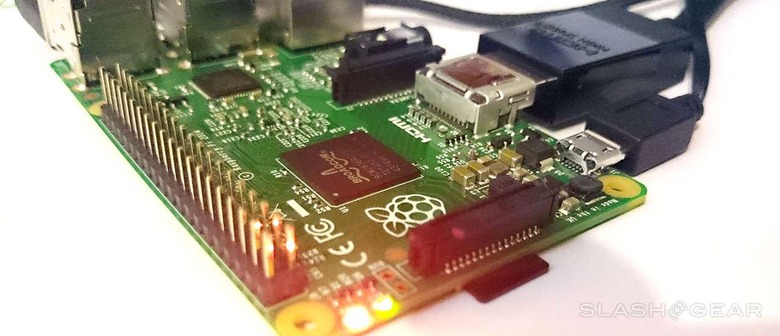
Plugging in power shows a lovely set of lights in one corner of the board to let you know you're ready to roll.
The first time we attempted to load an SD card, I made the mistake of using a micro-SDXC card. This did not work. Switching to a more standard SD card worked just fine.
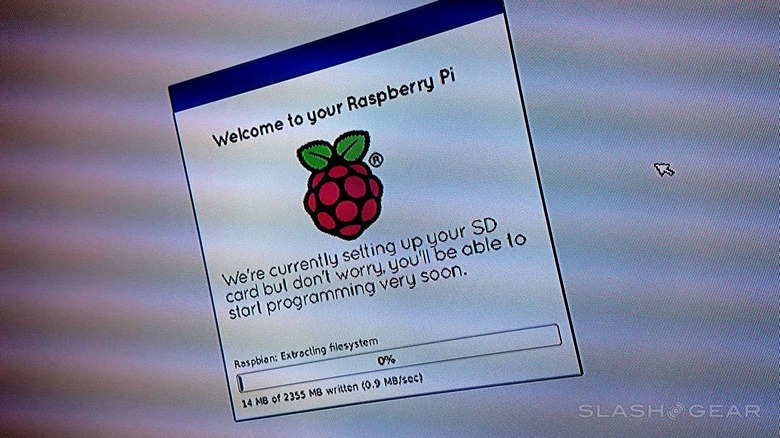
Before loading the OS, the system booted up in less than 10 seconds. Once the OS was loaded, boot time went up to around 30 seconds. That's on average after several boots throughout this first morning of testing.
We'll be booting like crazy over the next few days – weeks – years – and we'll be getting back to you with the results.
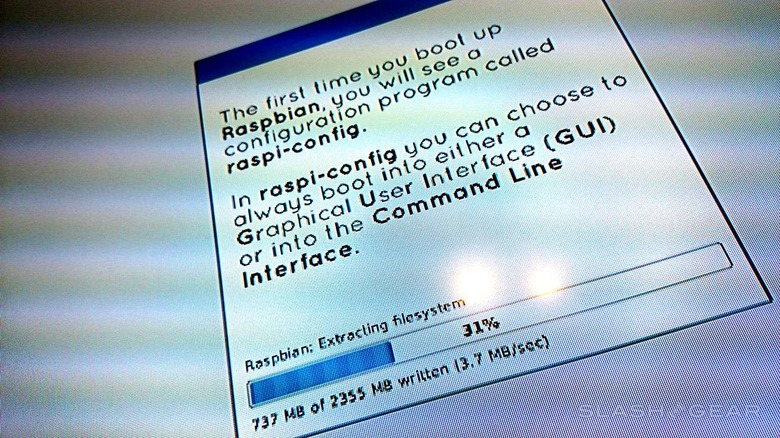
Stick around SlashGear for additional hands-on action with the Raspberry Pi 2, and let us know any tests you'd like to see us do. This is just the beginning. Stick around SlashGear's Raspberry Pi tag portal for more!
Also note: this particular Raspberry Pi 2 comes from Element14.


