Mobile Photography Primer: Taking Print-Quality Photos
Canon's earnings report last month confirmed the trend we've seen time and again: consumers are gravitating toward mobile cameras as being their only camera, so much so that traditional camera sales are down and camera makers are hurting. We see photos taken with smartphones all over the Internet, and there's no shortage of love for them. Still, you'll notice that many of the images aren't the greatest in terms of image quality, and in many of those cases those issues could have been avoided with some basic preparation and settings.
Make sure your lens is clean
It's a no-brainer suggestion, but you'd be surprised how many people fail to clean their phone lens before snapping that ever-so-important vacation photo or memorable moment. It only takes a second to swipe a piece of fabric over the lens, and the improvement will be immediately noticeable: fingerprints on the lens will cause light smears, dust with cause blurs, and both can be eliminated with a couple seconds of effort.
Use your camera’s full resolution
This is another simple change that your future self with thank you for. Many smartphones have two settings: "Widescreen" and "Standard", with the former offering a 16:9 aspect ratio and the latter a 4:3 aspect ratio. Many are tempted to use the "Widescreen" option because it plays well with modern displays, but don't realize that in doing so they're able to capture less in a single photo, and they're doing so as a lesser resolution. This is because the full-frame image is likely presented in 4:3 "Standard", and to get "Widescreen" the camera app will zoom into the image, then crop off parts from the top and bottom.

Change the camera to take pictures in "Standard" to get the full resolution, then later on during post-processing your can crop it to whatever size you need for printing.
Invest in a pocket tripod
Some mobile camera apps have a "stabilize" feature, which will either avoid taking a picture until the camera is being held still enough, or will try to compensate for movement. It's a decent enough option for quick photo sessions, but if you're looking to record memories or snap images that'll be printed out in the future, you'll need to upgrade to a tripod. A pocket tripod designed for smartphones can handle most handsets up to 6-inches, can usually be folded into a very compact size, and will have multiple end pieces to use on different surfaces.

Put the smartphone in the tripod, position the tripod where you need it to get the shot, then set the camera's timer for a few seconds. This'll give the setup a couple seconds to fall still after you tap the screen, which will cause momentary vibrations.
Buy a quality camera app
If you've found the stock camera app on your system has lost a lot of features over the years, you're not alone. These simplified camera apps are excellent for users who only want to point the camera and tap on the screen, but the moment you get into exposure adjustments you're going to be looking elsewhere. Fortunately, the three big app stores are packed full of photography apps that bring additional features, and they usually do so for less than a few dollars.

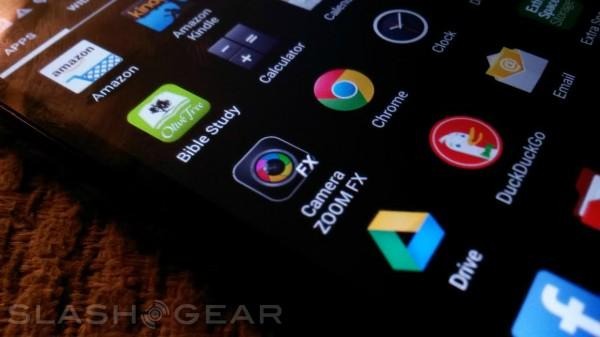
Camera+, Camera Zoom FX, Manual, and VSCO Cam are all excellent options for gaining relatively advanced control over your camera.
Get a portable light
Light is the bane of smartphone cameras, and quality drops drastically once the sun starts to go down or the room is a bit too dim. This is where having an external light will come in handy, allowing mobile photographers to better illuminate their subjects or surrounding environment. Something as simple and cheap as a dollar store keychain flashlight will work, but there are some dedicated portable photography lights, as well, like the Relio USB light cube.

Take some classes
It's easy to fall into the trap of thinking any given type of art is simple to learn, or without any rules or common practices. Learning the ropes and how things are done will take you far, however, and the best place to start is with a basic photography class. You'll learn the best camera settings for different environments and shooting styles, how to plan for prints, and more.
