How To Take The Best Night Photos On Your Smartphone
We may receive a commission on purchases made from links.
Taking low-light photos on your smartphone may seem counterintuitive when other, more professional-quality full-frame cameras such as the formidable Nikon D850 can offer far more contrast and detail. Besides the price difference (considering some of these high-end cameras can go for thousands of dollars!) there are two major reasons you'd probably want to opt into using your smartphone camera instead of a far more professional-grade camera for nighttime and low-light photography: portability and convenience.
You'll likely already have your own iPhone or Android smartphone with you anyway, which makes it easy to do a lot of your photography — including the photography you choose to do at night — on your phone rather than invest in a professional cam. And that's especially true if you're not (or not yet) a professional photographer with a bunch of expensive equipment of your own. Some pros might tell you that great nighttime photography is possible on any camera with some tinkering, but there are some important tricks that apply specifically to smartphones that are worth taking into account.
That said, no matter how you choose to take your photos in low-light settings, you'll want to keep things perfectly still for as long as you can — this is because there's less light to go around, and even though more light can be captured with a slower shutter, you may accidentally blur your subject by moving the camera even a little bit. For the best still shots taken after sundown, you may want to use a tripod or set your phone on a flat, stable surface where it can sit upright. There are also a variety of smartphone apps that can simplify the process of taking great low-light photos, but your mileage may vary!
Smartphone apps can alleviate the tough parts
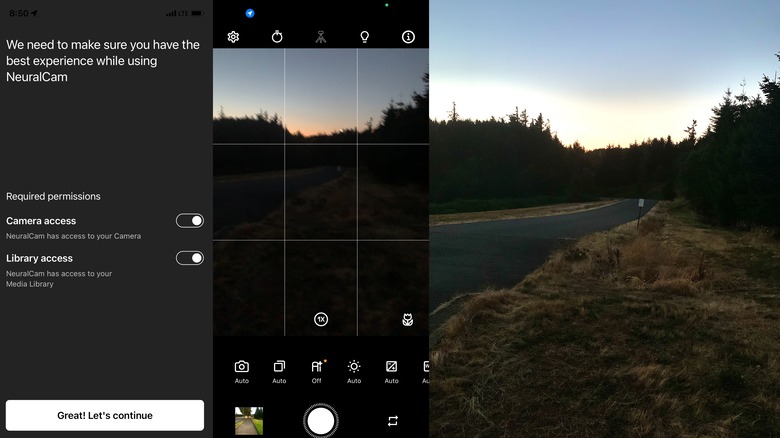
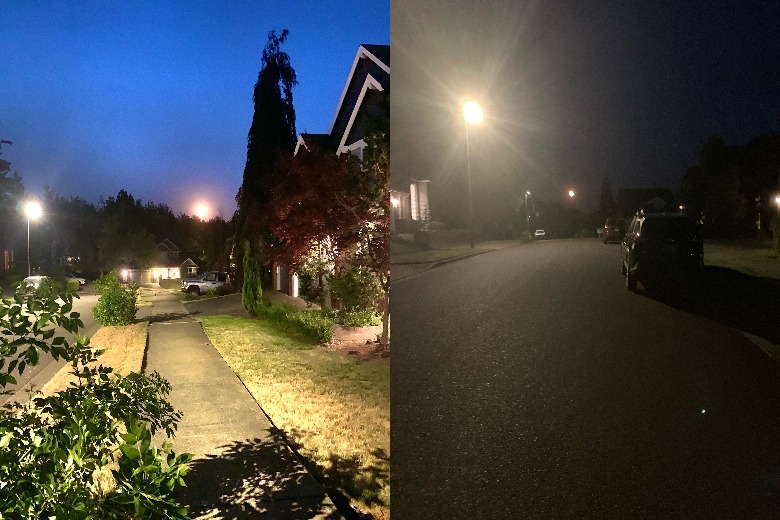
There are some great smartphone apps that can make nighttime photography viable, starting with the Neuralcam iPhone app which does a pretty good job of lighting photo scenes, even when you aren't able to stabilize your smartphone with a tripod or a flat surface. Setting it up is pretty simple and it only costs $5 on the App Store, which is a steal given the quality of the photos it produces even in low-light settings. For instance, notice the difference between the color and contrast captured by the Neuralcam app (left) and the standard Camera app (right) when taking nighttime photos of the Sturgeon Supermoon on an iPhone XS.
It's also possible to take high-quality photos using apps that allow you to play with shutter speed and ISO values, but keep this rule of thumb in mind: the longer the exposure, the better your photo will be. It's also important to take into account whether or not you are in motion relative to your subject. For instance, if you're taking photos of stars, a 30-second-long shutter is slow enough to cause some distortion in the stars because of the velocity of Earth's orbit. You might also choose to shoot your photos in the distinctly clean-looking RAW format and then balance them further in Adobe Lightroom, which is said to work as well on Android as it does on iOS.
Tripods are key
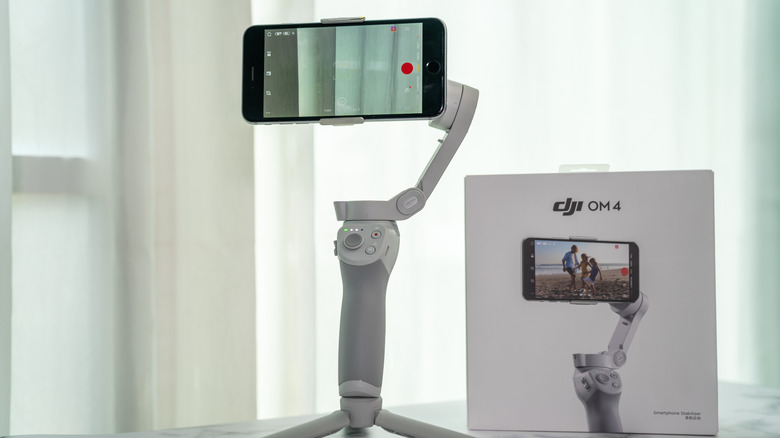
Purchasing a tripod for your smartphone is a smart idea if you plan to do a lot of nighttime or otherwise low-light photography, simply because you will never have to worry about shaky hands or other unintentional motions. Portable tripods like the DJI OM 4 can be found for around $100, as seen on Amazon, but you may want to go with a much taller standing tripod like the Manfrotto Element MII — especially if you're taking photos out in the middle of nature.
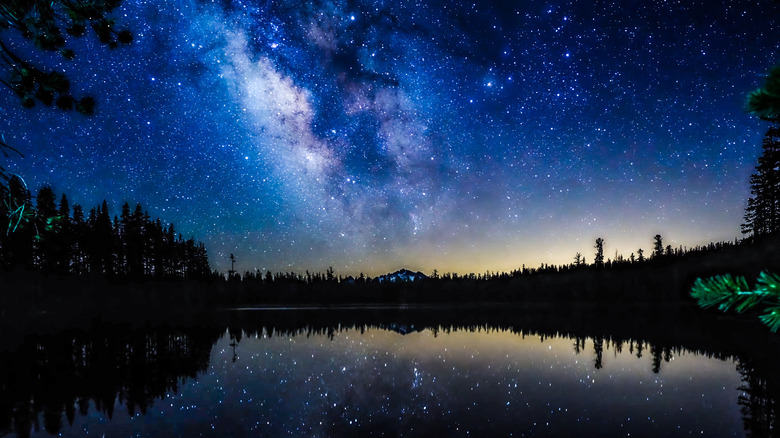
That said, you probably won't hold your phone at low shutter speeds, especially when your subject is as sensitive as the Milky Way Galaxy. If you do have to hold your phone, take a tip from snipers: keep your breathing steady enough so that your hands move as little as possible, and snap at the end of an exhale by pressing the button as lightly as you can. No matter what, you'll want to keep your ISO as low as possible. And you'll want to play with your settings to get things right for each scene.


