Why You Probably Need To Change Your Android Phone's Equalizer Settings
A person's taste in music is subjective, and so is the way the tracks are tuned. Some like their AC/DC blasting at the best bass possible, while piano instrumentals from Ludovico Einaudi may be best experienced at mid-range frequencies. But how do you actually tune these settings for bass, treble, and other elements to get that perfect sonic experience? The answer is an equalizer. If you're wondering whether that audio tuning system is available on Android phones, the answer is yes (and the same goes for your Windows 11 PC, too).
In Google's own words, "An equalizer is used to alter the frequency response of a particular music source or of the main output mix." As good as that sounds, though, the equalizer situation on Android is a bit messy. Some smartphone makers ship a basic EQ dashboard that operates at the system level, while a few others like to offer it via a companion app that plays well with their own audio devices.
Then there are the makers of dedicated audio gear that ship their own apps with all of the bells and whistles, including a dedicated EQ. Finally, there are third-party apps like Equalizer FX, SoundID, and Wavelet that get the job done. Depending on the branding on the phone you're rocking, you may have to fiddle with all of the options described above to find the one that leads you to music nirvana.
Why does Android have an equalizer?
Just like every sensory experience out there, music has its own deep science behind it, and understanding some of those core concepts is the path to mastering the equalizer quest. An equalizer lets you tweak the sound waves that enter your ears. Whether you want to tone down the bass a little bit or mellow down the vocals with higher treble accompanying it, an equalizer is where all of that customization is handled. The equalizer doesn't actually change the bass or treble. Rather, it alters the frequencies representing those core qualities we commonly know as bass, treble, and mids (via Landr).
Now, let's talk about frequency numbers. Human ears can detect sound in the range of 20Hz to 20,000Hz (via NIH). Bass is limited to low frequencies roughly in the 20 to 300Hz range, mids operate between 300 to 4,000Hz, and treble is anything that hits above 4,000Hz. Now, there isn't any holy audio scripture that has marked those numbers; it's just a roughly accepted frequency range for those core sound traits. In an ideal world, you should hear exactly the same signal coming out of your earbuds that the original music file is encoded to, but that's not always the case, especially if you're using non-audiophile-grade cans or even higher-end consumer headphones like Apple's AirPods Max.
Understanding the EQ basics
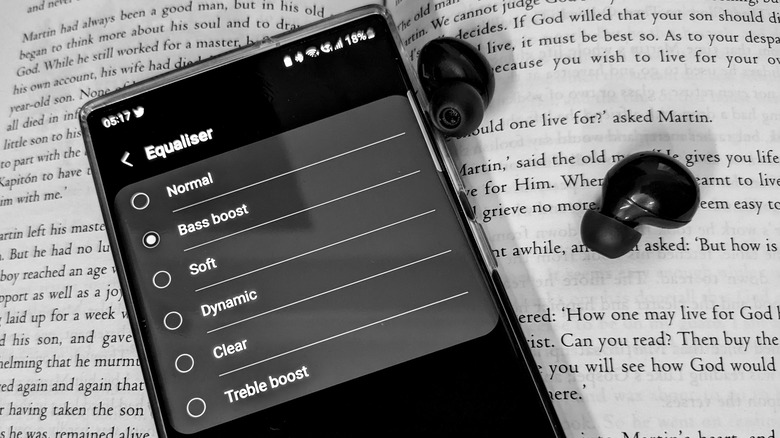
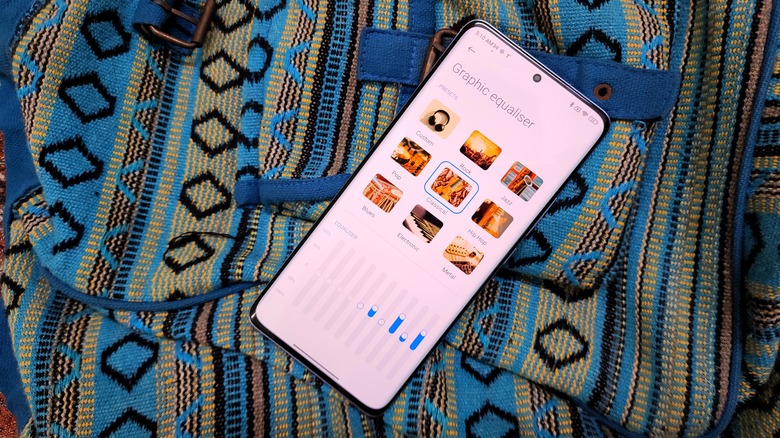
Now, equalizer apps come in all shapes and forms. Take, for example, the Galaxy Wearable app for connecting an Android phone to Samsung's Galaxy earbuds. Apps like that usually offer a dedicated section called Equalizer, where you can choose between preset equalizer profiles such as bass, soft, dynamic, clear, country, electronic, metal, hip hop, and similar. The names are pretty self-explanatory as to what kind of audio experience they deliver based on which one you pick. But in the background, the intensity of frequencies (low, mid, high) has been separately tuned for each profile by the audio overlords at Samsung, if you're toying with the Wearable app, for example.
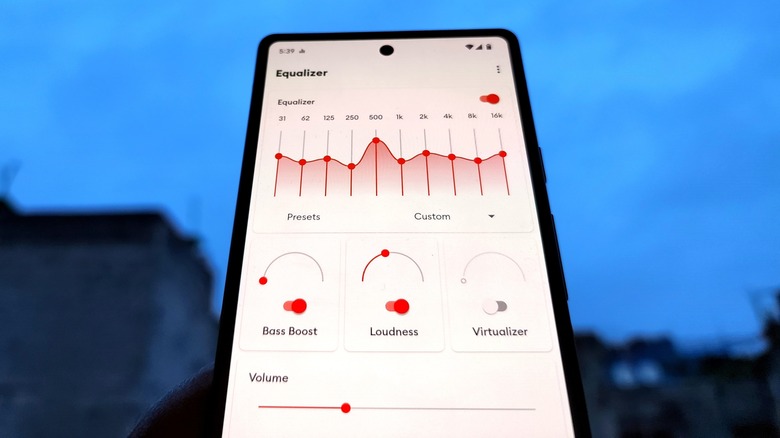
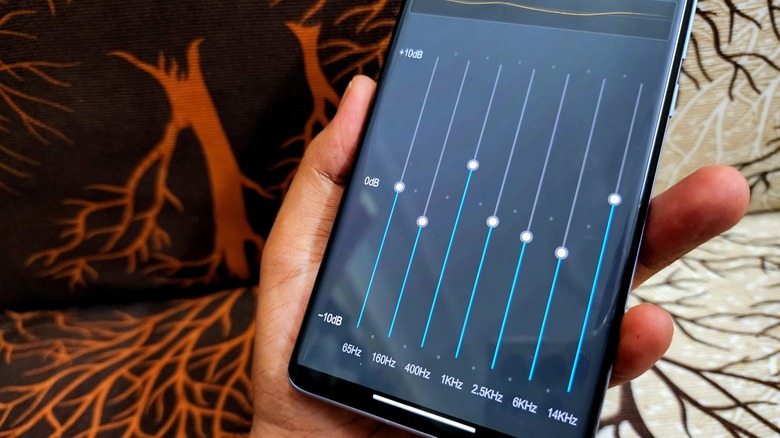
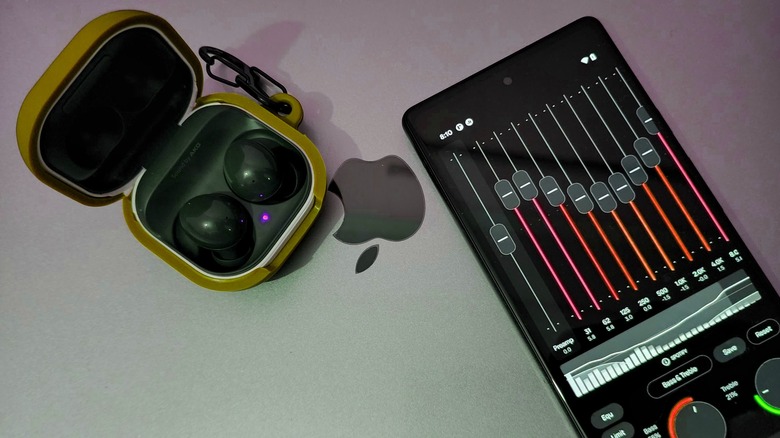
What if you need more control? These default equalizer presets get the job done, but they are far from perfect. For that, you need to dig deep into equalizer settings. If you see equalizer settings on your Android phone, you will arrive at a page with a lot of vertical sliders, some random numbers, and something called dB. Let's break it all down.
Each vertical slider represents a frequency. The one on the left is the lowest frequency (bass tuning range) while the vertical bar furthest to the right (treble adjustment range) represents the peak frequency. At the normal preset, each slider should be in the middle, which is where the dB (decibel) is set to zero. Decibel represents sound intensity or level, as explained by the Hearing Health Foundation. For each frequency, you can adjust the dB level, which accordingly enhances or decreases the music output.
How to adjust Android's equalizer settings
Crank the 60Hz slider all the way up to 10dB, and the bass is going to be bombastic. Play with the 12,000Hz frequency slider and you can adjust the treble. From here on, you know the drill. It's quite a satisfying experience to play with equalizer settings and arriving at that perfect combo of sliders that really makes a track pop. For example, if you listen to the Doom Eternal's soundtrack all day long, you can adjust the EQ to get the most bass-heavy experience out of Mick Gordon's iconic track.
On an Android phone, you will find the equalizer setting hidden in the Sound & Vibration section of the Settings app, though the exact menu location may vary depending on your device's manufacturer. Now, do keep in mind that on some phones, you need to adjust the equalizer settings separately for the onboard speakers and connected audio gear such as earbuds. Moreover, enabling effects like Dolby Atmos might render some of the settings inactive. At the end of the day, these system-level equalizer settings work, but they don't offer it all. That's where apps come into the picture.
Fortunately for those who want to tinker with their music experience, there are many third-party equalizer apps on the Google Play Store, including Music Volume EQ, Bass Boost and Equalizer, SoundID, Equalizer FX, Wavelet, Neutralizer, and the ever-reliable VLC for Android. Some of these apps offer paid features like cloud backups, so keep that in mind.
A few equalizer tips
Once you get going with equalizer settings, there are a few concepts worth exploring, primarily two key ones called cutting and boosting. When you reduce the intensity of a certain frequency, that means you want to hear less of the corresponding sound quality. For example, if you lower the 65Hz frequency bar on the EQ dashboard, the bass output will go down. On the flip side, boosting is basically enhancing a certain effect like upper-mids for vocals by playing with the right frequency range.
Though you'll no doubt experiment to find your own preferences, cutting is often the way to go, especially when you're new to the equalizer tuning game. Boosting a lot of frequency ranges can muddy the final sound output, but cutting aggressively can also make the music sound hollow. Only go big on the slider movement if you really want to boost or cut a certain quality. For example, the 200 to 2,000 Hz range is where subtle changes can really make a difference in the music listening experience — though, again, that ultimately depends on who is listening.
Ironically, the best way to get a grasp of things is by looking at the EQ curve for presets like metal, electronic, hip hop, and rock. The equalizer curves might look intimidating at first, but understanding them doesn't take much time once you've tailored a few songs. Once you get an idea as to which frequency range does the magic for a certain genre of songs, there's no looking back.
