5 Tips For Getting The Best Cinematic Drone Shots
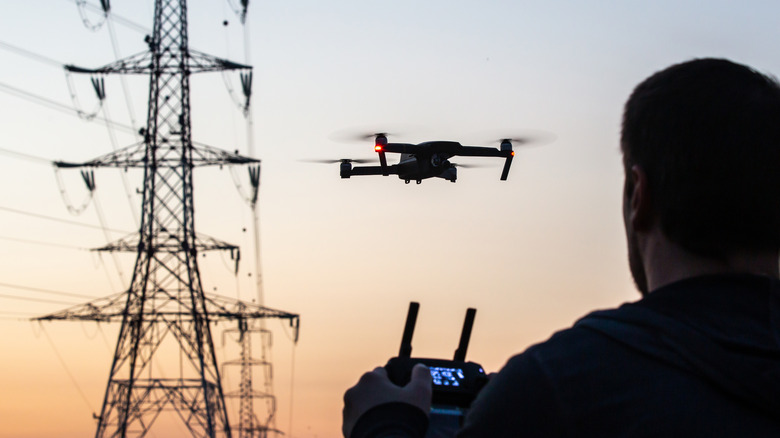
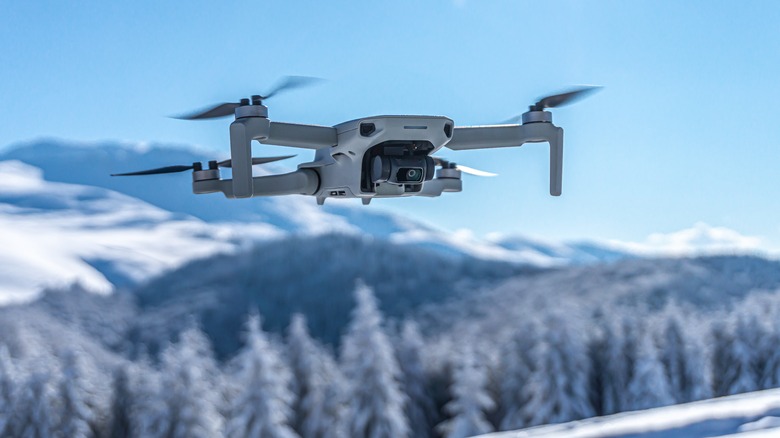
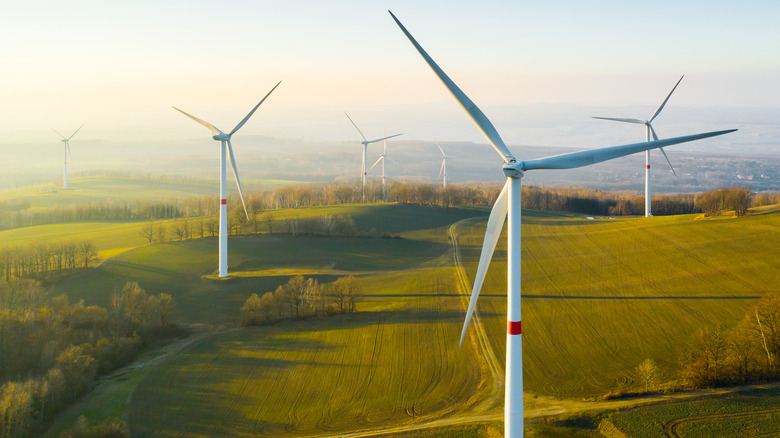
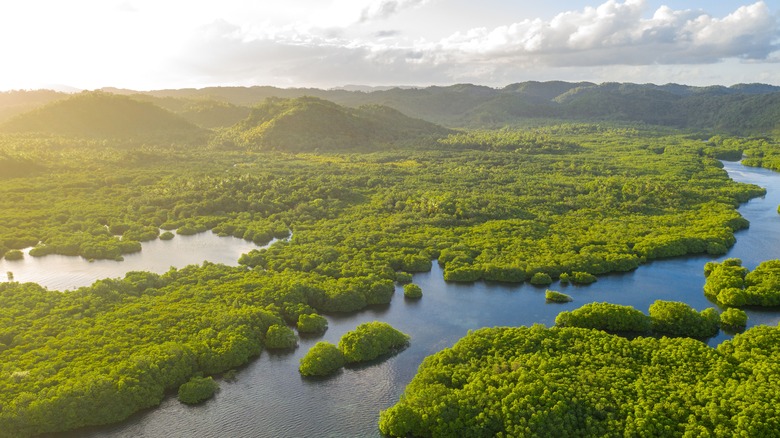
Drones can be an amazing tool to get beautiful, bird's-eye-view cinematic photography or videography shots. If you've never used a drone to get shots like these before, you may be wondering about the best techniques to get those gorgeous photos or video footage. If you're struggling to get these shots to look the way you want them to, there are a few tricks that can help you achieve this.
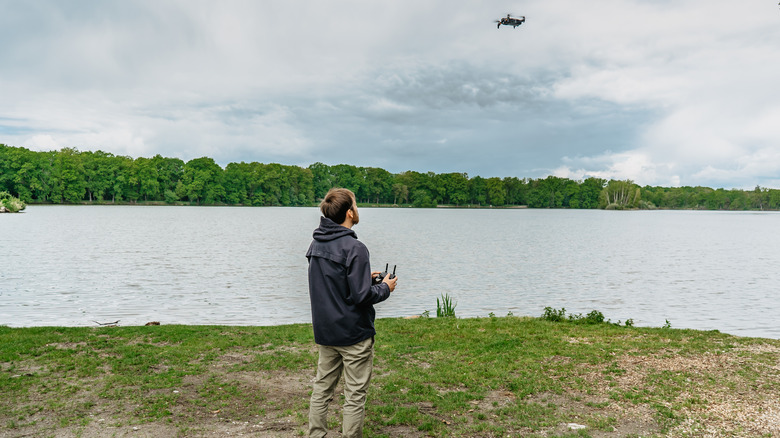
Much of the outcome will also depend on how experienced you are in flying drones. It can take some practice to really get the hang of flying a drone, especially making those slow and steady movements that you'll need for the best drone shots. If you're new to using drones, take some time to practice flying it before you go out to get your footage. Then, you can follow these tips to get some wonderful shots and increase your drone knowledge.
Utilize different flight modes
One way to get some of the best drone shots is to use your drone's different flight modes. These are called "Intelligent Flight Modes," and are great for helping you get the movements that are more difficult to do flying manually. DJI drones include these modes to help you with flight, but you'll first need to turn off "Beginner Mode" so that the Intelligent Flight Modes can be enabled (via Tom's Tech Time). Once you disable Beginner Mode, you'll be given the option for Standard Modes as well. These are still manual flying modes, so you'll be the one mainly in control of flight.
With Intelligent Flight Modes, though, the drone's flight will be controlled by the programming of the mode you choose. Below are some Flight Modes to try to get the best cinematic shots:
- ActiveTrack: This mode allows you to track the movement of a subject, such as a person, vehicle, or moving object. It locks onto the subject and moves along with it.
- Tripod: This is a standard flight mode, but it slows down the drone's movement and decreases sensitivity so that you can get smoother, clearer shots.
- Waypoints: This mode allows you to set points along the map, and your drone will follow along that path.
- Point of Interest: Using this mode, you can set your drone to circle a certain subject, locking the camera on it.
There are many other modes to try out, and its worth experimenting to see what works best for the kind of shots you want to get.
Plan shots beforehand
One of the most important practices to take up when getting drone shots is to properly plan out your shots beforehand. This includes things like planning where you'll shoot and what time of day, setting a route to fly your drone, and looking up weather conditions to ensure it'll be optimal for your shot.
You'll also want to make sure you have all the gear necessary for your drone flight (via PhotographyPro). This might be batteries, SD cards, or other equipment you use with your drone. Double-checking that you have these things will help you be prepared and not have to worry about anything else except getting your perfect shot.
Another important preparation to make is looking up the drone laws in the area you plan to fly in, and checking whether or not you need a drone license. The last thing you want while trying to get your footage is to run into legal trouble.
Change your gimbal sensitivity
By default, many drones' gimbal sensitivities are set too high. However, a lower sensitivity and pitch speed can help you get smoother looking shots. You can usually change the gimbal sensitivity and pitch speed by going into the settings of your drone, or advanced settings (via Dronegenuity). The pitch speed determines how fast the gimbal moves the camera up or down, and pitch smoothness is how slowly or quickly it stops moving the camera.
If you've set your drone to Cinematic or a similar mode, this may also decrease the gimbal sensitivity and speed automatically. However, changing it on your own can be a good idea to get a feel for what the different levels of sensitivity or speed are like. The way you set these may also depend on what kind of shot you're going for. Your gimbal settings may be different, for example, depending on if you want a fast-paced action shot or a slow, gradual aerial shot.
Turn on overexposure warnings
Overexposure can really ruin a shot, and it can be hard to know when it's occurring, making for frustrating situations. Too much light can completely eliminate detail from a photo, but thankfully in some drones there is a way to be notified when your shot is overexposed. In your settings, you can turn on the Overexposure Warning. Once this is on, when areas of your shot experience overexposure, you'll see zebra lines over it so you know to change your camera's settings.
As outlined by Scanifly, if you have a drone with adjustable aperture, when you get an overexposure warning you should go into manual camera settings and change your ISO to 100, shutter speed to 1/320, as well as the aperture until it is evenly exposed and the zebra lines disappear. If you don't have an adjustable aperture, you can still just change the ISO and shutter speed to get better exposure.
Do a fly-through of your shots
A great way to ensure you don't run into any mishaps while shooting your footage is to practice (via PPMag). This can help you to figure out difficulties you may not have anticipated otherwise, allowing you to get a better handle on flying through your shots when you're shooting them for real. This is a good practice to take up no matter how easy you may believe the shot will be to take.
A fly-through will also help you practice your flight, especially if you're a novice at drone flying. This can allow you to get better shots and improve your drone flying abilities over time. If you're flying in conditions you never have before, practicing can be a tremendous help, no matter how experienced you may be.
