

5 Useful Advanced Android Auto Settings You Might Not Know About
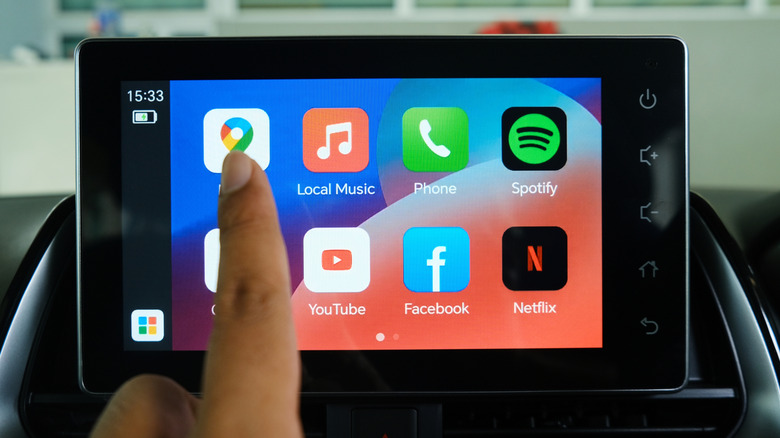
Anyone who's ever used Android Auto knows that the platform adds a wealth of features to your car's interface. It isn't just a GPS and media control system. The platform lets drivers add a wide range of apps and connectivity features that stream directly from their Android smartphone to the car's display. This makes it easy to operate a broad range of navigation, communication, and media software from a single interface that can be safely operated while driving.
There are several apps out there that you might not realize are Android Auto compatible, and a range of options for how you can set things up the way you like them. The default settings are designed to be easy for anyone to navigate, but they aren't optimized for every user. The breadth of utility and customization that the platform offers allows the driver to set things up in a way that suits their individual needs and tastes.
There are plenty of great basic Android Auto tricks that every driver should know, but there are also some advanced settings that you might be less aware of. These settings allow you to customize your car's infotainment display and give you more options for how you interact with it the next time you're driving. By learning what these settings are, how they work, and how to activate them, you can interact with your software more easily. That way, you can spend less time looking at the screen and more time with your eyes on the road.
Enable taskbar widgets
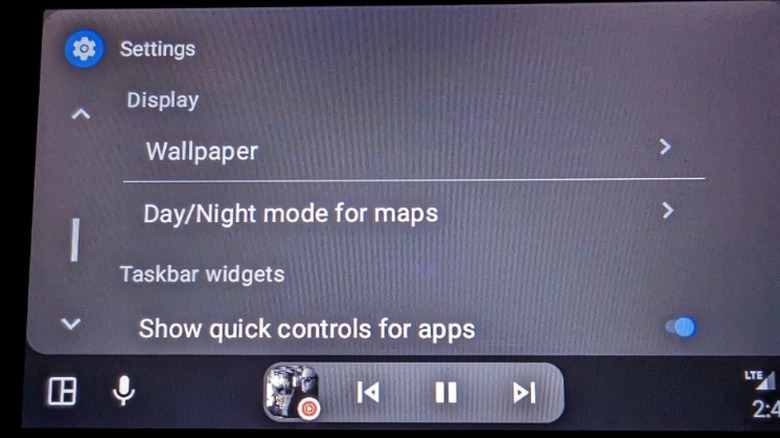
One of the most important things about Android Auto is that it lets you control the apps on your phone while driving safely, but it isn't necessarily optimized for that right out of the box. By default, Android Auto sets up the bottom of the screen as an app taskbar. This makes it easy to switch between applications, but you can only control each app from its own dedicated window. You might want to leave it set up this way if you frequently swap between many different apps, as it will save you a trip to the home menu, but some people might prefer to swap it for a widgets taskbar.
This would trade the app shortcut row for a row of miniature widgets that let you control app functions without switching to the dedicated app screen. For example, you can keep a full-screen Google Maps display while keeping a mini audio control widget at the bottom, rather than splitting the visual real estate. This gives you a compact view of an app's most important features, so you can control it without taking your eyes off the road when switching to another app.
To activate this option, open your phone's Settings app, tap Connected Devices, and select Android Auto. If you can't find it there, search for "Android Auto" in the top right corner of the Settings app. Scroll down to the Display section. Here, you will find a toggle switch marked Taskbar Widgets. Simply flip the switch, and a widget taskbar should appear at the bottom of your vehicle's screen the next time you connect your phone.
Swap media and navigation screens
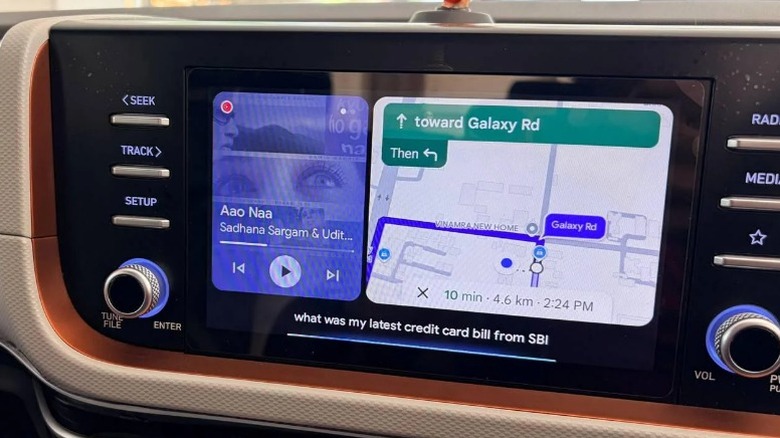
Android Auto's default settings typically place the navigation window on the driver's side of the vehicle and the media controls on the right. This makes sense in some ways, since most drivers probably glance at the screen more often to check directions than to mess with their music. That said, this setting has you reaching to the far side of the screen any time you want to skip an overplayed song or switch to a different playlist. Many drivers might prefer to swap those screens so the part they're actually touching is a little closer to the steering wheel. Luckily, that's easy.
There are actually two ways to customize your Android Auto display and move the media controls to the driver. Go to the same Android Auto page in the Settings app on your smartphone as before, scroll down to the Advanced section, and select Change Layout. This opens a pop-up with two options: Media Closer to Driver or Navigation Closer to Driver. As you probably guessed, toggling Media Closer to Driver will put the media controls on the driver's side of the screen. Select whichever layout you prefer, and it will activate the next time you connect to your display.
The other option is to do it directly on the car's display. Open the Settings app in the Android Auto app drawer, select Change Layout, and choose your preference, just like you would on your phone. If you decide you liked it better before, simply repeat the process and choose Navigation Closer to Driver.
Create custom Gemini shortcuts
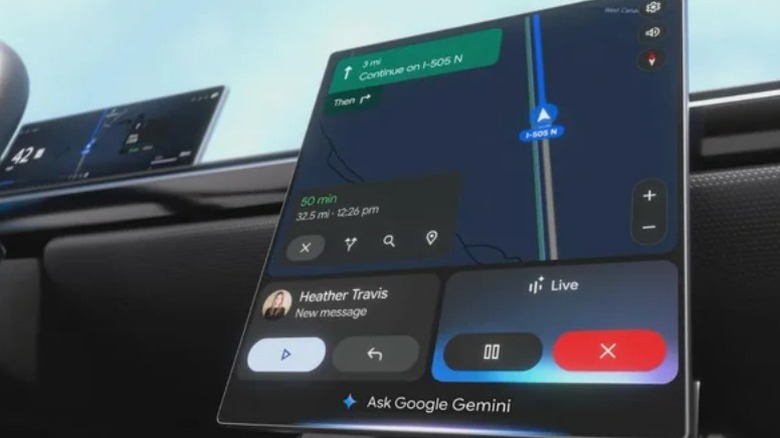
If you want to go even deeper into customizing your Android Auto interface, there are a few AI-powered tricks you can put into effect that can really streamline how you interact with the platform. One of Gemini's most convenient features is its ability to control multiple systems at once. Android Auto has a setting that lets you set up Gemini-powered shortcuts that can perform multiple functions at the press of a single button. You can set up simple ones, like having your preferred navigation app pull up directions to the nearest gas station, or you can set up more complex shortcuts that chain together multiple commands. For instance, you could set up a Daily Commute shortcut that would show you the daily weather report, start navigation to your workplace, and boot up your favorite playlist all at the touch of a single button.
Setting these routines up isn't too difficult, but the settings aren't exactly intuitive. Start by navigating to that same Android Auto page in the Settings app. Scroll down to Display, then select Customize Launcher. At the top of this screen, select Add a Shortcut to the Launcher. This will open a small pop-up window. Select An Assistant Action. This will take you to the screen where you can set up your shortcut.
In the top text box marked 'Assistant Command', you'll need to enter a command the same way that you would enter it into Google Assistant or Gemini. For example, you can type, "take me home," or "show me the weather." The box below is marked Launcher Icon Label. Type the name of the shortcut launcher you want to appear on the Android Auto interface. Then simply press the Create Shortcut button.
Adjust notifications
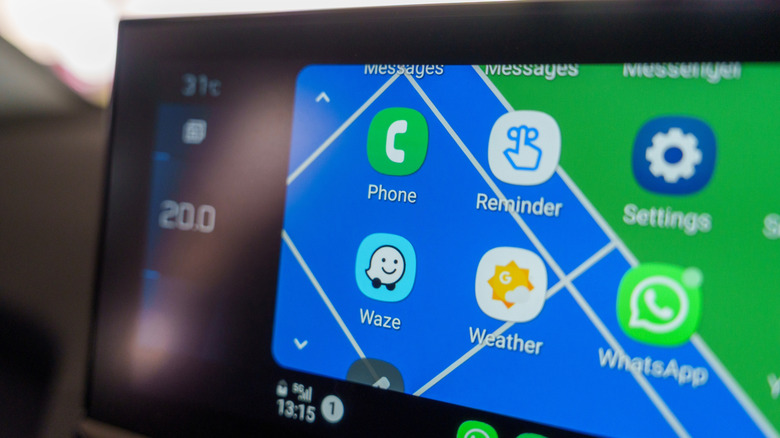
Some of the features that are active by default might not be conducive to safe driving. While some might appreciate the convenience of text previews appearing on their vehicle's infotainment display, others might find them distracting and difficult to ignore while driving. You might also not want every message popping up on the screen in front of your passengers. It would be perfectly understandable if you were concerned about the members of your carpool seeing incoming messages about your most recent medical exam. It sounds like a simple switch, but what makes this a more advanced setting is that there are a few different ways that you can customize the way messages do or don't show up.
Navigate to the Android Auto page in the Settings app, then scroll down to the Messaging section, and you'll see several different options for controlling the way your messages are displayed. The top toggle marked Show Message Notifications is essentially the on/off switch for all message displays. Switching this off means you won't get any message notifications on your car's display.
You can also adjust a few other options if you want to keep some message notifications. Turning off Show Group Conversations lets one-on-one texts come through, but mutes overactive group chats. Show First Line of Message shows a preview of incoming messages. Turning off Play Message Chime keeps message notifications on screen, but stops the constant audio interruptions. Finally, there is a Notifications with Assistant setting. This newer addition lets Android Auto share notifications with Google for additional features, such as reading your text messages aloud.
Adjust video resolution scaling
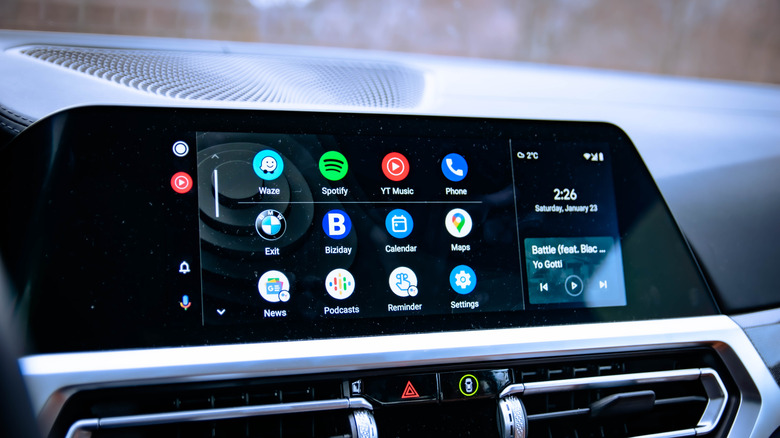
Android Auto does a pretty good job of fitting to whatever display your car has, but it isn't always perfect. Some displays may look a bit clipped or stretched, as the software resolution is forced to fit the screen dimensions. This can look unsightly at the best of times, but in some cases it might even hinder your ability to use the controls properly. Fortunately, there's a way to fix it.
There are a handful of Android Auto settings that are buried in the hidden developer settings, and adjusting resolution scaling is one of them. To access the developer menu, scroll down to the very bottom of the Android Auto page in the Settings app. At the bottom, you'll see a section marked Version. Tap this multiple times (about 10) until a pop-up window appears asking you if you want to access developer settings. Select OK, then tap the three dots in the top-right corner of the screen and select Developer Settings.
Once you're in Developer Settings, scroll down to Video Resolution and select it. This will open up a window that will give you several different options for choosing the resolution that appears on your screen. You can try the Allow Car and Phone to Negotiate option at the top, or you can play around with the other options and see which one works best for your screen.