What Type Of Sealant Should You Use On A Leaky Windshield? (And How Do You Apply It?)
We may receive a commission on purchases made from links.
Being a car owner is tough. Aside from doing your best to follow the different traffic rules and regulations, you also need to take good care of your vehicle so it can serve its purpose for a long time. Of course, when buying a car, everyone expects it to be durable enough to last years or even decades. However, almost all parts of a car are vulnerable to normal wear and tear and even accidents, especially the windshield — the front glass that shields the driver and front passenger from UV rays, wind, and flying debris.
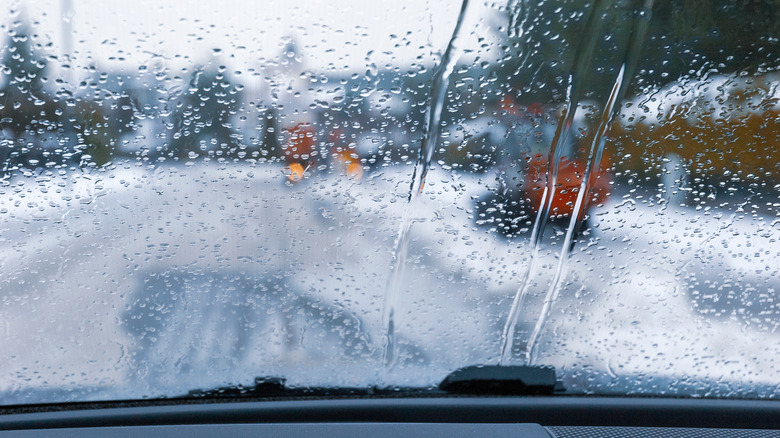
There are ways to protect the windshield from chips and cracks, but these things are inevitable at some point. While hiring a professional mechanic or glass specialist is the best way to go, remedying the problem with DIY crack and chip repair is also an option. The same can be done when faced with a leaky windshield, which can cause water damage, mold growth, and an overall unpleasant driving experience when left untreated. To fix the leak, you will need a good-quality sealant.
For first-time car owners, choosing the sealant for the DIY leaky windshield repair can be challenging, given the variety on the market. However, only two types of sealants yield the best results: polyurethane-based sealants and silicone-based sealants. The former is the industry standard for windshield installation and repairs, since it provides a strong bond. Meanwhile, the latter is more durable, flexible, and provides excellent waterproofing, but it can be more expensive.
How to spot a leak in your windshield
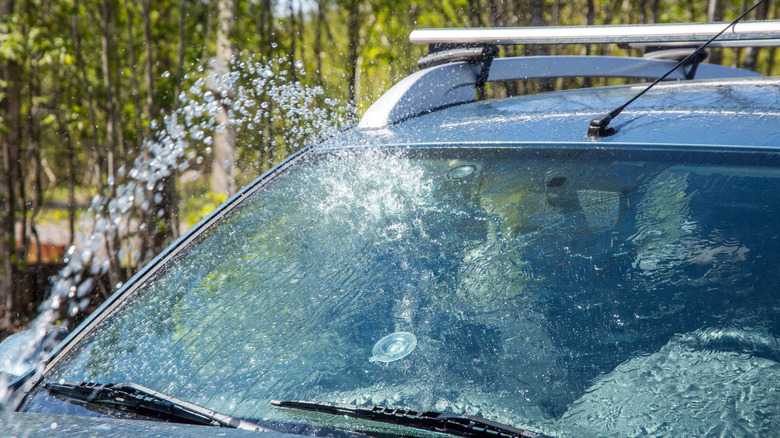
One way to locate a windshield leak is the hose or shower test. After shutting all the doors and windows, use a hose to spray water over the windshield. If there's a leak, water will noticeably seep into the cabin, especially around the edges of the glass. This is best done with a partner who can inspect the dashboard, headliner, and even floor mats for signs of moisture from the inside while the shower test is ongoing.
Another way to identify the exact location of the leak is the soap bubble test. Simply apply soap to a wash mitt and rub it along the trim of the windshield from the outside of the car. Then, turn your car's heater blower and set it to defrost mode. If soap bubbles form along the edges of your car's windshield, it means air is escaping through a small gap. This method is the best option if you don't have someone to help you during this step. It also works well for detecting smaller leaks that might not be immediately visible through the shower test.
A modified soap bubble test can also help find the source of a windshield leak without the need of a partner. Simply pour soap water on the trim of the windshield's exterior. Then, using an air nozzle, spray the trim from the inside of your car. After which, check for bubble formation on the outside. The bubbles will usually form around the gap between the trim and the glass.
How to apply sealant on a leaky windshield
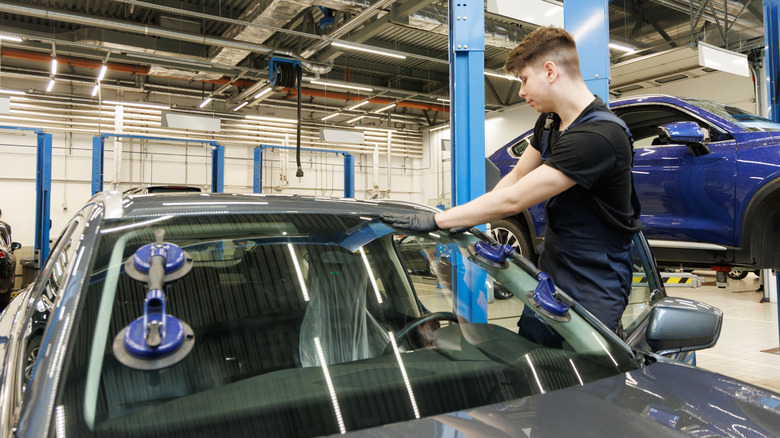
Before applying a sealant, careful preparation is needed to ensure that the process will go smoothly. The first step is to clean the affected area using warm water with soap, a clay bar, glass cleaner or rubbing alcohol, and towels to remove dirt, grime, and any old sealant residue. (Here are some of the best glass cleaners according to Amazon reviews.) Once done, use another dry towel to buff off and dry the surface completely.
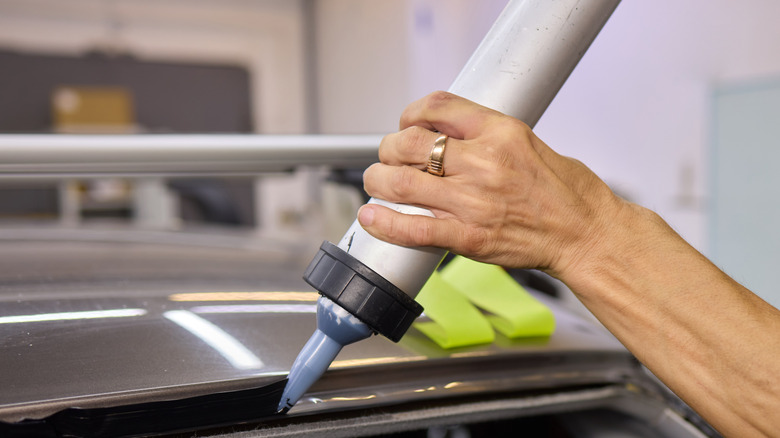
To prevent excess sealant from spreading, carefully apply painter's tape around the leaky area or the entire windshield border in case you plan to reseal the whole thing. If you're using a polyurethane-based sealant, you may apply a primer first for enhanced adhesion. However, there are urethane sealants that no longer need priming, so always check before buying. After the primer has dried, cut the tip of the sealant at a 45-degree angle, and using a caulking gun, apply a continuous volume along the affected area or the entire border. Put steady pressure to avoid gaps or air bubbles. Silicone-based sealants are applied the same way.
After applying the sealant, smooth it out with a gloved finger or a plastic tool for an even finish. Allow it to cure as indicated in the product packaging. Silicone-based sealants cure from a few hours to 24 hours, while polyurethane sealants take up to 48 hours. Avoid driving the vehicle or exposing it to moisture during the curing period to ensure a secure and long-lasting fix.
Where to buy windshield sealant
Most automotive and hardware stores, such as AutoZone and Home Depot, carry a variety of sealant options. However, the availability of stocks at local physical stores is not always guaranteed. Good thing most of the top sealant brands are available on online marketplaces, including 3M, Permatex, and Gorilla. 3M's fast-curing auto glass urethane windshield adhesive is currently for sale for $24.29 via the 3M store on Amazon. It's one of the highest-rated windshield sealants, with a 76% five-star rating from over 4,800 users. Berkland's polyurethane windshield adhesive is a cheaper alternative, with a 75% five-star rating from over 1,000 reviews. The product is available now for only $13.99.
You can also find silicone-based sealants on Amazon, such as the Permatex 81730 flowable silicone windshield and glass sealer, which has an accumulated 67% five-star rating from more than 5,300 customers. A black version, called the Permatex 81158 black silicone adhesive sealant, is available for only $5.68 with a Prime subscription. This one has a 75% five-star rating from over 9,600 users. You might also want to consider Gorilla's waterproof caulk and seal silicone sealant, which is currently the bestseller in Amazon's Silicone Caulk category. The product, which has a 76% five-star rating from more than 30,400 users, only retails for $9.35.