How To Turn Your iPhone's Camera Grid On (And Off)
We've gone from a single 2-megapixel camera incapable of video recording on the first iPhone to a triple-lens setup boasting a 48-megapixel primary camera accommodating up to 4K 120fps video recording on the iPhone 16 Pro Max. Competition in the Android realm has also caught up, and when we compare the highest-end segment, it really comes down to personal preference of which phone's camera suits your needs better.
Still, the iPhone is one of the easiest recommendations for anyone looking to pick up a new smartphone with excellent photo and video quality. This is thanks to not just the hardware and glass packed inside the phones but also how straightforward and user-friendly the iPhone's photo-taking experience is. You simply launch the camera, tap the shutter button, and the iPhone does all the processing in the background, leaving you with an image you can't really complain about.
Though the camera app's interface has remained clean and clutter-free since the beginning, iOS has certainly gained several handy tools to help you capture better-looking images over the years. For example, there are a lot of things you can do with Live Photos once you figure out how the feature works. A more universal tool in the world of photography is the use of grid lines. The iPhone's default camera app supports this feature — here's how you can enable and use it.
How to use grid lines for photography on iPhone
There are a few settings you can tweak to get better photos out of your iPhone, like mirroring images taken using the front camera. Enabling the grid lines is another tweak that shows its effects rather instantly by helping you frame your shots better. Though you can toggle a few of your iPhone's camera settings in the camera app itself, you will have to delve into the Settings app for this one. Follow these steps to enable grid lines for your iPhone's camera:
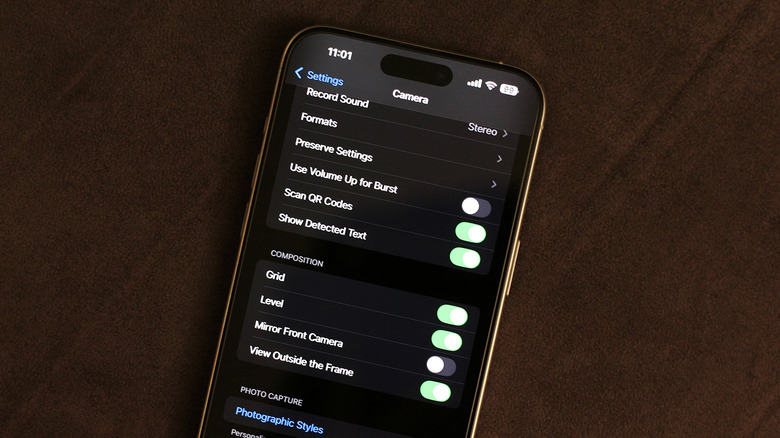
- Launch the Settings app on your iPhone.
- Scroll down and head inside the "Camera" settings.
- Under the "Composition" section, tap to enable the "Grid" feature.
You will also find the "Level" option here, which can be used in conjunction with the grid lines to take better photos. If you now head back and launch the camera app, you will notice faint horizontal and vertical lines intersecting each other, creating a grid. If you've enabled the level tool as well, you will see a floating line in the center that reacts to your iPhone's orientation. Don't worry, these lines only act as a guide, and don't show up in the photo or video that you've captured.
When should you use your iPhone's camera grid?
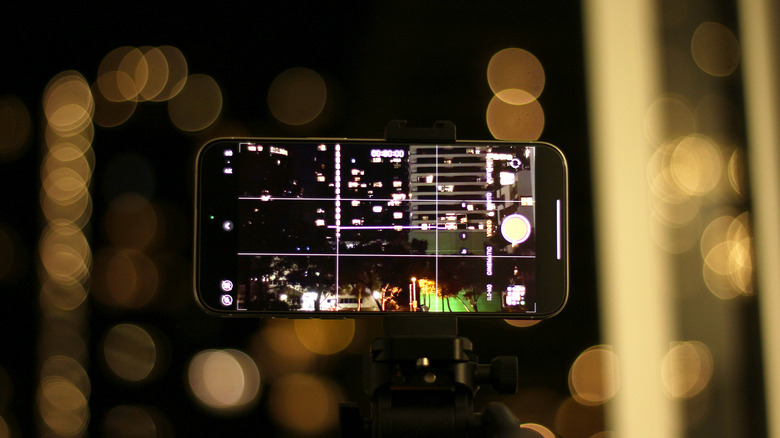
The key to taking the best smartphone photos is leveraging the various tools you have at your disposal. When enabled, the grid tool uses two vertical and two horizontal lines to divide your viewfinder into nine equal parts. Even without deep knowledge of photography, one can use these grid lines as a guide when taking photos. For example, for cityscape photography involving buildings and roads, positioning your subject in the center can give off a cool symmetric effect.
You may have also heard about "the rule of thirds" sprinkled ever so often in photography-talk. Though not a must, it's a guideline that helps you compose your shots in a way that feels balanced and naturally draws the viewer's eye. When following the rule of thirds, you generally place the subject on one of the four intersections that the square in the center makes with the other eight squares. When used right, the rule of thirds can help create a sense of balance in your images, according to Adobe.
Of course, certain shots may turn out better if you break the rule of thirds — but having a grid on your iPhone's camera will help you make this decision dynamically instead of capturing a photo and realizing later that it feels a bit off.
How to use the level tool on the iPhone's camera
Much like the grid lines, the level tool on your iPhone's camera serves as a guide to take better photos. This tool aims to replicate the spirit level you usually find on tripods, which consists of a glass tube filled with liquid and a tiny air bubble. The level tool on your iPhone instead uses sensors like the gyroscope to determine the tilt angle when you're capturing an image.
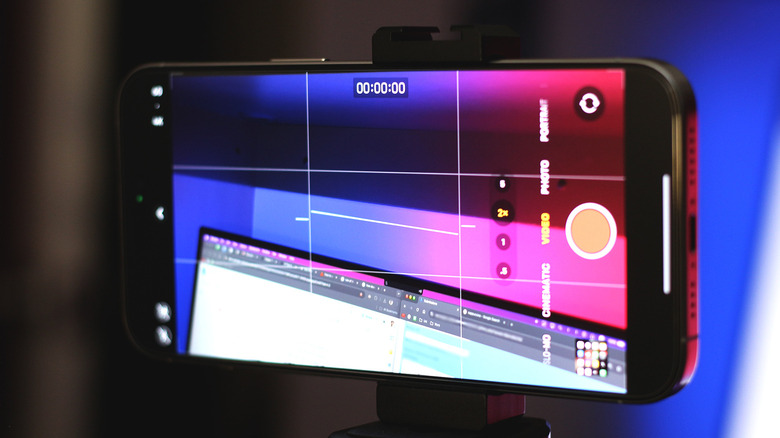
Understanding this tool is quite simple — just try to level the longer horizontal line in the center with the two smaller fixed lines on each side. When your iPhone is perfectly leveled, these three lines turn into one longer orange-colored line. The level tool works in both portrait and landscape modes and only shows up when your orientation is slightly off. This way, for frames that are intentionally tilted, perhaps for an artistic reason, the level tool doesn't become a bother.
When you're capturing top-down photos, like that of a cappuccino in your favorite cafe, the level tool turns into a small "+" symbol. This turns orange when your phone is perfectly parallel to the ground. Apple uses the same principle for the Measure app, allowing you to use your iPhone as a spirit level. Nevertheless, if you're into landscape and cityscape photography, the level tool, in combination with the grid lines, will help you take a more balanced, appealing shot.