PC Not Displaying On Your Monitor? This Could Be Why

We may receive a commission on purchases made from links.
While using your PC, you could run into all kinds of problems like slow performance, app crashes, or unexpected errors. Fortunately, most of these problems are manageable as you can interact with your PC. But what if you turn on your PC and see nothing on your monitor or get a "No Signal" message? In such cases, your CPU may light up, and fans may spin as usual, but the lack of display may limit your troubleshooting options.
The underlying cause for this could range from something as simple as a loose connection to a damaged power supply. In some cases, improperly installed hardware components or corrupt display drivers can also be responsible for this particular issue. However, there's no need to panic, as it's possible to fix the problem with a bit of patience. Below, we walk you through all the potential causes and solutions so that you can get your PC's display working. Let's dive in!
Check the cable connection and input source
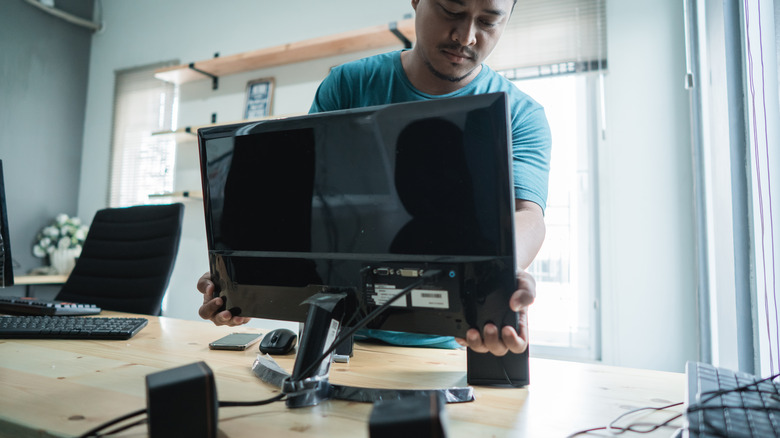
Sometimes, a loose or improperly connected cable can prevent your monitor from displaying anything. Hence, the first thing you need to do is inspect all the cable connections, including those connecting your monitor to the PC as well as the power outlet. It's a good idea to disconnect all these cables and plug them back in securely. Also, you should inspect the cables for any visible damage. If you suspect the cable is faulty, swap it with a different one and see if it works.
Next, look at the LED indicator to check if your monitor is receiving power. If it's off, ensure the monitor is connected to a working power outlet, or try using a different one. Also, while most monitors automatically switch to the correct input, it's best to double-check. You can use the Menu or Source button on your monitor to change the input.
If you have another computer, try connecting your monitor to it to identify whether the problem lies with the monitor or your PC. If you're using a dual-monitor setup and one of the monitors isn't working, it's likely that Windows is having trouble detecting the second monitor. In that case, you need to review the display and projection settings to ensure they are correctly configured.
Perform a force restart and disconnect peripherals
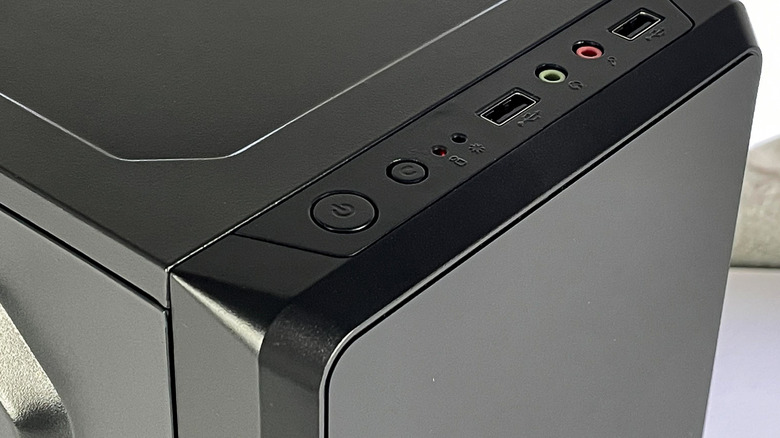
It may sound cliché, but turning your turning your PC off and back on can get your monitor to work as expected. This is often effective in fixing any temporary glitches that may be causing the problem. You can do this by simply unplugging the cable from the power source and plugging it back in. If that doesn't work either, you can perform a hard reset by following these steps:
- Power off your PC and disconnect all the cables, including the power cord.
- Press and hold the power button for 15 to 20 seconds to drain any residual power.
- Plug everything back in, and then turn on your computer.
External devices connected to your PC, like printers, storage drives, and other peripherals, can sometimes prevent your Windows PC from booting properly. This can make it seem like there's an issue with the monitor. To rule this out, you should disconnect all the peripherals and then try booting your PC. If this works, one of your external devices may be causing the problem. To identify the one causing the issue, you will need to reconnect them one by one and restart your PC each time.
Change the boot order
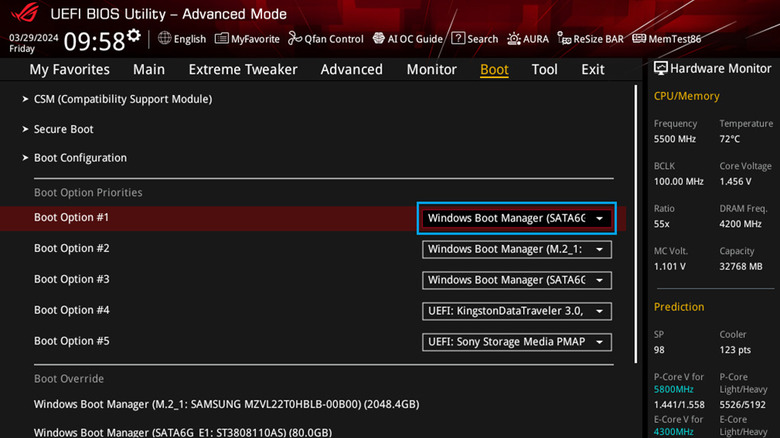
Is your monitor going blank after displaying the PC manufacturer's logo? This could happen if the boot order is not set correctly, meaning your PC is trying to boot the OS from the wrong hard drive. To fix this, you simply need to access your PC's BIOS settings and change the boot order.
Power off your computer, then turn it back on. While it's booting, press the F2 or Delete key on your keyboard to access the BIOS settings. Note that this key may vary based on your PC's model and brand, so if these keys don't work, you should check for the appropriate key for your PC online. Once you're in the BIOS menu, access the Boot Order menu and set your PC to load from the correct drive, then save the changes. If you're unsure which drive to select, you will have to try each one until Windows boots normally.
If changing the boot order does not work, you can try resetting the BIOS settings to their default values. To do this, access the BIOS menu, locate the option labeled Defaults or Load Defaults, and press the corresponding key. After resetting, save changes and try restarting your PC.
If you can't access the BIOS screen because your monitor won't display anything, you will have to clear the CMOS by removing and reinserting the CMOS battery. Doing so will also reset the BIOS settings, but it's less straightforward since you need to open your PC's case for this.
Replace the PSU
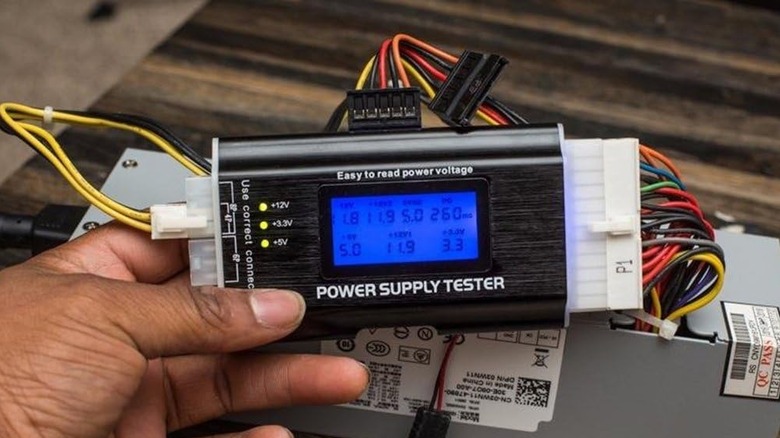
A faulty Power Supply Unit (PSU) could also be why your monitor is not displaying anything. In some cases, even with a malfunctioning PSU, the CPU may power on, which makes it difficult to tell if there's a problem with the PSU.
There are several ways to test a failing PSU, but the most reliable option is to use a Power Supply Tester. You can buy one from Amazon. Once you have it, you'll need to shut off the PSU by turning off its switch or unplugging it. Next, insert the 20 or 24-pin connectors into the tester and turn on the PSU. You should then see various values on the LCD screen indicating the PSU's functionality.
If any voltage exceeds the normal range, the tester will make a warning sound, and the problematic voltage, along with the PG value, will flash. If your PSU is faulty, you'll need to replace it. Make sure to pick the right PSU for your PC from a reputable brand, as cheap or low-quality PSUs can cause several problems like system instability and even hardware failures.
Listen for POST beep codes
Every time you boot your PC, it runs a test to ensure all the critical hardware components, such as CPU, RAM, motherboard, and graphics card, are correctly installed. This is called a Power-On Self-Test (or POST). However, if this test fails or detects a problem, your PC may fail to boot, and the monitor may remain blank. In such cases, your PC should emit a series of sounds to indicate the problem.
These beep sounds aren't random; each beep refers to a specific hardware problem. For instance, on a Lenovo PC, three short beeps followed by one long beep indicate that the POST test has failed to detect the installed RAM. Similarly, two long beeps followed by three short beeps signal a problem with the video card. However, these beep code patterns can vary depending on system architecture and PC manufacturer. So, it's best to check your PC's manual to see what the beep code indicates.
Once you identify the hardware component causing the problem, try reseating it properly. This should fix the POST error code and get your PC to display on the monitor as expected. If you don't hear any beep codes or can't determine what they mean, remove and reseat all the hardware components inside your PC and ensure they are connected properly.
Try safe mode
If the hardware doesn't seem to be the issue or if the problem remains even after reseating everything, a corrupted graphics driver or a recent Windows update could be the cause. If that's the case, you should be able to fix the problem by booting your PC into Safe Mode. To do this, you will need to interrupt the boot process three consecutive times. You can do this by pressing and holding the power button while your PC is booting. On the fourth attempt, you should see the "Automatic Repair" screen on your monitor, which should confirm that the issue is caused by drivers or an update.
Next, go to Troubleshoot > Advanced Options > Advanced Startup Options and click the Restart button. After that, press the 5 or F5 key to boot your PC into safe mode. You can then follow these steps to uninstall the recent Windows update:
- Press Windows + I to open the Settings app.
- Go to Windows Update (Windows 11) or Update & Security (Windows 10).
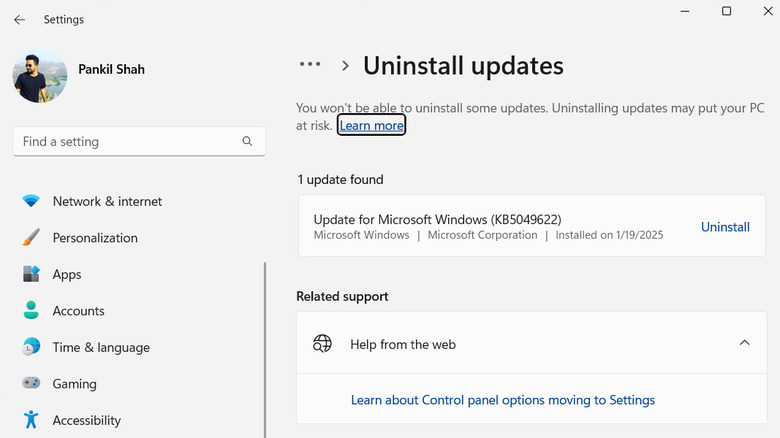
- Select Update history > Uninstall updates.
- Finally, click the Uninstall button next to the most recent update.
If the issue persists even after this, you can try resetting your PC's graphics driver to safe mode. Once you do, your monitor should work as expected. Alternatively, if the issue has started occurring recently, you can perform a system restore to undo any bad changes made to the PC.