4 Reasons Your USB-C To HDMI Isn't Working

Do you have your favorite movie stored on your laptop but want to watch it on a big-screen device like your 32-inch TV? It's possible to do so by using a USB-C to HDMI cable. All you need to do is plug the USB-C and HDMI into their respective ports, and you'll see that your laptop screen will be mirrored on your TV. But what if you experience an issue with the connection? Maybe the screen is flickering, you're not getting the desired resolution on your TV screen, or even worse, your host device is not recognizing the connection.
In either of these situations, the problem often stems from the USB to HDMI cable that you're using. Fortunately, it's pretty easy to get rid of this issue. We'll share all the possible reasons why your USB to HDMI isn't working, along with the things you can try to get it working again.
Lack of DP Alt Mode support
One of the main requirements to mirror a smaller screen device like a laptop to a larger screen device like a TV is that the USB-C on the host device should support DP Alt Mode, aka DisplayPort alternate mode. It is responsible for the transfer of video signals from the host device to the output device. While the USB-C port available in most modern devices like laptops is compatible with the DP Alt Mode, some older and budget laptops lack compatibility. The USB-C port available on such devices can only be used to transfer data or to charge the device.
If you're using a device that doesn't support DP Alt Mode, you won't be able to mirror the host device screen on the larger device, as the host device will be unable to transmit the video signals. Unfortunately, there isn't any standard way to check if your device's USB port supports DP Alt Mode. You need to go through the technical specification book that came with your device or visit the manufacturer's website.
If you find that your device's USB-C port is compatible with DP Alt Mode, but the USB-C to HDMI cable is still not recognized, then it indicates that there's an issue with the cable itself. To confirm this, you need to use the cable with any other device and test all the components of the cable, including the USB-C and HDMI adapter, individually. If the cable isn't working on the other device as well, then it's time for you to purchase a new USB-C to HDMI cable.
Outdated or incompatible display driver
If the USB-C to HDMI connection is not working with a Windows device being either the host or the output device, then the issue is quite possibly related to the display driver of your Windows device. The installed version of the display driver might not be compatible with the USB to HDMI cable that you're using.
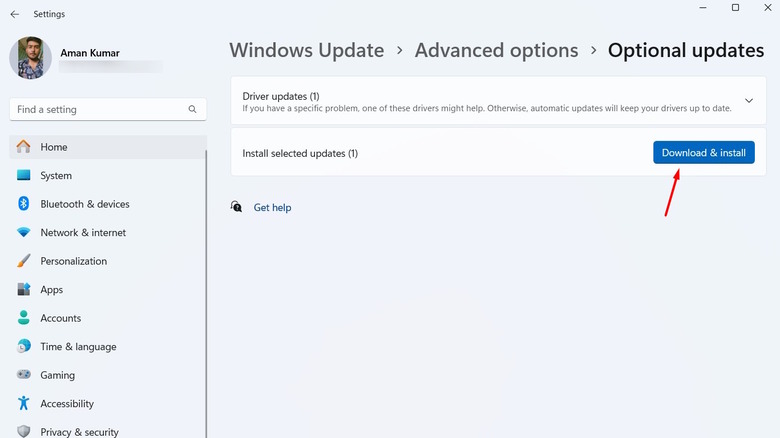
In such a case, you should download the latest display driver update. To do that, open the Settings app on your Windows device and navigate to Windows Update > Advanced options > Optional updates > Driver updates. Select the update available for the display driver, and click the Download & install button. Alternatively, you can download the latest display driver update by visiting its manufacturer's website.
What if you started facing the issue after installing a display driver update? This indicates that the latest display driver update does not support the connector you're using. In such a case, you can either roll back to the previous driver update or get a recently released USB-C to HDMI cable, as there's a high possibility that it would be compatible with the latest display driver update.
Broken or poor quality connector
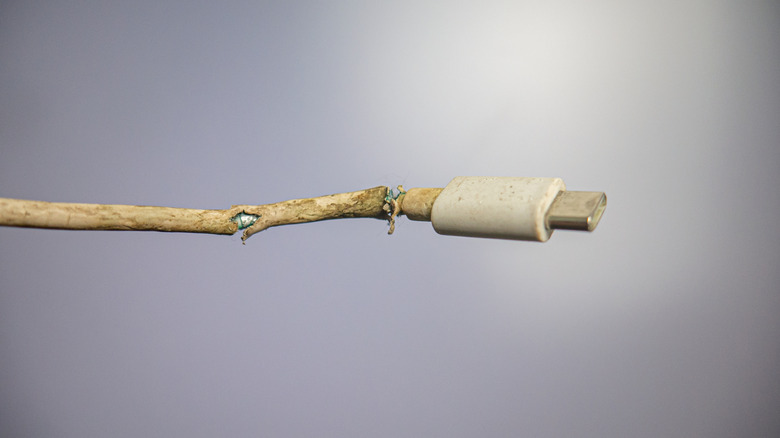
If the cable you're using is of poor quality or has been damaged due to prolonged usage, you might experience flickering issues or sometimes a completely black screen on the output device. A poor-quality cable might not be able to handle the power and the transfer speed efficiently, and as a result, it will get warm after some time, which will eventually cause connectivity issues. Furthermore, if there's a loose connection in either the USB-C or the HDMI end, it will result in signal loss, and as a result, you'll see the output screen flickering a lot.
Make sure you are using a good-quality USB-C to HDMI cable that isn't damaged from anywhere. You can ensure that a cable is of good quality and will not get damaged easily by reading its reviews on e-commerce websites or forums. Furthermore, ensure that the connection isn't loose from any end.
Sometimes, the issue might be with the port, and you'll be busy doubting the cable. To check if this is the case, check the cable with any other device. If you didn't face any connectivity issues in the other device, then it indicates that the problem is with the port of your main device. You'll need to take your device to a technician to get the port repaired.
Unsupported output standards
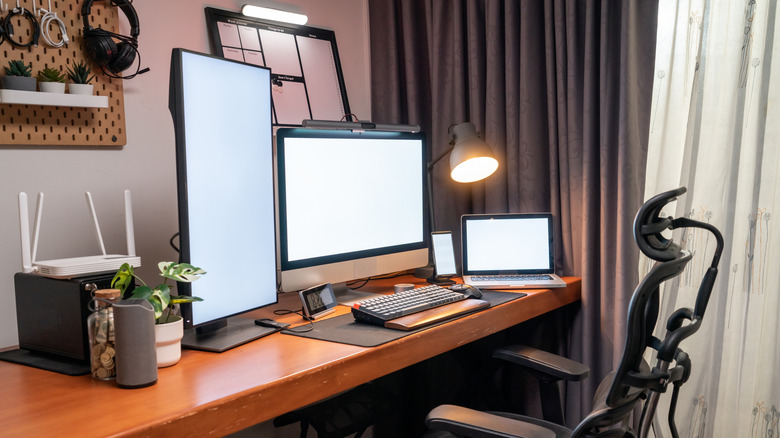
Sometimes, you might face situations when the USB-C to HDMI cable is working, but the picture quality you are getting isn't as good as you expected. For instance, you've connected your laptop to a 4K monitor, so you would expect the same picture quality on the monitor, but instead, you end up getting a very poor picture output.
As it turns out, for you to get the 4K picture quality on your monitor, you need to make sure that the input device and the cable you are using also support 4K. If either of the devices does not support the 4K resolution, then you will not get the desired resolution and refresh rate on your monitor.
If you're not getting the desired picture quality even though all the components—the input device, connector, and output device—support the resolution and refresh rate you want, then you need to make adjustments in the display settings to get the desired result.
To make the adjustment on Windows, first ensure that the input and output devices are connected properly through the USB-C to HDMI connector. Then, open the Settings app and navigate to System > Display. Choose the desired resolution from the Display resolution drop-down menu.
Next, to change the refresh rate, click the Advanced display option, and choose the desired rate from the Choose a refresh rate drop-down menu. Similarly, if you are using a Mac as the host device, then you need to adjust its display settings as well. After adjusting the display settings, you will get the desired resolution and refresh rate on the output screen.