How To Be Sure Your Batteries Are Dead Before Tossing Them Out

We may receive a commission on purchases made from links.
There's nothing more annoying than checking the time on your wall clock and realizing the battery's already dead, or plopping down on your couch to watch some TV, only to find your remote isn't working again. Batteries are probably one of the most used and in-demand items in your home. The thing about single-use batteries, though, is that they don't last forever. Even the best battery brands wear out over time.
However, before you drop your batteries in the trash and contribute to the already massive three billion battery waste pile the US produces yearly (according to waste management company Business Waste), it's best to check whether they still have some life left. This way, you can save money and help reduce waste. But how would you know for sure if a battery is already dead? Here are four ways to check your battery's status.
Method 1: Use a battery tester
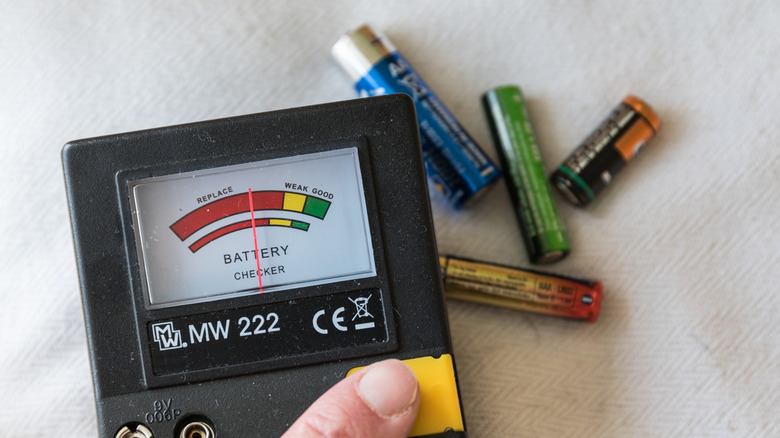
The quickest and most reliable way to check whether your household battery is already dead is with a battery tester. They typically come with a color-coded scale that shows three levels: Good/Full/OK, Low/Weak, and Poor/Replace/Empty. This way, you won't have to second guess or analyze what your battery's status is — the tester will give it to you, plain and simple. Most battery testers are also compatible with a wide range of household batteries, including AA, AAA, C, D, 9V, and even button batteries. So, if you use multiple types in your home devices, you only need a single tester for all of them.
Browsing online, you'll surely come across a wide variety of battery testers. Some, such as the Dlyfull Universal Battery Checker, feature individual compartments for each battery size. All you need to do is pop the battery in the correct holder like how you would normally do on your TV remote control, and then, read the result on the scale. Other testers like the La Crosse Portable Digital Battery Tester or Amprobe BAT-250 Battery Tester are designed to be adjustable instead. To use this kind of battery tester, here's what you need to do:
- (Optional, depending on the model) Set the tester to the correct voltage. If you're testing a 1.5V AAA battery, select 1.5V.
- Find the positive and negative terminals on the battery tester. They're usually labeled, but if not, check the manufacturer's manual.
- Place the battery in the tray. Make sure it's oriented properly (positive to positive, negative to negative).
- Adjust the end of the tray, so the battery fits snugly and makes solid contact with the tester's terminals.
- Check the results on the scale.
For a 9V battery, the terminals are usually on the bottom of most testers. You just need to push the battery onto them to test it.
Method 2: Test with a multimeter with battery test functionality
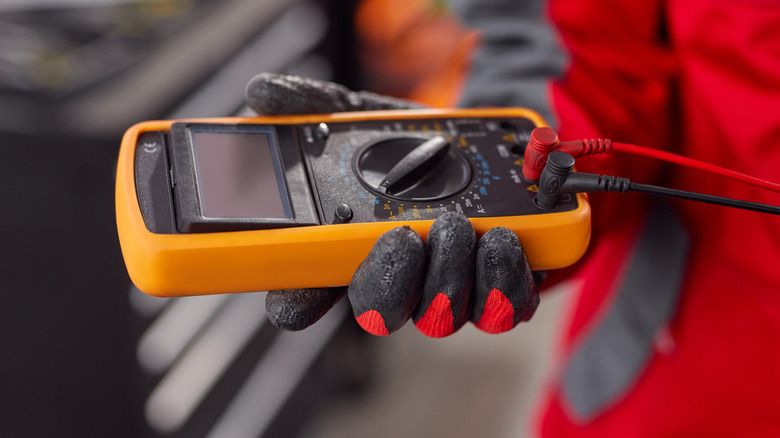
One of the best specialty tools for home mechanics, electronic enthusiasts, or just about any tinkerer is a multimeter. This measuring tool can come in handy not only for your personal home projects, but also for simply testing your batteries. Some multimeters, such as Klein Tools MM325 and the AstroAI AM33B, already come complete with a 1.5V and 9V battery test feature for your convenience. To use this type of multimeter, here's what you need to do:
- Set up the multimeter by connecting the black lead to the COM port and the red one to the port next to it (usually labeled with a combination of Volt, ohm, and milliampere symbols).
- Turn the dial to the correct setting (1.5V for 1.5V batteries, 9V for 9V batteries).
- Firmly attach the red multimeter lead to the battery's positive side and the black lead to the battery's negative. Make sure they're in contact with each other to get a good reading.
- Check the displayed voltage.
Some multimeters will tell you directly whether the battery is full, still good to use, or needs replacing. If no such status is provided on the display, just read the voltage. A reading of over 1.5V or 9V is full, 1.2V to 1.5V or 7.2V to 9V is still in usable range, and under 1.2V or 7.2V is already dead.
Method 3: Test with a regular multimeter
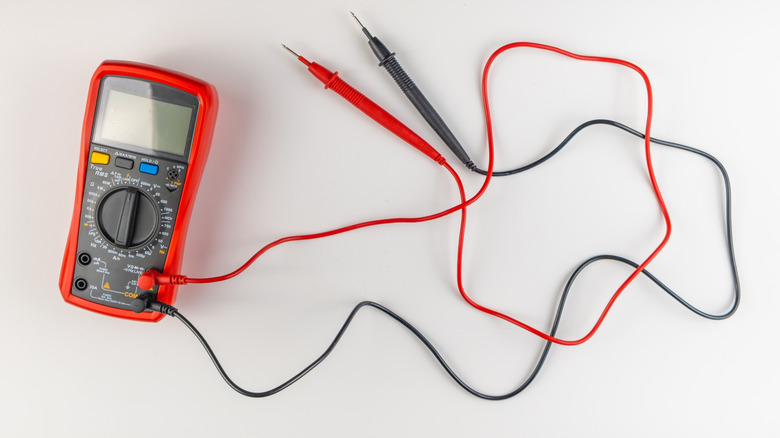
If your multimeter doesn't include a battery test feature, don't worry. You don't have to buy an entirely new measuring tool — you can still use your regular multimeter for checking the battery. However, you'll need a resistor to act as a load for it. Reading the voltage without a load can be inaccurate, as some batteries still produce usable voltages even if they're already dead. To avoid that, the battery has to be tested while connected to an appropriate load, which is exactly what multimeters with a battery test feature do. Testing a battery under load, like connecting it to a resistor, essentially mimics the battery test functionality.
To check your battery using this method, get two alligator clips and a 100 ohm resistor. Then, follow these steps:
- Connect the leads to the multimeter as you normally would.
- Look for the DC Voltage in the multimeter, typically labeled as VDC, DCV, or V with straight and broken lines.
- Set the dial to the 20V setting in the DC voltage section.
- Connect one end of Alligator Clip 1 to the resistor and the other end to the red test lead.
- Clip Alligator Clip 2 to the other end of the resistor and to the black lead.
- Place the red lead with the clip attached on the positive terminal of the battery.
- Attach the black lead (also with the clip) to the negative terminal of the battery.
- Double-check that there are no loose connections between the clips, resistor, and multimeter leads.
Now, you can check the reading. Anything lower than 1.2V for a 1.5V battery or 7.2V for a 9V battery should be tossed out.