Brisk AI: How Does It Work, Who Is It For, & What Data Does It Collect?

Artificial Intelligence is quickly becoming rather synonymous with convenience and efficiency. Gone are the days when tasks like summarizing research papers, editing images, and even making songs took days or weeks. With AI tools, you can get them done in no time and with little effort. That's why it's not surprising that this technology has gained popularity even in the education sector too. You can find a host of AI tools for students that help them work through homework with ease, find the best resources quickly, and understand lessons more clearly.
However, students aren't the only ones enjoying the benefits of AI — educators can also put these tools to good use in their classrooms. Enter Brisk Teaching. With a million users and a 4.7 star rating on the Chrome Web Store, Brisk Teaching can be a versatile and handy AI tool for teachers. But how exactly does it work? We'll explain.
What is Brisk Teaching?

Brisk Teaching is an AI-powered workplace solution, built to help teachers speed through their everyday tasks — think developing lesson plans, assessing student essays, and sending emails to parents. It comes in the form of a Chrome extension, making it accessible to almost any online resource like your favorite educational sites (e.g. National Geographic Education, PBS LearningMedia), YouTube, Google Docs, Slides, Forms and Classroom.
This means you won't need to copy and paste your work to Brisk just to use its AI tools — simply open the web app or site you want help with and check out the Brisk features from there. If, however, you need AI help with an offline resource, such as an image, PDF, or Microsoft Word document, don't worry — Brisk supports file uploads too. Once you upload the file to Brisk, you can then treat it like any other online material.
Brisk Teaching is also designed to be intuitive and straightforward. Unlike some AI tools with complicated menus and a steep learning curve, Brisk only has a basic main menu that lists all five of its tools. In fact, you can easily learn to use Brisk in a couple of minutes.
In terms of subscription plans, Brisk Teaching offers three: Free, Pro, and Schools & Districts. The Free plan uses Standard AI model and comes with over 30 tools, while the Pro relies on Turbo AI model and includes additional features, such as Targeted Feedback, AI Detection, and image add-ons in the Presentation Maker. The Schools & Districts plan unlocks even more tools, such as generation of State Practice Tests, SAT Practice Test, UDL Lesson Plans, IEP 504 Templates, and Observation Notes.
What can Brisk Teaching do?
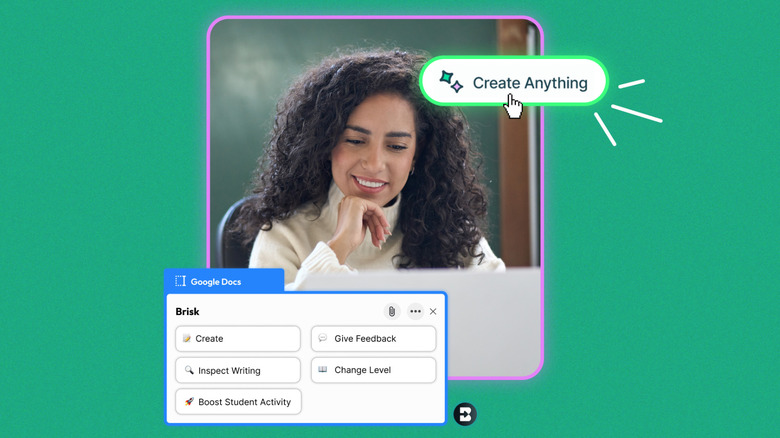
There are five major things Brisk can help you with: Create, Give Feedback, Inspect Writing, Change Level, and Boost Student Activity.
- Create, like its name suggests, is for content generation. You can use it for making all sorts of teaching materials, including presentations, lesson plan templates, math word problems, quizzes, and even college recommendation letters, to name a few.
- Give Feedback is for assessing your student's assignments (e.g., Google Docs essay, Google Slides presentation) based on criteria like your rubrics, specific prompts, or general strengths and areas of growth.
- Inspect Writing is for checking exactly how a student wrote a document. It provides you with a video playback that shows the document being typed with timestamps and number of edits and pastes.
- Change Levels is for reworking online articles or Google Docs documents into your preferred reading level or language to make them more understandable for your students.
- Finally, Boost Student Activity is for converting resources into various learning content, such as a tutoring activity, chat with book characters, and exit tickets.
After using the Create, Change Levels, and Boost Student Activity tools, their outputs are then automatically saved to your Google Drive for your convenience. It's important to note, though, that not all the web apps or sites support all five Brisk AI tools. Depending on what you're using, you'll have access to three to five. For instance, on Google Docs, all five tools are available, while on Slides, the Inspect Writing and Change Level features are disabled.
What data does Brisk Teaching collect?

In order to function as it is, Brisk will collect some of your personal data. That includes the following information:
- Full name
- Email address
- School name
- District
- School's organizational units
- Students' grade levels
- Subjects you're teaching
- Course information and assignments
- Files (e.g., documents, media)
Brisk uses this data to set up your account, personalize your experience, and send emails, to name a few. Other than you, Brisk also collects data from students, which can include any files they use with the service, assignments, course topics, grades, and device information through cookies (e.g. IP address, device type, browser type and version, location data).
However, student data isn't stored in Brisk servers unless it's part of your input or the generated content. For instance, when you include a student's name in your prompt and/or Brisk creates content with the name in it, that data will be saved. You can freely delete your data from Brisk by sending an email to privacy@briskteaching.com. Otherwise, student data are protected through privacy laws, such as the Family Educational Rights and Privacy Act (FERPA), Children's Online Privacy Protection Act (COPPA), and California's Student Online Personal Information Protection Act (SOPIPA).
How to use Brisk Teaching
Brisk Teaching is pretty intuitive and easy to use. But if you need guidance on where to start, here's a quick tutorial on using this must-try Chrome extension for presentation generation, essay feedback, and reading level adjustment:
- Install the Brisk Teaching Chrome extension to your browser.
- Create your Brisk account.
- Click on Start Setup to set up your profile, which includes your school name, the subject/s you're teaching, and your students' education level/s.
- Exit the onboarding page.
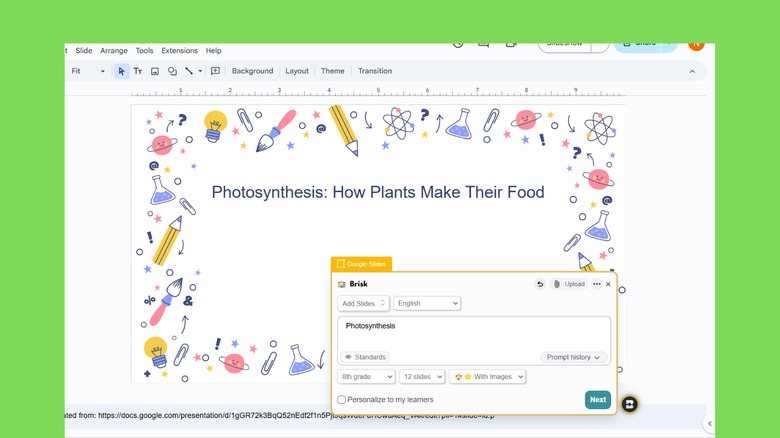
- To generate a presentation from scratch:
- Create a new Google Slides file.
- Press the Brisk icon in the bottom left corner of the screen.
- Grant Brisk the necessary permissions.
- Select the Create tool.
- Click on Add Slides.
- Type the topic for your presentation.
- Select the education level.
- Choose the number of slides.
- (For Pro users) Select whether or not to add images to the presentation.
- Hit Next.
- Pick your preferred theme.
- Press Brisk It to generate the slides. Your Google Slides file should automatically be populated with your preferred number of slides.
- To comment on a student's essay:
- Have your student share the essay to you as a Google Doc link, with Editor permissions.
- Open the essay with your Google Docs account.
- Press the Brisk icon.
- Select Give Feedback.
- Choose your feedback style from the options (Targeted, Glow & Grow, Rubric Criteria, and Next Steps).
- Change the education level.
- (Optional) Change the Standards if you're following one, upload a Rubric, switch languages, or type what you want the feedback to focus on.
- Click on Brisk It to proceed.
- Edit the feedback as needed.
- Insert the edited feedback into the document as a Google Docs comment or a table.
- To change the reading level of an online article:
- Visit the article on Google Chrome.
- Hit the Brisk icon on the bottom of the page.
- Choose Change Level.
- Select your preferred education level.
- Press Change reading level. This will open a new Google Docs file with the rewritten article.
Feel free to try Brisk Teaching on YouTube, Google Forms, and any other website. As of this writing, though, Brisk doesn't support Google Sheets.