Think Photoshop Is Too Complicated? Try These Free Adobe Express AI Features Instead

If you've ever looked for an editing app for your device, chances are you've come across Adobe Photoshop at least once. The professional image editing software has been a go-to for photographers and designers for years, and is available as a part of Adobe's Creative Cloud subscription. While Photoshop is incredibly powerful, it's far from the best tool to use for beginners. You may even spend more time navigating the tool's interface than making an edit that should've taken you a maximum of five minutes — which is something no one wants! While you could certainly learn your way around Photoshop, that's not exactly ideal if you only edit images occasionally.
Luckily, Adobe didn't forget about you. In 2021, the company launched Adobe Express, a cloud-based, all-in-one content creation tool. Think of it as a middle ground between Photoshop and the basic built-in editing apps on your device, like Apple Photos or Google Photos. It offers more advanced features than these default apps, but without Photoshop's complexity.
Fast forward to 2023, Adobe integrated its generative AI model, Firefly, into Express, bringing a bunch of AI-powered editing tools like Generative Fill and Text to Image to the app. The best part? Many of Express's AI features, like Remove Object and Background Remover, are free to use. Below, we'll cover Adobe Express AI features we recommend trying if you think Photoshop is too complicated.
While the features below are free to use, some may require generative AI credits, which free users get 25 of per month. Express currently offers two paid plans: Premium and Teams. The former costs $9.99/month or $99.99/year, while the latter is priced at $4.99 per user/month for a monthly subscription or $49.99 per user/year. Paid plans come with 250 credits monthly.
Generate Image

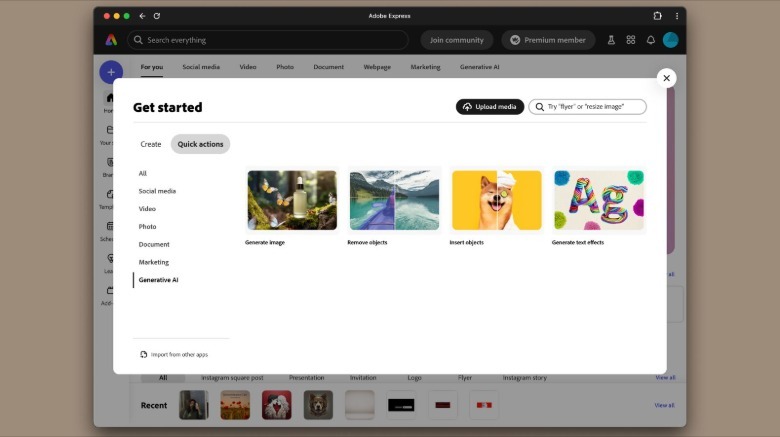
Creative block spares no one, not even professional graphic designers or social media influencers. When it hits, the "Generate Image" tool is exactly what you need, which uses generative AI to transform text prompts into images. To use the tool on Adobe Express's website, go to "Generate with AI" > "Generate image".
 Mahnoor Faisal/SlashGear
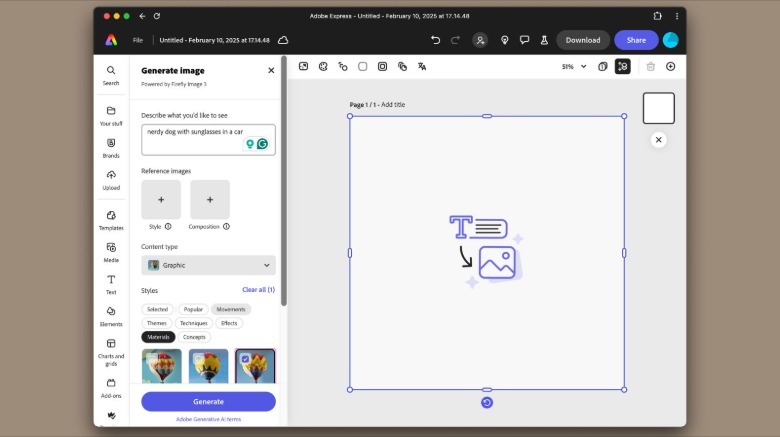
In the left-hand panel's text box, describe the image you want to create.
 Mahnoor Faisal/SlashGear
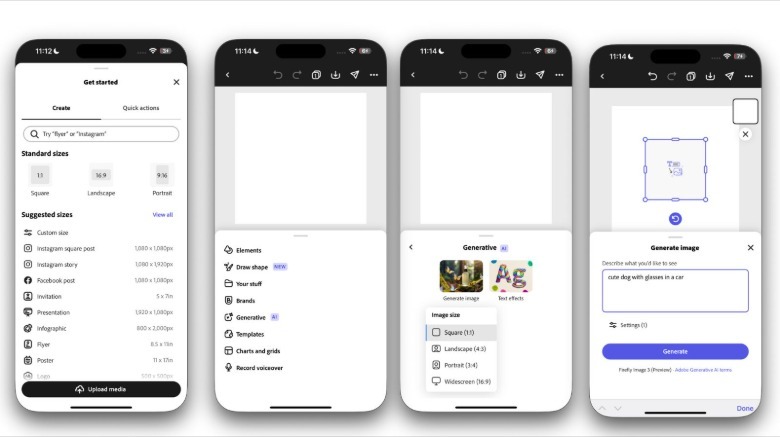
On mobile, head to the app's homepage, tap the plus (+) icon in the bottom right-corner, and choose a size. Then, tap the plus (+) icon in the bottom-left corner, scroll through the options, and select "Generative" > "Generate Image". Choose an image size from the following: Square, Landscape, Portrait, and Widescreen. Finally, describe what you'd like to create.
 Mahnoor Faisal/SlashGear
Before hitting the "Generate" button, you can adjust a few settings to refine your image. On the website, these options are in the left-hand panel, while on mobile, tap Settings below the text box to find them.
 Mahnoor Faisal/SlashGear
If you have a reference image that matches the look you're going for, add it under "Style". Similarly, if you have an image that you'd like to influence the layout you'd like, add it under "Composition". To specify the overall look of your image, you can expand "Content type" and choose from Auto, Photo, Graphic, or Art. Finally, you can fine-tune your image's artistic feel by choosing from "Styles" like Neon and Origami. When you hit "Generate", Express will instantly create four images. You can either select one or generate more if none fit your vision. Note that this tool uses AI credits, so be mindful of how many images you generate!
Remove unwanted objects
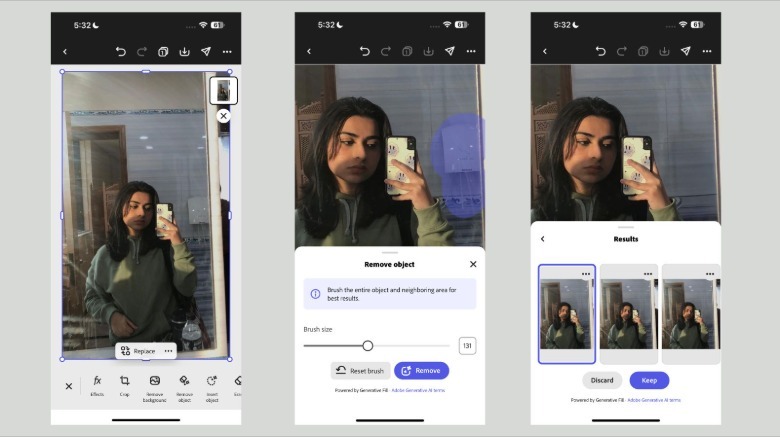
Regardless of if you post for a large audience or not, you've likely captured the perfect shot after an exhaustive shoot, only to have it ruined by a photobomber or an unwanted object. Instead of letting your efforts go to waste and reshooting, your best bet is to use an app to edit out any unwanted objects in your photos. Adobe Express's Generative Fill tool makes it easy to do that within seconds. To get started, launch Adobe Express on your device and click the plus (+) icon. On the website, you'll find it on the top-left corner of the screen. Meanwhile, on mobile, it's located in the bottom-right corner of the screen. Click "Upload media" to add the image you'd like to edit to the editor. Now, select your image in the editor, and click "Remove object".
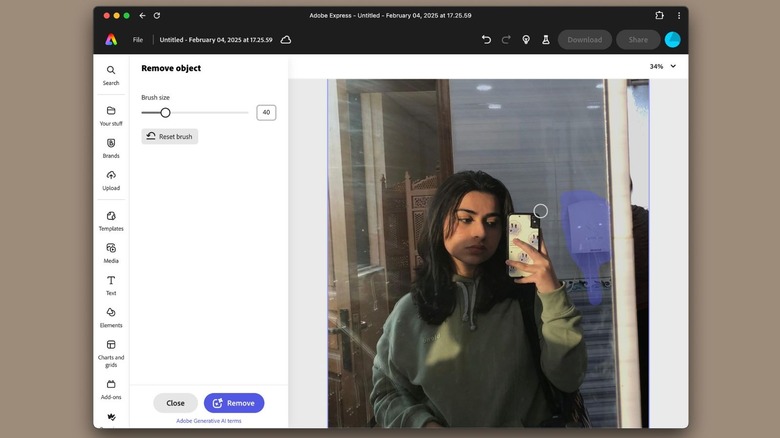
On the website, you'll find it in the left-hand panel. On mobile, it'll be in the bottom bar. Now, all you need to do is draw over the object you want to erase.
 Mahnoor Faisal/SlashGear
Adobe suggests covering both the object and a bit of the surrounding area for better results. You can adjust the brush size by dragging the slider left or right for more precision. Once ready, click "Remove," and the tool will generate three edited versions of your image with the object removed. You can "Keep" one, "Discard" them, or generate more until you're satisfied. This tool works similarly to Apple's new Clean Up feature, which is among the best Apple Intelligence features released so far. So, if your device isn't compatible with Apple Intelligence, Adobe Express is a great free alternative.
Insert new objects

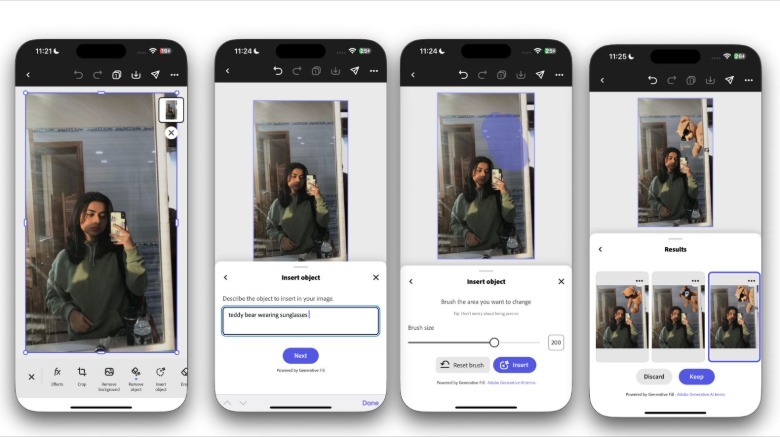
Generative Fill's capabilities don't end here. Similar to how you can remove unwanted objects, you can do the opposite as well — add new objects and assets to images! Like above, head to Adobe Express's homepage, click the plus (+) icon and upload the image you want to edit. Then, select the "Insert object" tool. Now, describe the object you want to add in the text box. The more detailed you are, the better the results.
 Mahnoor Faisal/SlashGear
Then, brush over the area where you'd like the object to appear (on mobile, tap "Next" first). Make sure to fully cover the space where the object should go. If needed, adjust the Brush size using the slider for better precision. Once you're satisfied with your selection, click "Insert". Similar to the above, Express's AI will generate three versions of the edited image for you, which you can either "Keep" or "Discard." Alternatively, you can choose to generate more. Keep in mind that both Generative Fill features use AI credits. So, if you're on the free plan, make sure you keep a close eye on how often you use these features due to limited generative AI credits.
Rewrite copy instantly
While you may have an eye for art, crafting clear, well-written text to complement your visuals isn't always as easy, and there's nothing wrong with that! Thankfully, Adobe's Rewrite feature has got your back. It helps you fine-tune written content within your designs so you can focus more on the design aspect. The Rewrite tool is currently available in 27 different languages, including English, Spanish, Turkish, and Hindi. It uses generative AI credits and can rewrite up to 1500 words at a time. However, you can use it as often as needed to rewrite longer text, provided you have enough credits.
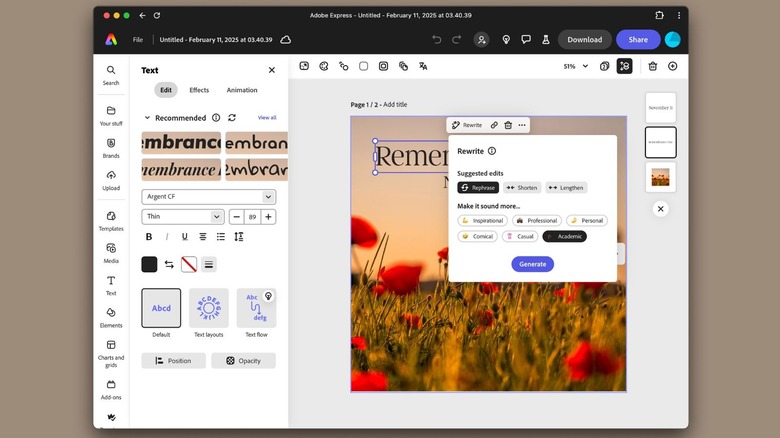
Using the Rewrite tool is simple. Open a new or existing design in Adobe Express, highlight the text you want to refine in the editor and select "Rewrite." On the website, the option appears above the highlighted text. On mobile, you'll find it in the toolbar at the bottom. You'll then see two sections labeled "Suggested edits" and "Make it more..." The first lets you "Rephrase," "Shorten," or "Lengthen" your text, while the second allows you to adjust its tone to better match your style.
Once you've selected your options, hit "Generate" to get three refined versions (if your selected text is under 150 words) or one version (if beyond 150 words) in seconds. If you're satisfied with one, select it and click Replace to swap your current text, or choose Add as page to duplicate your design with the generated text. If none feels right, you can generate new options until you find the perfect fit.
Translate text within your design
If you've ever created posts for a multilingual audience, you've likely had to translate your content into each language manually. While tools like Google Translate help, updating each design with translated text can still be time-consuming. Thankfully, you can automate this process using Adobe Express's Translate tool. Powered by GPT-4o, the tool can translate content into 46 languages. Note that this tool is currently not available in China, Russia, and Belarus.
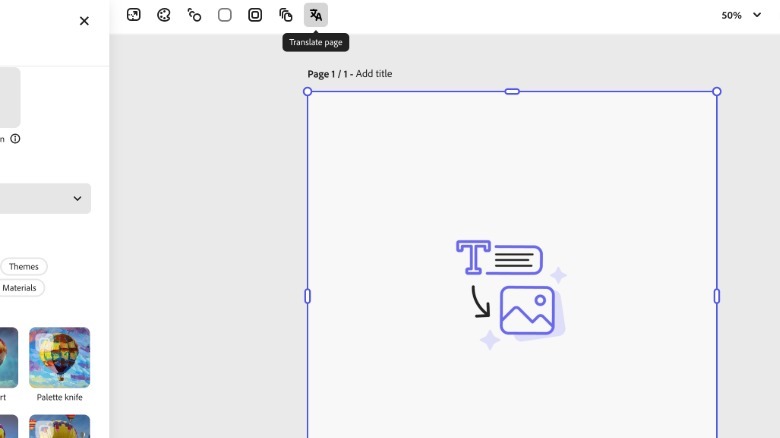
To use it, open a new or existing design, and click on the "Translate" icon in the header.
 Mahnoor Faisal/SlashGear
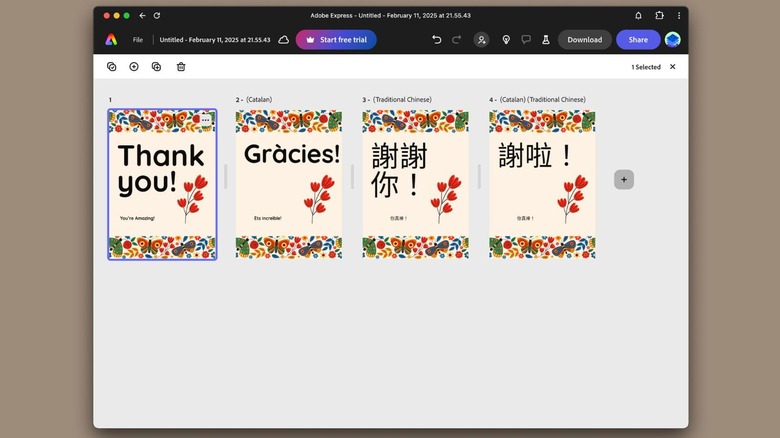
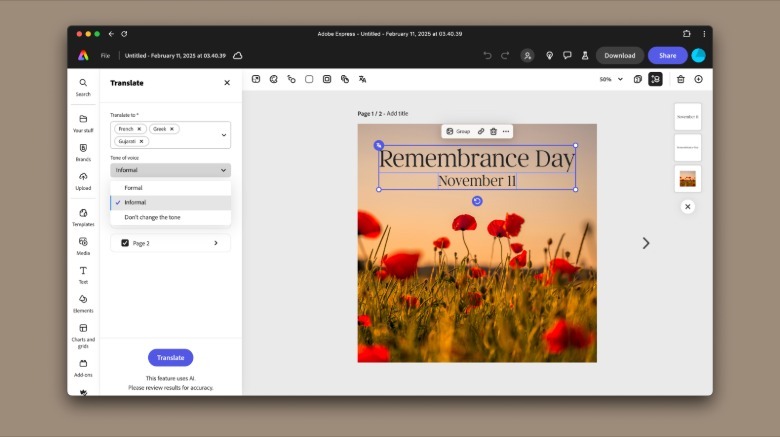
Expand the "Translate to" dropdown and select your desired language. One of the best parts about Adobe Express's Translate tool specifically is that you can translate your design into up to 20 languages in one go. You can also change the tone of your translated text by expanding the "Tone of voice" dropdown and selecting Formal or Informal. Otherwise, choose "Don't change the tone" if you'd like to keep the original style. Select the pages to translate, and make sure to choose the text objects you would like to translate on each page of your design. Then, click the "Translate" button.
 Mahnoor Faisal/SlashGear
After a few seconds, your design will be duplicated with the text in your desired language(s). Currently, the "Translate" tool isn't available on Adobe Express Mobile, so you'll need to use the web editor to use the tool. Fortunately, the tool is free across all Express plans and doesn't require generative AI credits.