Starlink Ethernet Adapter: Setup, Troubleshooting, And Alternatives
We may receive a commission on purchases made from links.
Starlink is a name that has become synonymous with internet access in even the remotest of places. However, some of the hardware supplied with a Starlink installation doesn't support Ethernet connections out of the box. In many cases, this isn't a problem, but there are also plenty of times when a wired network is preferable. Mostly, this is in instances where high and reliable bandwidth is required, such as gaming, streaming, or situations where the Wi-Fi signal is degraded.
Depending on the model of Starlink router you own, you may have to purchase an Ethernet adapter to physically connect to the router. Specifically, the Gen 2 router does not come with a built-in Ethernet port and will need such an adapter. The Gen 1 and Gen 3 routers have a single Ethernet port and two Ethernet ports, respectively. This means that if you're a Gen 2 router user, then an Ethernet adapter is one of the most useful Starlink accessories. Let's look at how to set up a Starlink Ethernet adapter, troubleshoot errors, as well as consider some of the alternatives.
Setting up a Starlink Ethernet adapter
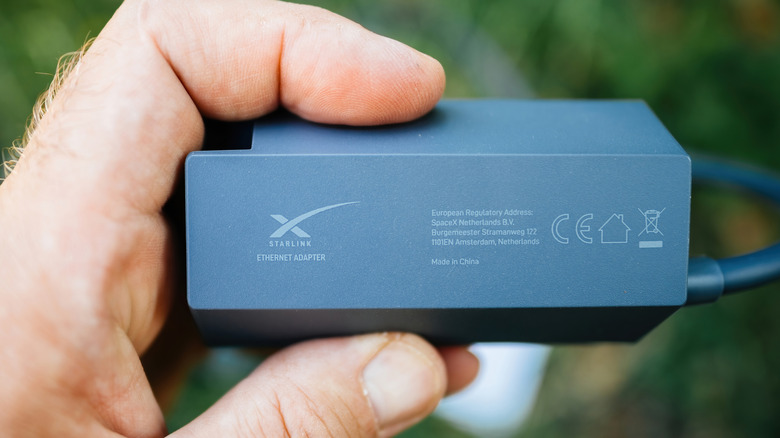
The Starlink ethernet adapter adds a single Ethernet port to Gen 2 Starlink routers and can be purchased directly from the Starlink shop. Although the device only has one port, it is easily expandable by adding an Ethernet switch. Setting up the adapter is a simple procedure. The following steps walk you through the process:
- Power down the entire Starlink system by unplugging the router and the dish cables.
- Unplug the Starlink cable. This can be found on the bottom of the router and can be identified by its angled connector.
- Plug the Ethernet adapter's cord into the Starlink socket on the router. It should look the same as the one you just unplugged.
- Plug the Starlink dish cable into the other end of the Ethernet adapter.
- Once everything is connected, you can safely power the system back up and wait a few minutes. After Starlink is fully up and running, you can plug an Ethernet cord into the port and connect it to your device.
That's pretty much it; it's just a case of making sure the system is powered off and swapping a couple of cables. The adapter shouldn't need any further configuration and the rest of the Starlink system will function as before.
Troubleshooting the Starlink Ethernet adapter installation
Because the installation is so simple, there is very little that can go wrong with the process. However, if the adapter doesn't work as expected there are a few things you can do to try and resolve the issue. It's always sensible to start with the simplest solutions. A good first step is to check the cables and that they're securely fitted. The problem could simply be an ill-fitted, damaged, or poor-quality Ethernet cable. Once you're happy that the cables are okay, it's time to try the oldest tech trick in the book-turning it off and on again. It's surprising how often this step works, but remember to leave the system powered down for at least 30 seconds before rebooting it.
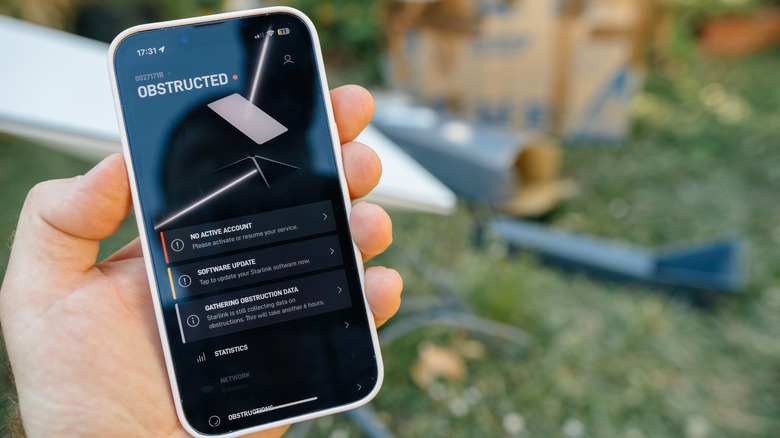
If the system still refuses to play ball, then you could try a different device. If you are plugging a single device like a laptop or Smart TV into the router, then this is always worth a shot. The problem may lie with the hardware you're attaching and not with the Starlink system. Finally, if all else fails, you try updating your Starlink router's firmware through the app. Firmware issues can sometimes affect peripheral devices, including the Ethernet adapter.
Alternatives to a Starlink Ethernet adapter
The Starlink Ethernet Adapter is the easiest way to add Ethernet functionality to a Starlink Gen 2 router. However, there are a couple of alternative solutions that may be a better option in some circumstances. One option is to opt for a Wi-Fi range extender like the TP-Link AC1200. Many of these will incorporate Ethernet functionality and can be configured to wirelessly communicate with the Starlink router.
While these can be set up without any changes to your existing setup, it might not be an ideal solution. The main issue is that there will still be a wireless connection to the Starlink system. If you're looking for more stability through an ethernet connection, this is arguably worse than connecting directly to Starlink Wi-Fi.
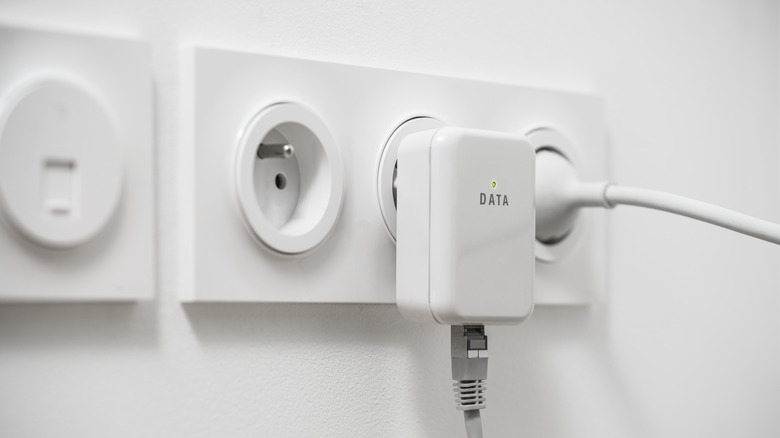
That being said, there are plenty of options here; Powerlink adapters, Wi-Fi-to-Ethernet bridges, and many Mesh systems are all viable alternatives to an Ethernet adapter in many situations. Finally, for Gen 2 router users considering a long-term upgrade, the Starlink Gen 3 router includes two integrated Ethernet ports. This will eliminate the need for a Starlink Ethernet adapter altogether.