'Power Surge On The USB Port' On Windows: What It Means And How To Fix It
We may receive a commission on purchases made from links.
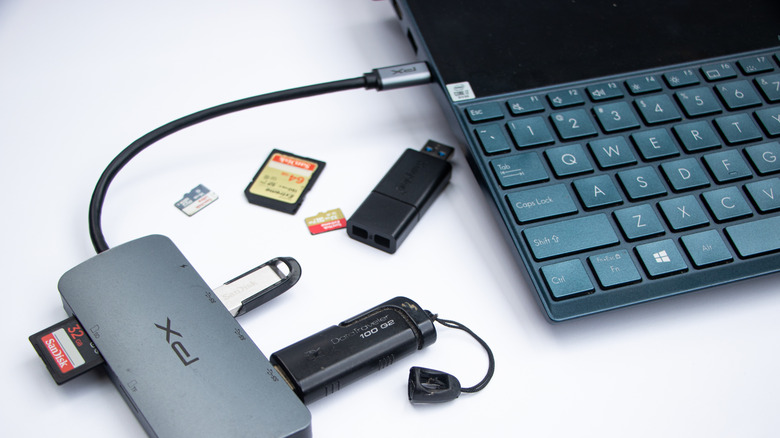
USB ports on your PC or laptop are designed to supply a specific amount of power to connected devices. For example, USB 2.0 and USB 3.0 ports can only output up to 500 mA and 900 mA, respectively. Typically, external devices like keyboards, mice, and flash drives draw minimal power from your PC and work without issue. However, when you use a malfunctioning or low-quality USB device, it may demand more power than the port can handle. In such cases, Windows detects the power surge and automatically disables the affected port to prevent damage to both the computer and the connected device. This results in the "Power surge on the USB port" error message.
The error can also arise due to other factors, such as shorted cables, bent pins on the ports of your motherboard, corrupted drivers, or even misconfigured BIOS settings. While the error may seem like a serious malfunction, it's actually a protective measure built into Windows. In any case, there's no need to worry, as it's possible to fix the "Power surge on the USB port" error with a bit of patience.
Disconnect all the USB devices and run the hardware troubleshooter
The first thing to do when you see the "Power surge on the USB port" error on Windows is to disconnect all USB devices. Once done, restart your PC, then reconnect your USB devices one at a time. Doing so will help you identify which device is causing the error. Once you find the problematic device, check it for any physical damage. If you're using a USB cable to connect it, try replacing it, as it's possible that the cable connecting the device to your system has shorted or is damaged.
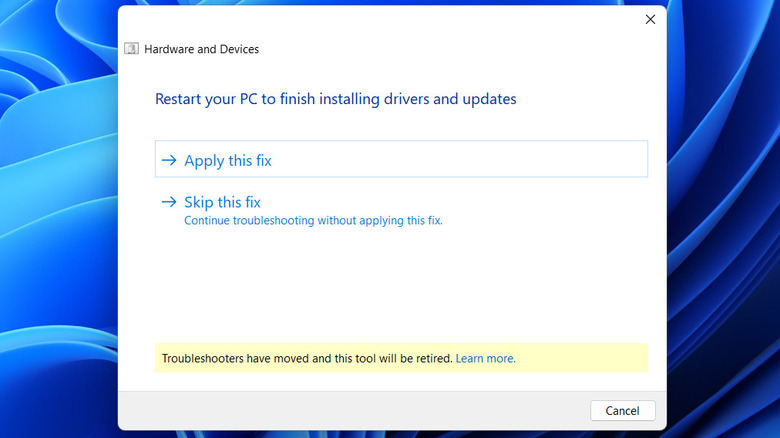
If the issue persists even after these checks, you should run Windows' built-in "Hardware and Devices" troubleshooter. This tool automatically scans your system for hardware-related issues and attempts to fix them. Here's how to run the troubleshooter:
- Press the Windows + R key to open the Run dialog box.
- Type "msdt.exe -id DeviceDiagnostic" and hit Enter.
- Click Next in the Hardware and Devices window.
Wait for Windows to diagnose your PC and then apply any fixes it suggests. Following that, check if the power surge error pops up again.
Configure power management settings for USB drivers or reinstall them
Incorrect power management settings on Windows can also cause the "Power surge on the USB port" error. You can try adjusting the power management settings for USB devices to see if that resolves the issue. Here's what you need to do:
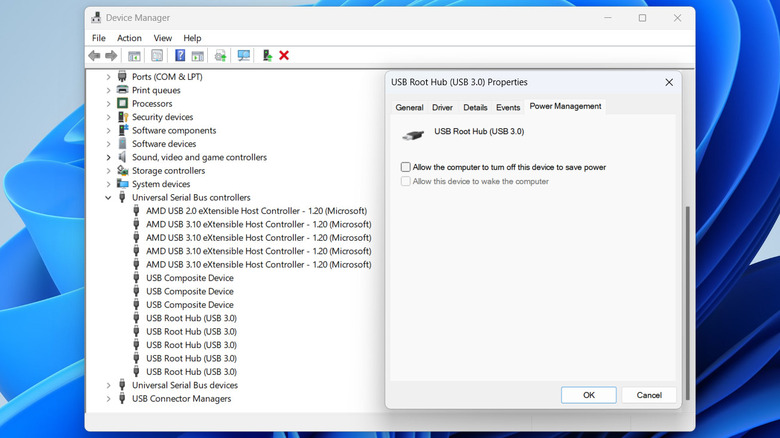
- Right-click on the Start icon on the taskbar and select Device Manager from the list.
- In the Device Manager window, double-click Universal Serial Bus controllers to expand it.
- Right-click on the first USB device entry and select Properties.
- Go to the Power Management tab and uncheck the "Allow the computer to turn off this device to save power" box.
- Click OK to save changes.
- Repeat this to configure power management settings for all the USB devices one by one.
Restart your PC after completing the above steps, and then check if the error still appears. If it does, the problem may be with the USB drivers. In this case, you can try uninstalling and reinstalling the USB drivers. Here are the steps for the same.
- Open the Device Manager using the search menu.
- Expand the Universal Serial Bus controllers section.
- Right-click each device in this section, and then click Uninstall to remove them one by one.
After removing all the USB drivers, restart the computer, and Windows will reinstall those missing drivers automatically during boot. Then, plug in your USB devices again and see if they work.
Reset BIOS or use a powered USB hub
The BIOS (Basic Input/Output System) manages several essential hardware functions of your PC, including power distribution to USB ports. If there's a configuration issue in the BIOS, it might cause a USB port to overload or behave unpredictably, leading to power surge warnings. If that's the case, resetting the BIOS settings can help restore stability to your USB ports.
To reset the BIOS settings, start by rebooting your Windows PC. During the initial boot process, press the designated key to enter the BIOS setup (usually F2). Note that the exact key for accessing BIOS on your PC or laptop may vary depending on the motherboard, so check your system's documentation if you're unsure. Once in the BIOS menu, locate the option to reset all settings to their default configuration. This is typically labeled as Load Setup Defaults, Load Optimized Defaults, or Reset to Default. Press the key associated with the reset option, confirm the action, then save the changes and exit the BIOS.
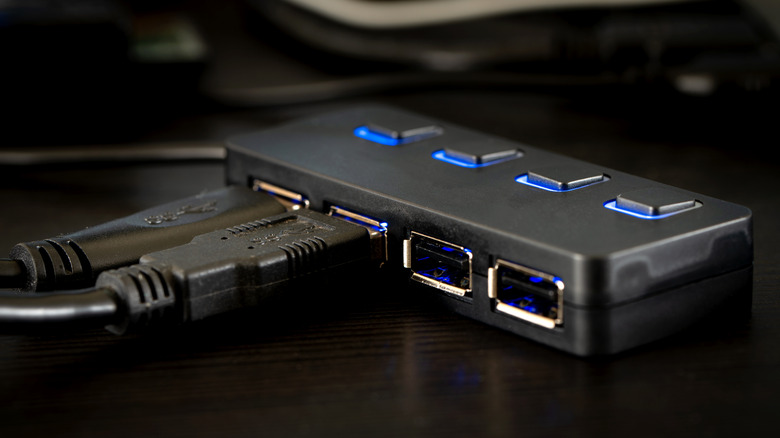
If nothing else works, your best option is to get a powered USB hub. This device comes with its own external power source, supplying additional power to USB devices that require more than what your computer's ports can provide. This way, your external USB devices can draw power independently, reducing the risk of overloading your computer's USB ports and helping to prevent power surge warnings from appearing.