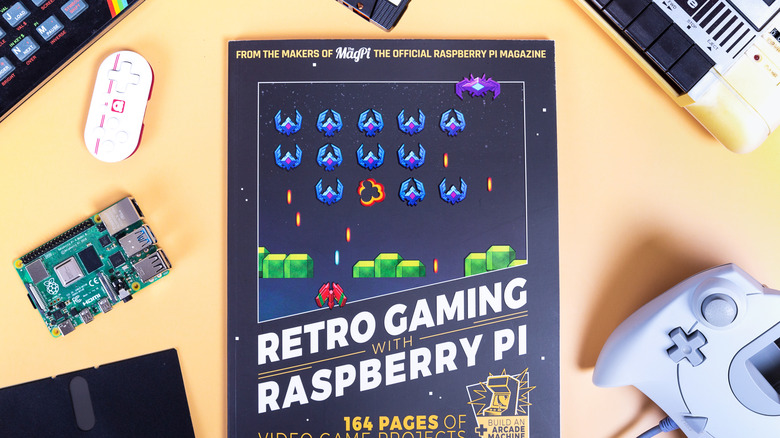
6 Retro Gaming Raspberry Pi Projects Every Gamer Should Know About
Before home video game consoles became common, people frequented arcades instead. Arcade games were the peak of gaming technology, but they weren't just novel and exciting — they also made for affordable entertainment and a great way to hang out with friends. Unfortunately, arcades are no longer as popular as they were before, and many of the once bustling locations have closed down as games have become much more easily accessible right from the comfort of your home.
If you want to relive the nostalgia of arcade games, though, there are plenty of channels for that. You can play arcade games on Android, iOS, or your computer. You can also buy your arcade game of choice from your PS5 or Xbox Series S. For the diehard enthusiast, though, you can actually make a dedicated arcade setup with the help of Raspberry Pi, and these six retro gaming projects make up some of the most exciting you can build with a Pi board.
Bartop arcade machine
Nothing screams retro gaming more than an arcade machine. But if a full-size, floor-standing setup feels too overwhelming to work on, you can always go smaller with a bartop arcade machine instead. This DIY project looks and feels like the old-school machines at arcades, complete with a joystick and control buttons. It uses an HDMI computer monitor, two standard speakers, and a USB module (for connecting the joystick and buttons), all powered by a Raspberry Pi.
Assembling the hardware is actually the hardest part. Building the enclosure is mostly woodwork or 3D printing, so you'll likely spend more time making it than configuring the Raspberry Pi itself. Software-wise, all you really need is the Raspberry Pi Imager. From the Imager, you can install the Recalbox OS, which is a free retrogaming platform that already comes with included games. Simply configure Recalbox for your joystick and control buttons, and you're good to go. If you have games you want to add to the system, you can do so too.
Although this specific bartop arcade machine project is single player only, you can find several tutorials online to create a machine for two players. You might also want to use other retrogaming platforms, like RetroPie or Batocera, or change the enclosure of the machine, such as mounting it on a wall or turning it into a tabletop setup instead.
Game Boy replica
So you want the complete retro gaming experience but without the hassle of building a setup as large as an arcade machine. In that case, a Raspberry Pi-powered Game Boy replica is an excellent alternative and easily one of the coolest projects to build with a Raspberry Pi Pico.
The project uses a modified version of Game Boy emulator Peanut-GB, so the software side is pretty straightforward — just load the software to the Pico and add your game ROMs to an SD card, which serves as the Game Boy's cartridge. However, unlike the original Game Boy, you don't have to switch cartridges to play a new game — just copy all your ROMs to the SD card and pick the game you want to play.
This Pico-powered Game Boy replica comes in color instead of monochrome like the original one, but the button controls are pretty much the same. There's one button for Select, one for Start, two for A and B actions, and four for the directional pad. The case is also similar, but you'll need to 3D print it. Apart from Raspberry Pi Pico, the other components required for this project are micro push buttons, a 2.2" ILI9225 LCD module (which doubles as an SD card reader), MAX98357 Audio Amplifier module and 2W 8 ohm small speaker for the audio system, and 3.7V 2000mAh Li-Po battery, TP4056 micro-USB charger, and mini slide switch for the power system.
Basic retro gaming console
If you want a gaming console without the bells and whistles of a bartop arcade machine or handheld Gameboy, then a Raspberry Pi retro gaming console is the project for you. Think of this build as similar to your regular PlayStation or Xbox — simply plug it into your TV or computer monitor, connect the controller, and start playing to your heart's content. However, since the Pi is just the size of a credit card, this retro gaming console is more portable than the two platforms.
The project only requires two main hardware components — the Pi board and USB or Bluetooth controller of choice — and one software component, the Batocera platform. Unlike RetroPie and Recalbox, Batocera isn't directly available from the Raspberry Pi Imager, but you can readily download its official image from the website. Once it's flashed to your microSD card and loaded onto the Pi, just follow the configuration instructions to map your controller buttons and connect the controller via Bluetooth if you want. Batocera includes preloaded free games, but you can also opt to transfer ROM files via network.
Besides the Pi, controller, and the TV/monitor to connect to, other hardware requirements include a cooling fan to cool down the Pi during long game sessions, an external power button to turn on/off the board quicker, and a Pi case to make the project look more finished and portable.
Classic Nokia snake game
Snake is arguably one of the most iconic games of that time, loved for its simple gameplay and retro roots. Thankfully, you don't need to find yourself an old Nokia mobile just to play Snake — you can make your own classic Nokia snake game with Raspberry Pi.
This build is one of the best pocket-friendly Raspberry Pi projects you can do over the weekend, costing less than $15 in total. All you need is a Pi Pico board to power the project, a joystick module to control the snake, a buzzer to play the eating and game-over sounds, and a Nokia 5110 display to complete the nostalgic vibe. For the software aspect, the project uses a basic Arduino code that you just upload to the Pi.
To play the game, simply boot up the Pi and start moving the joystick around. The rules are similar to the classic Nokia snake game, where you eat the food and avoid bumping into the walls or tail. By default, the game is set to run at 50% speed, but you can modify the code to make it slower or faster, depending on your preferred difficulty. The faster the speed, the more challenging the game will be. While the original developer only used a breadboard for the components, feel free to add a battery for the Pi and build your own chassis to make the game handheld.
Gesture-based single-player Pong game
You can't talk about retro gaming without bringing up one of the first games to hit the arcade scene, Pong. While it looks significantly more basic than retro games like Pac-Man and Donkey Kong, it's this simplicity that made it an icon today. And it isn't only the gameplay that's simple; Pong is also easy to recreate on a Raspberry Pi Pico.
There are several variations of the Pi-based Pong game you can find online, most of which use physical controls like a joystick, button, or potentiometer. But for the version by developer Nick Bild, you'll use gestures instead. The project lets you play a super basic Pong game with no score and only for single players. The right paddle is yours, while the left is played by a computer.
The gesture controls are done via IR beam interruption, which uses two sets of IR LED, an IR phototransistor, and a mirror. The IR LED is pointed towards a small mirror held over it, and the reflected beam is then received by the IR phototransistor. When you place your palm between the first LED and mirror set, the beam is interrupted, and the paddle on the screen moves down horizontally. The second set controls vertical movement. As for video, the Pico is connected to a VGA breakout adapter, which then sends a 60Hz monochrome signal at 640x480 resolution to the connected display.
Tetris
Tetris remains a popular game even today and has seen a host of variations over the years. In fact, it's so popular that you can play it from your browser, desktop, or phone, as well as on a Raspberry Pi Pico.
Tetris on a Pico is easily one of the best Raspberry Pi projects for a beginner, thanks to its basic design. To get started, you'll need three things: a Raspberry Pi Pico 2, an I2C OLED display (128x64), and three push buttons (plus pull-up resistors for each one). Simply wire up the components and upload the Python code to the Pico. Once you power up the board, you should immediately be able to play your game. The rules are similar to any Tetris game: move the shapes to your desired position and orientation to fill an entire row and score points. Every time your score increases by 500, you then progress to a new level. If, however, you fill the entire grid, the game is over.
For a simpler setup, you can just use a breadboard for the project. But to make it more portable and handheld, use a PCB and add a battery and enclosure, too.