How To Secure Milwaukee Packout Boxes In Your Truck Bed
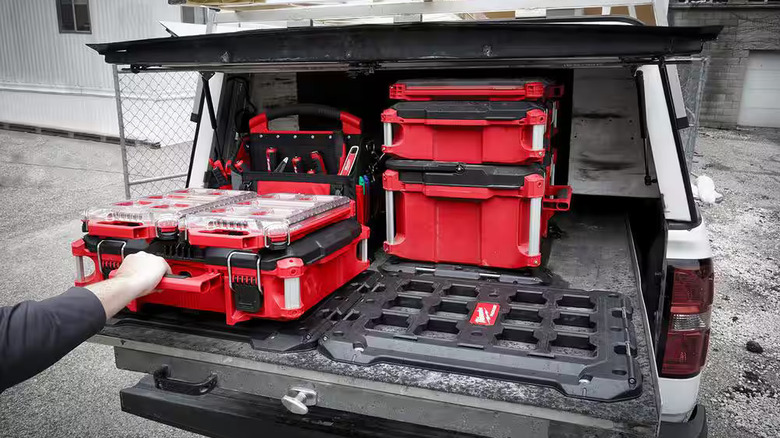
The main purpose of Milwaukee's line of Packout storage boxes is to make hauling large quantities of gear and equipment a little easier. With the system's signature locking grooves, you can securely stack them on top of each other, which also helps to save space in a packed van or truck, then unstack when you need to. On the subject of trucks, though, there's a bit of a hitch with loading a huge stack of Packout boxes into an uncovered bed: they're a bit unstable.
Even if you have all of your Packout boxes linked together and placed in the corner of your truck's bed, it only takes one firm jostle in the wrong direction to send the whole thing toppling over. At that point, you'll have all of your tools, gear, and components flying all over the place in the bed, and in the worst-case scenario, the whole stack could go flying out. The bad news is that there is no way to natively secure a Packout stack to the bed of a truck, but the good news is that you can create one yourself with a quick DIY project.
Use the official Packout mounting plate
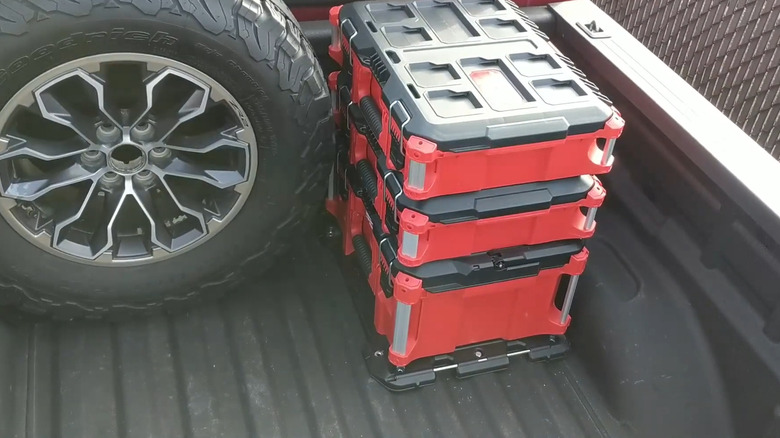
Traditional truck storage logic dictates that the best option for securing large objects would be bars or straps, or covering the bed with a tonneau cover. However, some tinkerers say this may not be ideal for Packout stacks, as even if they keep them in a roped-off area, they can't stop them from getting jostled. For the particular scenario of mounting and securing a Packout stack to a flat surface, Milwaukee actually offers a particular accessory: the Packout mounting plate. This thick polymer bracket has the same connector points built into it as the rest of the Packout line, allowing you to affix Packout boxes and crates to it.
Of course, just sticking a plate to the bottom of your Packout stack won't solve the problem on its own. It may have a sturdier base, but it could still very easily fall over while in the bed of your truck. This is why the Packout mounting plate has built-in mounting holes and tie-down points so you can secure the whole thing to wherever it needs to go.
All you need to do is find a good nook in your truck bed, line the mounting plate up with its ridges, and drive in some sturdy screws with a power drill. You might need to stick some nuts and washers in to properly line the plate up with the contours of the bed and keep everything level. Once it's screwed in, you have a nice, stable point where you can mount your Packout boxes.
Add modularity with a large rubber mat
While drilling the Packout mounting plate directly into your truck bed is the fastest and simplest way to get a secure spot for your boxes, it's understandable if you feel a little reluctant to do that. After all, drilling directly into the truck bed means making a permanent physical alteration, and you might not know for certain that you're going to keep using the Packout system.
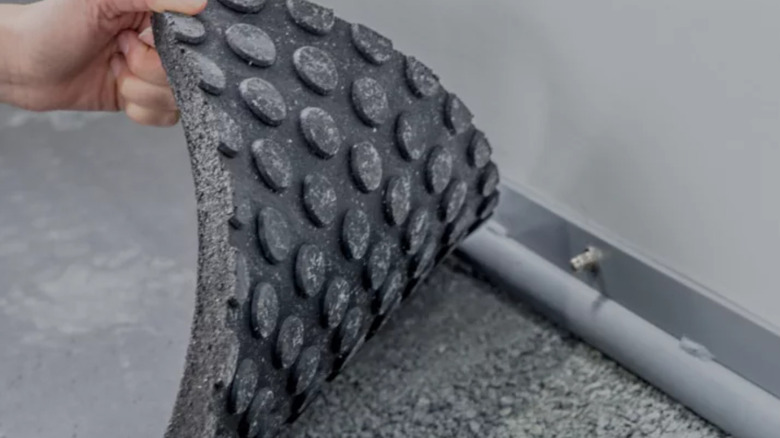
If you'd prefer not to make permanent alterations to your truck bed, there is an extra step some tinkerers recommend to add modularity to the mounting plate. Rather than screwing the plate directly to your truck bed, get a thick rubber mat and lay that down in the bed first. We're not just talking about a yoga mat here; you can get thick, heavy, and grippy mats from a farm supply store, the same kind they use to line horse stalls. These will hold firm to the bed of the truck, though you might need to cut it a bit to size it properly. Once you've got the mat laid down how you like it, just screw the mounting plate into it, and there you go. Your Packout stack will still stick firmly to the mat and bed, but if you want to take the plate out, just remove the mat.


