Can't Update Google Chrome? Here Are A Few Fixes To Try
If you're using your computer on the daily, then you're likely on Chrome most of the day too. It's your workstation and playground all in one, and since it's such an integral part of your work and personal life, it makes sense to keep it updated for the best browsing experience. An updated Chrome comes with not only the latest security patches, but also improved UI and some other extra fancy features. When you update the app, you're also making sure websites load properly in the future. Another important reason for installing app updates is that failing to do so could result in Chrome running slowly.
To update Chrome, all you really need to do is launch the app and head to More > Help > About Google Chrome. The software will automatically start downloading and installing the updates. Once that's done, simply hit Relaunch. However, if, for some reason, Chrome fails to update and you're getting errors like Update failed (Error 3), Update failed (Error 12), or any other "Update failed" messages, don't panic — we'll walk through the ways to fix this issue.
Preliminary fixes
Before jumping into the more in-depth troubleshooting methods, try these quick tips first to see if they resolve your Chrome update issue:
- Close and relaunch the app to clear it from the system's memory.
- Reboot your computer. Sometimes, starting clean is all it takes to fix your computer's technical problems.
- Fix your internet connection. Chrome needs to be online to download the updates, so make sure your Wi-Fi network is working as expected. This can mean power cycling the router, forgetting and reconnecting your device to the network, or connecting to a different network (like your mobile hotspot) altogether.
- Check whether your antivirus and firewall settings are blocking the Chrome update. Open your antivirus and firewall settings and verify that they're not restricting tools.google.com and dl.google.com.
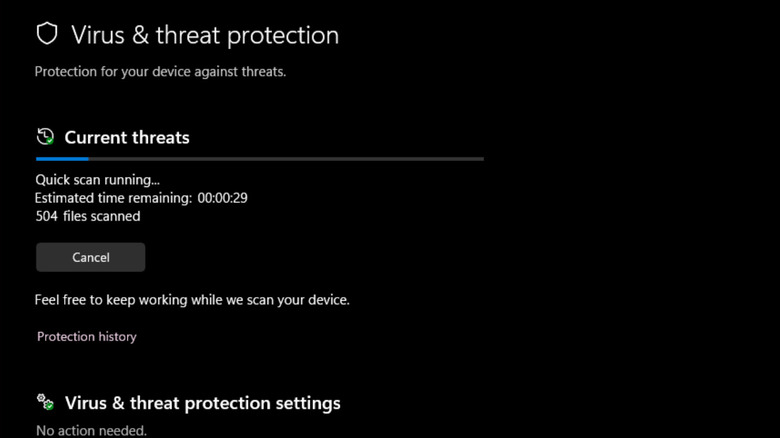
- Scan for malware. You can do so by browsing your applications list and uninstalling apps you're unfamiliar with. On macOS, some of the known apps that interfere with Chrome updates are BrowseFox, SaveSense, and Stormwatch. You can also use antivirus apps like the Windows Security app, Norton, or Avast to automatically scan for suspicious software.
If the above steps don't work for you, there are more fixes you can try.
Verify that you're running a Chrome-supported OS
The latest Chrome version works best with more recent OS versions, so if you're having trouble updating Chrome, it may be because you're not running a supported OS. According to the Google Help Center, the minimum OS version you need for the latest Chrome update is macOS Big Sur 11, Windows 10, or 64-bit Ubuntu 18.04 (other Linux systems are also supported).
If you're unsure what version you're using, it's easy to check on your computer. On macOS, go to the Apple menu > About This Mac. On Windows, it's Settings > System > About. On Ubuntu, simply type lsb_release -a in the terminal.
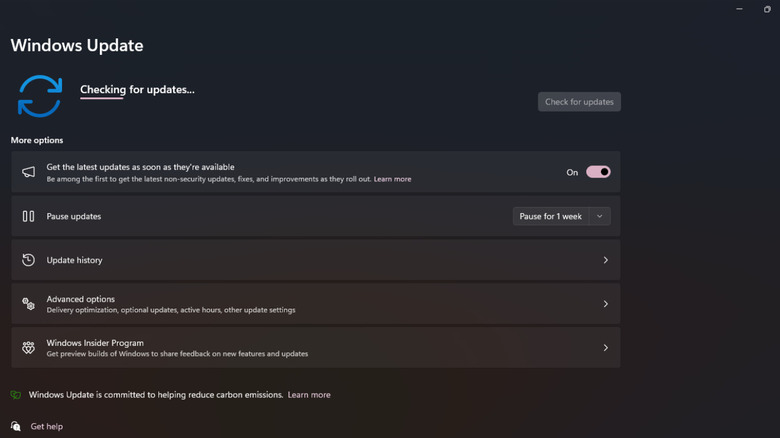
If you're running an older OS version, see if you can still upgrade your system. Navigate to the Apple icon > System Settings > General > Software Update for macOS and Settings > Windows Update for PCs. For Ubuntu, open the Terminal app, type sudo apt update && sudo apt upgrade to update installed packages to the latest available version. Once that's completed, you can upgrade the system itself with sudo do-release-upgrade. Reboot, then try to update Chrome again.
If you don't see any available OS upgrades, it's likely that your hardware is no longer supported. This means you won't be able to update Chrome, and you're stuck with the last version for your specific OS. Your only options at this point are to keep using this old version or switch to an entirely different browser that has a current version compatible with your system.
Uninstall and reinstall Chrome
One of the reasons why Chrome can't update on your device is because of missing files. For this, it's best to simply uninstall and reinstall the app. Follow these steps to proceed:
- Sync your data to your Google account first, so you won't lose anything (from your history to your bookmarks). To do so, go to the profile icon in the top-right corner and press Turn on sync (or Sign in to Chrome if you're not logged in yet), and hit "Yes, I'm in" in the popup that appears.
- Uninstall Chrome:
- On Windows, head over to Settings > Apps > Installed apps and press More > Uninstall next to Google Chrome. Hit the Uninstall button on the popup and press Yes to proceed. Then, delete the entire Google folder from C:/Program Files, C:/Program Files (x86), and C:/Users/[your username]/AppData/Local.
- On macOS, right-click on Chrome on the dock and hit Quit. Then, open Finder and go to the Applications folder. Drag Google Chrome to the Trash on your dock to delete it. Still in the Finder app, click on Go > Go to Folder. Type ~/Library/Application Support/Google/ and double-click on the result. Delete the Chrome folder from here. Also delete the /Library/Google/Chrome folder, /Library/Google/Google Chrome Brand.plist, and /Library/Google/GoogleSoftwareUpdate.
- On Ubuntu, type sudo dpkg -r google-chrome-stable in the Terminal.
- Reboot your computer.
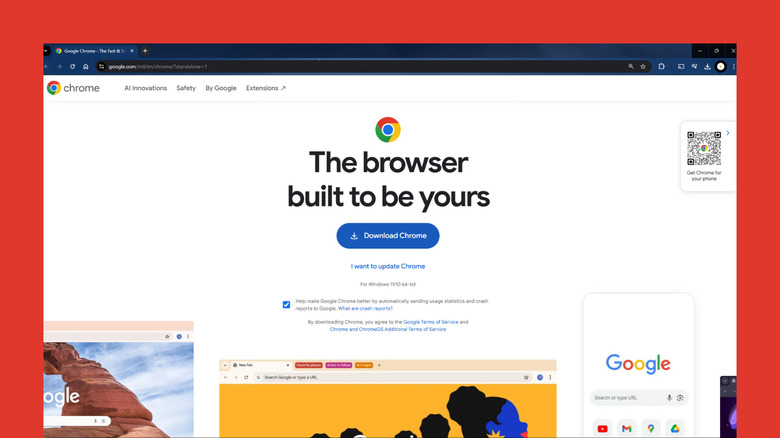
- Download the Chrome installer.
- Install Chrome as you normally would.
- Launch Chrome.
- Sign in to your account to retrieve your data.
You can also try uninstalling and reinstalling Chrome from safe mode in macOS. Boot into safe mode, uninstall the app on your macOS, and empty Trash. Then, go into safe mode again and reinstall Chrome.
Disable Compatibility Mode in Windows
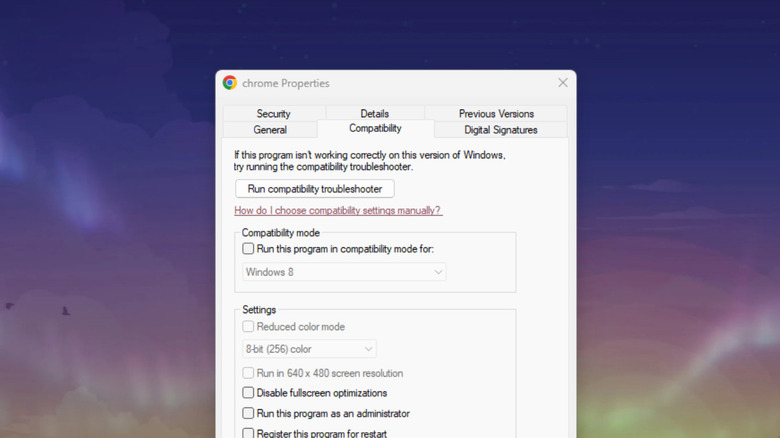
So you're already using Windows 10 or 11, but Chrome still throws you a "No longer supported" error in Windows. This may be because you've somehow configured Chrome to use the Windows Compatibility Mode, which is unsupported, and thus preventing Chrome from starting normally. To deactivate the Compatibility Mode, here's what you need to do:
- In your File Explorer, navigate to C:/Program Files/Google/Chrome/Application.
- Right-click on the Chrome application. It's the one with the Chrome icon and the Application label under the Type column.
- Open Properties.
- Go to the Compatibility tab at the top.
- Under Compatibility mode, uncheck the option for "Run this program in compatibility mode for:".
- Hit Apply to save your changes.
- Press OK to exit the Properties dialog box.
From here, you can then restart the Chrome app right from your taskbar or from the Start menu and check if it's now functional.
