12 Hidden ChromeOS Features Every Chromebook User Should Know About
Chromebooks are awesome. They give you 90% of the functionality of a traditional Windows PC for a quarter of the price, making them an excellent cheap laptop replacement. They tend to have ultra-long battery life thanks to the lightweight ChromeOS operating system, and it's harder to get a virus on a Chromebook with its web-app-based distribution. The average person who only uses their computer to surf the web and check emails will find few reasons they shouldn't buy a Chromebook. Yet despite the simplicity and accessibility, ChromeOS is not without its secrets — hidden features that can make your Chromebook more capable and boost productivity.
Many of the best things on a Chromebook aren't always immediately obvious on the surface. Whether you've just bought a Chromebook or you're a longtime user, your device likely has at least a couple of tricks up its sleeve that you didn't know about. Here are 12 ChromeOS features you might not have been aware of — and how to use them.
Use multiple desks
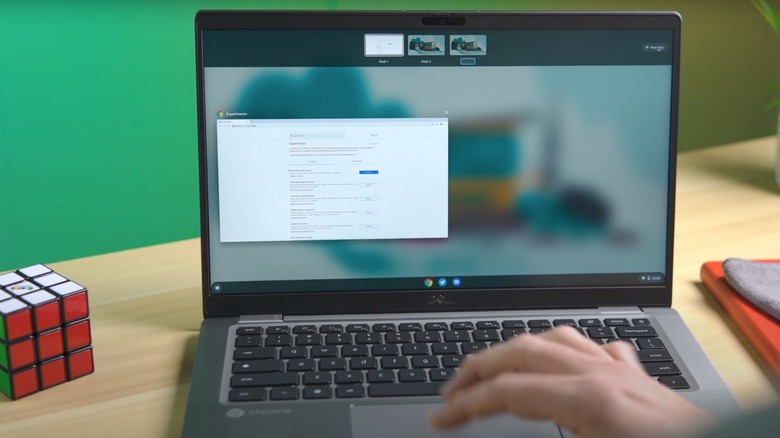
ChromeOS has what are called "desks," which are separate workspaces with their own unique app arrangement that you can pivot between on demand. Former macOS users on a Windows PC will know them as spaces in Mac, and Task view in Windows. So, you could have a desk for work with only work-only apps, and a personal desk for social media and Netflix — and stay focused exclusively on work or play.
All you have to do to create a desk is hit the Show windows key then click the plus button (Add new desk.) To change between desks, either hit that Show windows key and find the desk at the top of the screen, or do a four-finger swipe to the left or right on your trackpad. To completely close out a desk, click the x icon next to Close desk and windows.
Desks have a couple of less-obvious features. Say for example you are browsing in Chrome and you find an interesting YouTube video that you want to watch later, in your personal desk. Simply right-click that tab, choose the Move tab to another window, then your desk of choice; you can move entire windows to other desks either by dragging them individually in the Show windows screen, or right-clicking and choosing Move a window to another desk. If you want a window to appear identical in every desk, choose Move window to desk > All desks. You can combine two existing desks into one with Combine option from the Show windows screen. Finally, you can save the desk you're working on for later — freeing up the resources it's using — by going to Saved for later in the Show windows screen.
Linux-ify your Chromebook
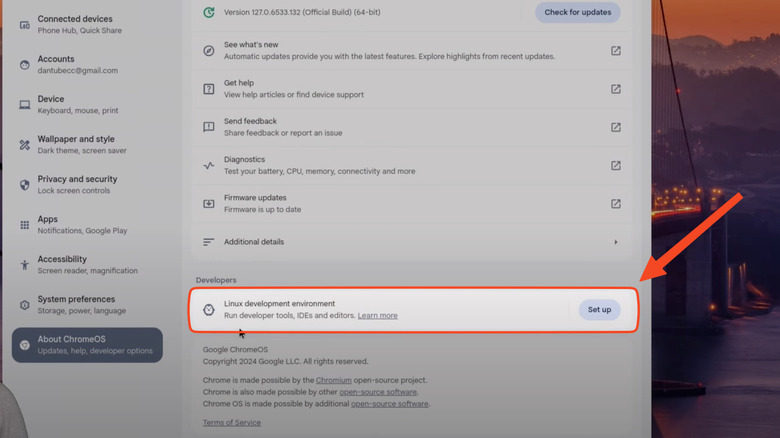
Fun, lesser-known fact: Android and ChromeOS are Linux-based operating systems, making them distant cousins of Ubuntu and other beginner-friendly Linux distros. As a consequence, your Chromebook has some compatibility with Linux software. Some full-fledged desktop apps that you wouldn't be able to download from the ChromeOS app store can run on your device. To enable this potential, go to Settings > About ChromeOS > Developers and choose Set up for the Linux development environment. Once you finish, you'll get a terminal window for a Debian environment. Now the fun begins.
To get a Linux app, all you need is the following command: sudo apt-get install [app name] -y. Replace "[app name]" with your app of choice, and away you go. Take the time to double-check that you're getting the name right; some software packages, like GIMP or VLC, can be typed as-is, but others may have a slightly different repository title. Let the terminal finish. Then you'll be able to find the program you chose in your search menu, just as any other Play Store app.
Since this is a Debian environment, you can install apps directly from a .deb file, like a .exe file on Windows. Download the .deb file for your app of choice, then copy and paste it into the Linux files folder under My files. Double-click it, let the installation complete, then press OK at the end. The terminal is god in a Linux distro, so virtually anything can be done with it — which now makes your Chromebook 10 times as powerful.
Use the clipboard
On macOS, the only convenient way to see your clipboard history is to download an app like Maccy — one of the 20 best Mac apps for improving your Apple experience. Luckily, ChromeOS has a built-in option. It works almost identically to how you'd find your clipboard history on Windows. Depending on which Chromebook model you have, hit either the Search key or Launcher Key + V. A pop-up window will show you all your most recently copied items. The only downside is that you're limited to a small handful of previously-copied items.
If you forget the shortcut for the clipboard, then you can always just hit the Launcher key and search "clipboard." If for any reason the clipboard shortcut isn't working, head to Settings > Device > Keyboard. Check that Launcher is set to "Launcher."
The default clipboard manager may not be enough for your needs. In that case, you can download a clipboard manager like Clipboard History Pro from the store. For those who chose to Linux-ify their device in the previous step, you have even more freedom. Download a clipboard manager like CopyQ with the "sudo apt-get install copyq -y" command. Linux has dozens of clipboard managers out there, so you can really fine-tune your Chromebook exactly to your liking.
Find emojis and GIFs
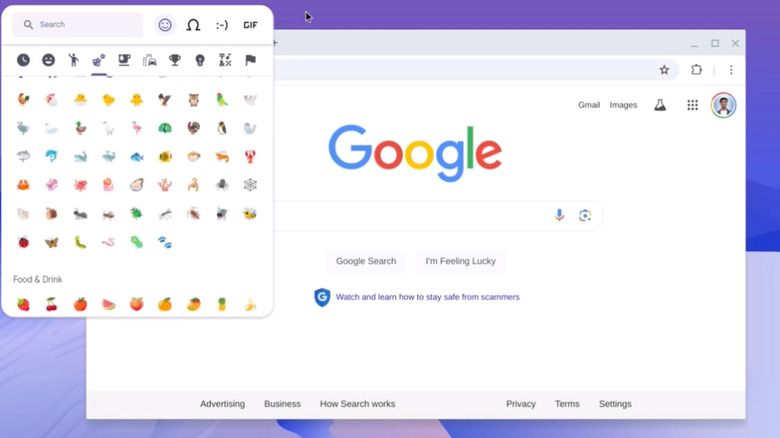
ChromeOS may be a close relative of Android, but the emoji picker is not built into the keyboard. There are a couple of ways to access emojis in addition to the typical symbols and GIFs you'd expect. First, you can simply right-click any text field and choose the first option: Emoji. Second, you can use the keyboard shortcut: Search + Shift + Space.
If you want to quickly grab a specific emoji — and you know the name of it — you can type it directly into the Search bar. So for example, "ice cream" should bring up the ice cream emoji. If you use a particular emoji a lot, this might actually be faster than using the shortcut and then manually selecting it.
The emoji picker, similar to Windows 11, comes bundled with symbols, emoticons, and GIFs. Navigate through your options either by clicking and scrolling through categories, or by searching for the emoji directly with its name. The Recents tab (a clock icon) shows all the previous emoji you've used.
Install non-Steam games with Heroic Launcher
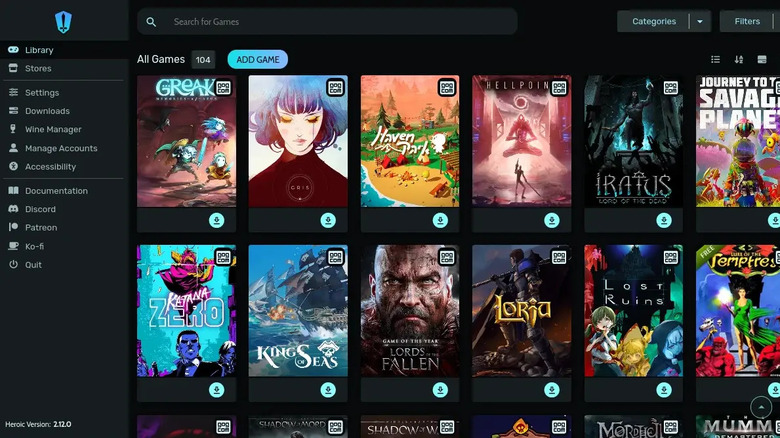
Chromebooks are, by design, fairly underpowered to give them the best battery life. They clearly lack the horsepower to play AAA titles, but that doesn't mean they can't game at all. Steam is currently developing a ChromeOS app, given it's already made Linux gaming a reality with the Steam Deck. It's in Beta, however, and isn't available to all Chromebook owners yet. If Steam doesn't work for you and/or you have games on other storefronts like GOG and Epic, then the next best option is Heroic Launcher for Chromebook. It supports playing games via the Epic Games Store, GOG, and Amazon Games in one app — including convenient features like the ability to sync your saves to the cloud.
To install Heroic Games Launcher, you'll first need to Linux-ify your Chromebook as we outlined in an earlier step. Then download the latest .deb installer from the Heroic Launcher GitHub repository. Double-click and install it exactly the same as you would for any other .deb executable and launch it when finished. Log into your accounts and download any games your Chromebook can run. It's really that simple.
If you plan to do a lot more gaming on your Chromebook but you're lacking the processing heft, consider game cloud streaming. You can play AAA games at maximum settings over the internet, provided you have a fast connection and a sufficiently large data cap. Xbox Game Pass has tiers for many budgets. Nvidia GeForce NOW is a better alternative if you just want to play titles you already own in your Steam library.
Learn all the shortcuts
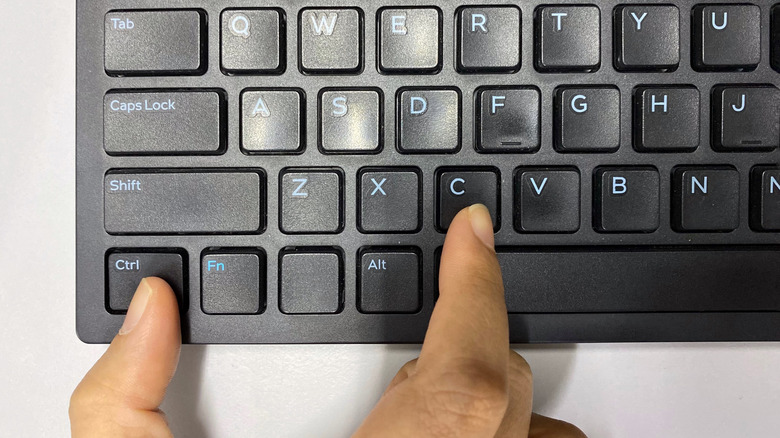
Chromebooks take some getting used to, especially readjusting to keyboard shortcuts. Most are exactly the same as in Windows and macOS: Ctrl + C to copy, Ctrl + N for a new window or document, Alt + Tab to cycle to the next window, and so on. That said, several shortcuts are either slightly or completely different. Let's take a look at some that will come in handy.
If you need to walk away from your Chromebook and keep a stranger from using it, then lock it with Search/Launcher + L. Press Shift + Alt + M to open the Files app. If you want to preview a file without opening it (similar to macOS), click the file and then press the spacebar. Open up your notifications drawer with Shift + Alt + N. Use Ctrl + Search/Launcher + D to magnify an area of your screen for better readability. Quickly search Google while in a browser with Ctrl + K.
Desks also have a ton of shortcuts to quickly manage them and navigate between them. Create a new desk with Shift + Search + =. Tap Search and one of the brackets keys ([]) to switch between desks in order. To send the current focused window to another desk, press Shift + Search + a bracket key. We've covered only a fraction of the shortcuts available to you. The full list can be found in Settings > Keyboard > View keyboard shortcuts or on this Google support page.
Access function keys
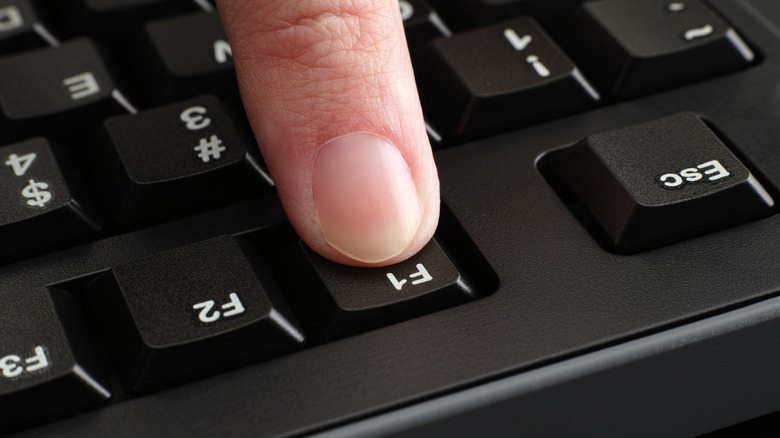
One quirk of the Chromebook is that it typically doesn't have a function row; for reference, those are the keys that say F1 through F12. This helps to make the keyboard more compact and focuses on usability. Most people don't use function keys and instead prefer the Chromebook's one-press volume and navigation controls. If you ever find yourself needing the Fn key — such as for a specific keyboard shortcut — here's how you do it.
One, you can press Search/Launcher plus the corresponding key. These keys range from F1 to F10, depending on your model's keyboard size. Keep in mind, this only works if your Search/Launcher key is working at default settings; if you changed it to caps lock (which we'll get to later), then it won't work.
If you like, you can set the top row of keys to always serve as function keys — more useful if you rarely or never touch the default action keys. Go to Settings > Device > Keyboard and toggle on Treat top-row keys as function keys. If that's too limiting, then consider grabbing one of the best keyboards from Amazon to have both types of function rows.
Enable caps lock
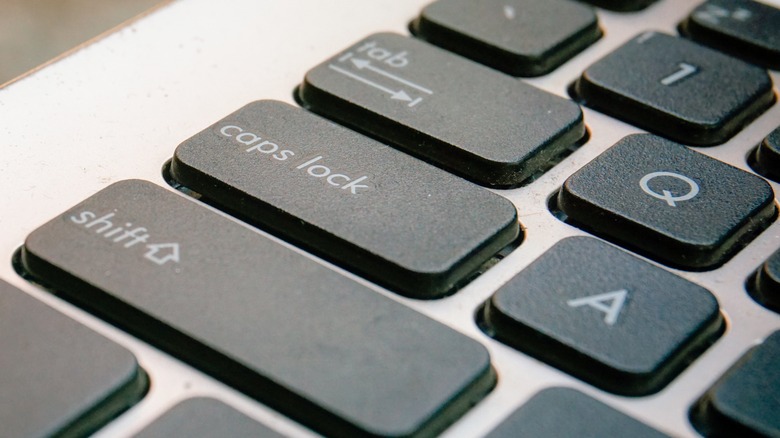
Another quirk of the Chromebook is the lack of a caps lock key. Most Chromebooks have the Search key in its place. This is likely for space savings to keep the keyboard as compact as possible, and it may be for the best. Some people make a strong case for abolishing this vestigial holdover from the typewriter days. After all, how often do you actually use caps lock versus accidentally pressing it and messing up whatever you were typing? In the rare case you do want it back, there is a way to get it.
If you want quick, one-time access to caps lock, then all you have to do is hit Alt + Search. That should do it for most people; I only purposefully enable caps lock a couple of times a year, so that's my go-to option. But if you find yourself writing angry messages in all caps on the daily, go to Settings > Device > Keyboard and change the Search key's behavior to Caps Lock. We don't recommend keeping a permanent caps lock, though. The Search key is one of the best parts of the Chromebook, and without it, you'd have to go through an extra step of opening the Launcher whenever you want to search.
Take full control of your Chromebook with the trackpad
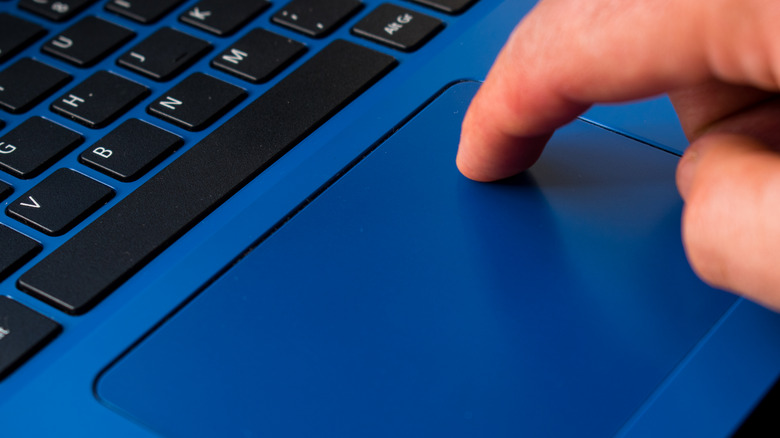
Aside from the weird issue with changing scroll direction on Mac, MacBooks are the uncontested kings of trackpad navigation. So good that many people don't even feel the need to use a mouse with them. Chromebooks, being the portable, trackpad-first devices that they are, have a more powerful trackpad than you may realize. Let's take a look at a few helpful trackpad gestures so you don't have to resort to a Bluetooth mouse out of frustration.
First, you can go back to the previous page while in the web browser with a two-finger left swipe. Conversely, swipe right to go forward. Cycle through your tabs by making the same gesture with three fingers. Similar to macOS, swiping up with three fingers will also bring up the Overview so you can quickly access any and all open windows. A three-finger tap on a link will open it in a new tab, and doing the same on a tab will close it without having to click the X button.
Swapping between desks is also effortless and works much the same as it does on macOS. Swipe left or right with four fingers to quickly change between active desks. We recommend going to Settings > Device > Touchpad to enable Tap to click and Tap and drag if they aren't already enabled. You can see the full list of Chromebook trackpad gestures here. For more trackpad gestures, you might try the Trackpad Gestures app from the Chrome Web Store.
Get notifications from your Android phone
iPhones connect to MacBooks seamlessly, and Android can connect to a Windows PC with Phone Link, so what about Chromebook? Connecting an Android phone or a Chromebook takes only a minute or two to set up, so here's how. Look for the Phone icon at the bottom right of the screen, click it, then hit Get Started. Choose Set up under Connected devices and follow the prompts. Once done, that Phone icon is where you manage your Android phone from your Chromebook.
Click on the Phone icon and you can do a number of things: check the battery, find your phone, look through your notifications, see photos in your gallery, and even stream Android apps directly to your Chromebook from your phone. Any one of these features can be enabled or disabled to the taste in Settings > Connected devices.
Note, if you want to stream apps to your Chromebook, your phone will need to be running at least Android version 13 and should be either a Pixel 4A or later, Nothing Phone, or a Xiaomi 12T or 13 series device. Both devices need to be in proximity of each other on the same network, and you will have to grant any permissions you intend to use first on the phone itself. Keep in mind that some DRM-protected apps may have limitations, and the streaming experience may not behave as expected on apps like Netflix.
Use screen capture
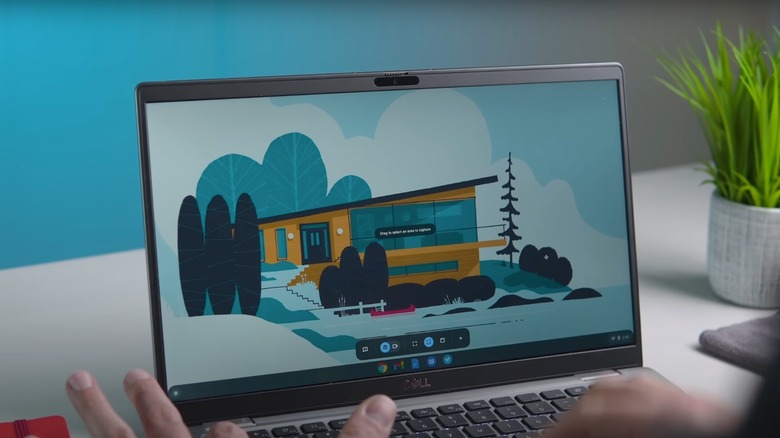
Need to grab a quick screenshot or video of your Chromebook's screen? No problem. The built-in screen capture tool should get the job done. To activate it, either press your Chromebook's Screenshot key or use the combination Shift + Ctrl + Show windows — and if there's no Show windows key, then F5.
For screenshots, you have three options: full screenshot, partial, or window screenshot. Window screenshots capture the active window of a specific app to avoid sharing irrelevant or personal details from surrounding apps. Adjust the capture as needed before pressing the Screen capture button and find the end result in your Downloads folder.
To record your screen, you have the same three options: full, partial, and window recording. Video files will be saved as .webm to your Downloads folder, but you can also create a GIF. Further, you can record the output from your webcam and microphone in tandem with the screen, perfect if you want to make a how-to video. Open the Settings while Screen capture is open to enable extra presenter tools, such as showing the keys you are pressing and your clicks in the video, too.
Share your device with guest mode
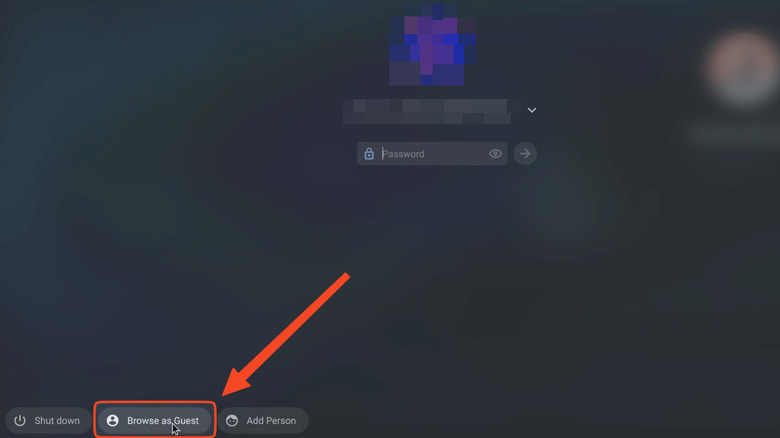
Windows and macOS both require you to set up a guest profile in the event you want to let someone use your computer without giving them full access to your account. On a Chromebook, this feature is on by default. While on the sign-in screen, look for the "Browse as Guest" option at the bottom. No password is required, perfect if you want family or friends to have access to your device when you aren't present.
Guest mode is, however, very limited. Guests can't browse the Play Store or install apps, your Google apps are signed out, and the Chromebook behaves like a brand-new device with default settings. Guest mode mostly only exists so someone can browse the internet with Google Chrome in Incognito mode. So, let your friends and family know that if they sign into their account while in guest mode, they won't be able to continue where they left off the next time they use your Chromebook. Consider making them their own user profile if they need more frequent access.
For some people, it might be somewhat uncomfortable knowing anyone can access your computer, locked down though it may be. To disable guest mode, go to Settings > Privacy and security > Manage other people. There, disable the Guest browsing setting.
