How To Adjust The Handle And Cutting Height On Ryobi Push Mowers
Yard maintenance can be tough work, but having the right tools can make it easier. One of the best tools to have on hand is a push mower for keeping your lawn crisp. If you've been on the hunt for one, then you've probably come across some Ryobi models.
Ryobi push mowers are battery-powered, but while they may not last as long as gas-operated mowers, they are a lot quieter. They also offer three grass disposal methods: mulching where the grass is finely cut and left on the lawn, bagging where the grass is immediately thrown into a detachable bag, and side discharge where the grass clippings are blasted from the side of the mower and need to be cleaned up later. Additionally, Ryobi push mowers are typically lightweight and come with foldable handles for easy storage.
While these features already make the Ryobi lawn mowers worth the investment, there's one other functionality you're sure to appreciate: cutting and handle height adjustment. But how exactly do you change the cutting and handle height on your Ryobi push mower?
Method 1 for cutting height adjustment: Via lever
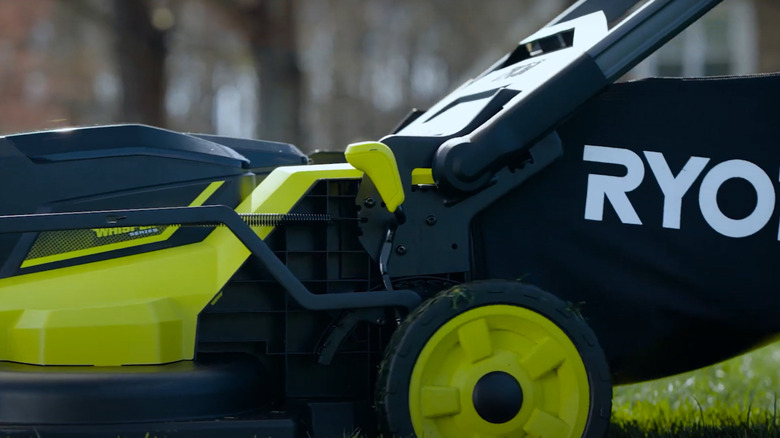
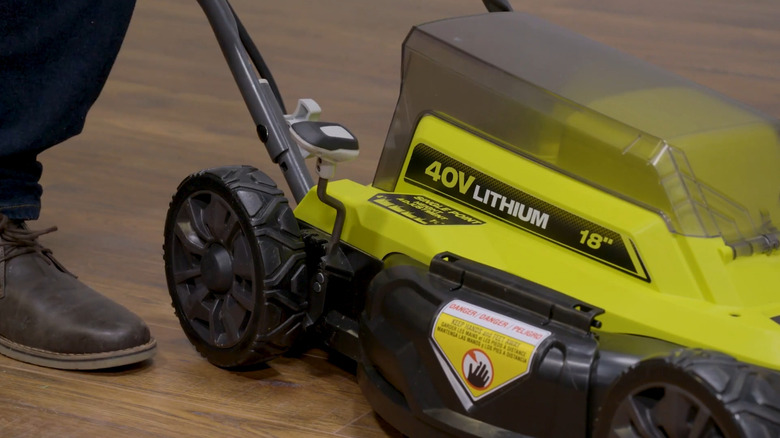
The most common way to adjust the cutting height of Ryobi push mowers is by using its built-in height adjustment lever. You can find this either next to the front wheel for models like RLM18X33S40 and OLM1833S or on the body itself for models including RLM36BL, R18XLMW54, R18XLMW50, R18XLMW20, RY401011, RY401110, and RYAC200. However, most models have the height adjustment lever close to the back wheel. This is true for the following models:
- R36XLMWP6
- R36XLMWP0
- RLM1840BLX6
- OLM1840BL
- P1180
- RY401010
- RY401017
- RY401100
- RY401101
- RY401170
- RY401200
- RY401220
- RY40HPLM05
Before adjusting the Ryobi push mower's cutting height, make sure to take out the battery packs and the start key first. To lower the cutting height, simply hold the lever, pull it toward the wheel to release it from its current height slot, and then slide it into one of the slots closer to the front of the mower. To increase the cutting height, remove the lever from its slot by grabbing and dragging it toward the wheel and tuck it into a slot near the back of the mower. Once the mower is at your height of choice, you can put the start key and battery pack back into the machine and start tidying up your lawn. If, however, your Ryobi mower isn't cutting grass properly, try switching to a different cutting height as the new setting might not be suitable for the grass length.
Method 2 for cutting height adjustment: Via the carry handle
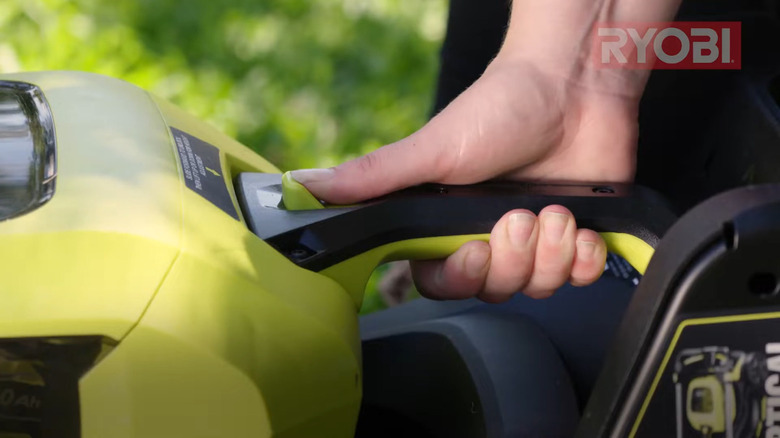
In some Ryobi push mower models like the R36XLMW10, R36XLMW16, R36XLMW26, and R36LMW16, there's no height adjustment lever anywhere in the machine. Instead, the models come with a carry handle where you can find the height adjustment key. Before changing the mower's height setting, though, remove the start key and battery pack if there's any installed.
Then, to adjust the cutting height to your preferred setting, hold the carry handle found in the body of the machine, with your thumb on top of the handle. With your thumb, push the height adjustment key forward. This will let you lift or lower the machine to your cutting height of choice. If you want a low cutting height, simply press down on the mower while pushing the height adjustment key forward. If you need a higher cutting height, pull the handle up instead. While adjusting the mower's height, check the height adjustment label on the side of the machine to see if it's at your preferred level (indicated by the plastic arrow pointing to the current height setting). If it is, release the height adjustment key to lock the height in place.
After changing the cutting height of your Ryobi push mower, re-install the battery pack and start key. Then, proceed with mowing as usual.
Method 1 for handle height adjustment: Using the handle release lever
Not all Ryobi push mowers come with an adjustable handle. But for those that do, raising or lowering the handle height is pretty easy. You can do so when initially setting up the mower or when you just want to adjust the height to a more comfortable position. There are generally two ways to set the handle to a different level, depending on the model.
The first method is with the green handle release lever located on the handle crossbar. Models like RY401200 and RY401220 are outfitted with such a lever. To use it, simply pull it up or down to unlock it. While holding the lever, lift the handle crossbar to raise the height or press it down to lower the height. The handle should click into one of the two notches at the base. Then, let go of the handle release lever to lock the handle securely in place.
Method 2 for handle height adjustment: With the height adjustment clamps
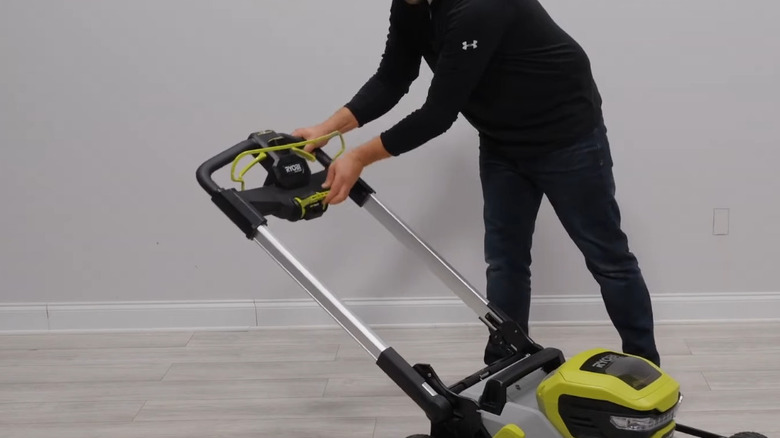
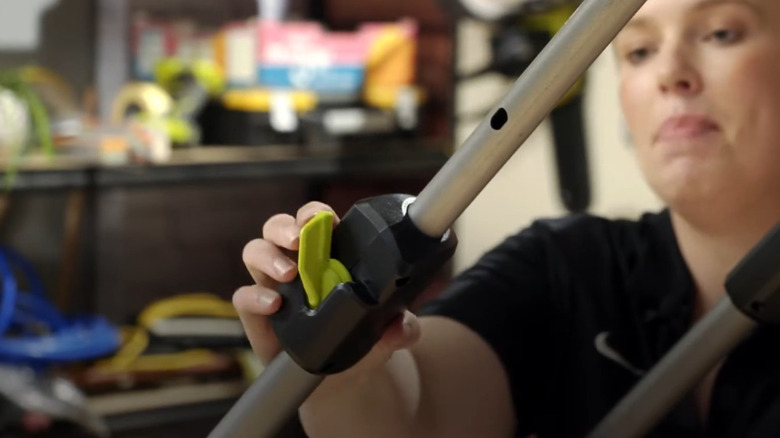
For other Ryobi push mower models like R36XLMW10, R36XLMW16, and R36XLMW26, the handle can be adjusted with the height adjustment clamps on both sides of the handle. Snap open the green height adjustment clamps on the sides of the handle (near the top) to unlock them. Then, pull the handle bar up to add height or push it down to lower it. Once you find your desired position, push the clamps back into place to lock them.
For these Ryobi push mower models, you can also change the angle of the handle. Unlock the green quick-release fasteners (located on both sides of the handle near the base) by pulling them forward. Turn the fasteners to the front to your preferred angle, and then pop them back so they align with the handle. This should lock them into position. Make sure to hold the handle for support as you're adjusting the angle.
