6 AI Features In DaVinci Resolve Worth Trying Out
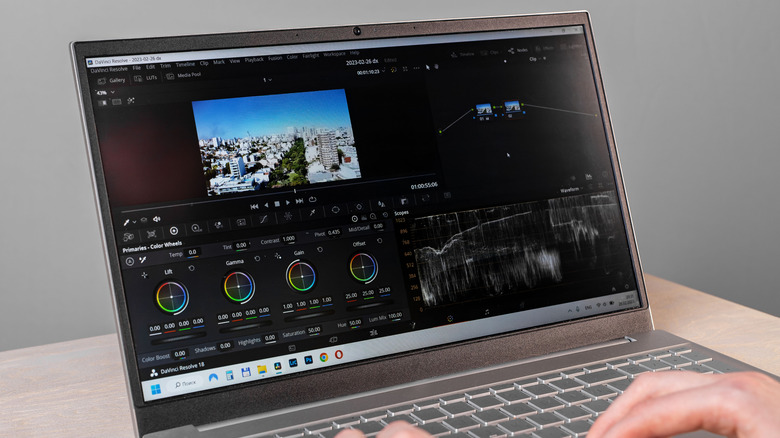
BlackMagic Design's signature post-production powerhouse program DaVinci Resolve has proven its viability across the entertainment field, with its multifaceted editing, color correction, and VFX capabilities being part of the creation of everything from 30-second social media reels to billion-dollar movie franchises such as Star Wars, Pirates of the Caribbean, and Avatar. Whether you're a budget-conscious creator using the free version of the program or a more advanced editor looking to try out the paid studio version, it's hard not to find at least a few dependable and surprisingly versatile functions within this impressive software that may become forever ingrained into your process.
As can be imagined for an application that's been around since 2004, DaVinci Resolve has seen its fair share of changes over the years. With recent advancements in artificial intelligence being implemented, it should be no surprise that BlackMagic would eventually get in on the action. The most recent iterations of Resolve have implemented a host of powerful AI capabilities intended to create a more efficient workflow, aid in spotting and correcting mishaps, and elevate the quality of your videos. The library of Resolve's AI features will continue to grow, but there's more than enough at your fingertips to try out now if you haven't already. Here are six of functions, all of which are only available in the full studio version, and how they may come in handy on your next project.
Scene Cut Detection
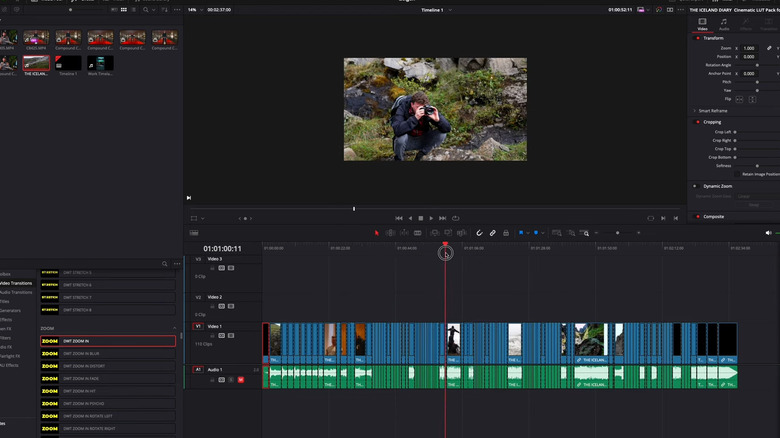
When editing, having as much control of every asset is key to delivering the most precisely-crafted final product. But what about when, instead of having access to individual source clips or project files to work from, all you're given to is the fully edited final export video. This can create a tedious amount of work, as now you'll have to go through the full video and manually slice every video and audio clip before implementing the necessary edits. Now with Resolve, the AI Scene Cut Detection feature can help.
The purpose of this self-explanatory tool is to automatically sense and point out where cuts have occurred on a singular video file. Using it simply requires you to go to your timeline, select the video, go to the Timeline menu in the upper part of your screen, and select "Detect Scene Cuts." Resolve will analyze your selected clip and create cuts where it senses every jump that occurs. From there, users can further alter any cut points or transitions, remove unneeded sections, and individually adjust elements such as color correction, audio levels, effects, and more for each clip.
That this normally arduous task can be whittled down to only a few seconds is not only beneficial from an efficiency point-of-view, but also gives you more flexibility to take on more difficult editing jobs. Keep in mind that, like all of the features on this list, Scene Cut Detection is only available on DaVinci Resolve Studio.
Auto Subtitle feature
Approaching video editing with an inclusive mindset is a key to finding success as a content creator. By considering the needs of your audience, you're maximizing your growth potential. One of the simplest ways to go about this is through the use of text-based tools such as subtitles, which can be useful to those who are hard of hearing or are in locations where it may be difficult to hear your video. Resolve has always been able to create these elements, but with the help of AI, making use of these capabilities is easier.
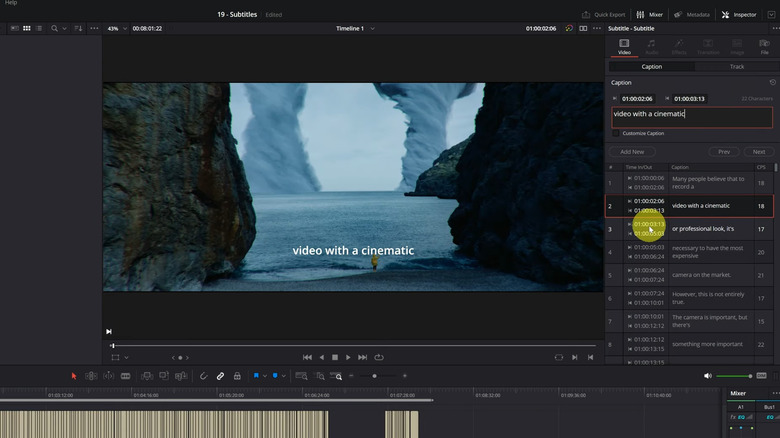
Resolve's Auto Subtitle feature is quick and easy to use for those who looking to add captions to their video. After selecting the video you want to subtitles, simply open up the Timeline menu and select the Create Subtitles from Audio option. The program will then generate captions based on the audio from the selected clip, placing them on their own separate tracks. You then have the ability to make any necessary edits to text that may have been misinterpreted by the program, add in words that may have not been included, change up the font, and more.
Smart Reframe
Nowadays, you'll be hard-pressed to come across an editing project that doesn't require at least some knowledge of how to optimize content for social media. This can create difficulties, however, as some media video platforms are formatted for a 16:9 aspect ratio in order to be viewed on mobile devices, which is the opposite of most videos that are shot in the traditional widescreen 16:9 format.
Smart Reframe is one of DaVinci Resolve's most handy AI features that helps alleviate this issue. In the past, you would bring a 16:9 video into Resolve and change the aspect ratio by going to File, selecting Project Settings, and altering your timeline resolution to what you desire. The problem with this, however, is that you still have to manually change your video's positioning to reframe a subject that may have been cut off by changing the aspect ratio, which can take considerable time and effort.
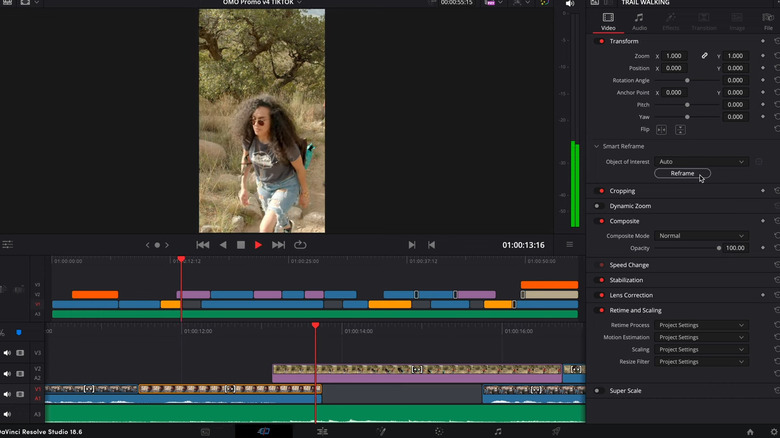
Smart Reframe offers a refined solution to this by not only optimizing your video's aspect ratio to best suit different formats, but will also reposition and reframe the video to follow the action taking place. This can be found in the Inspector underneath the Transform section. After selecting your clip and hitting Reframe, new keyframes will be automatically applied to center, zoom in on, and follow the subject as needed. Of course you can make further tweaks to change camera movements and even place reference points on specific subjects that you want to place emphasis on.
Face Refinement
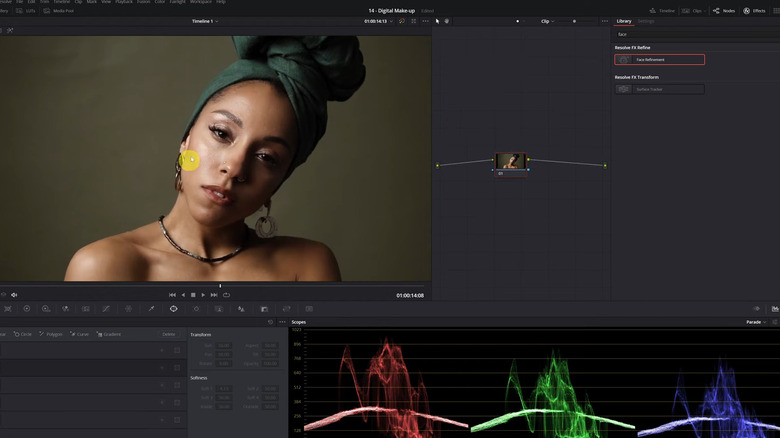
Making the subject of your video stand out may seem an obvious goal, but one that's easier said than done. It can be easy for weather conditions, lighting, and makeup to create a less-than-desirable look while filming, resulting in your subject's face being hard to see or proving distracting. While in the past you could try to color correct your clip to make things more noticeable, Resolve has come out with an even more specialized method of solving this problem with the Face Refinement function.
Face Refinement gives users the ability to track the faces of subjects and make adjustments to the color, lighting, and sharpness of various facial features. This is found when looking up Effects in the Color tab of DaVinci Resolve. If you want to apply Face Refinement to your video, you'll hit analyze, which allows the program to detect and track the face with green lines to the sections such as the mouth, eyes, and nose. From there you can choose to alter the overall color grading and intensity of the face or work on individual sections such as the forehead, lips, and chin.
As dynamic as this function can be, make sure you're using it responsibly. Overdoing the adjustments can not only give your subject an uncanny, plastic-like look, but going overboard with changing a person's natural appearance can quickly become a disrespectful affair. So as great as Face Refinement can be in helping with quality, less is more is a generally good rule of thumb to follow when applying the effect.
Object Removal
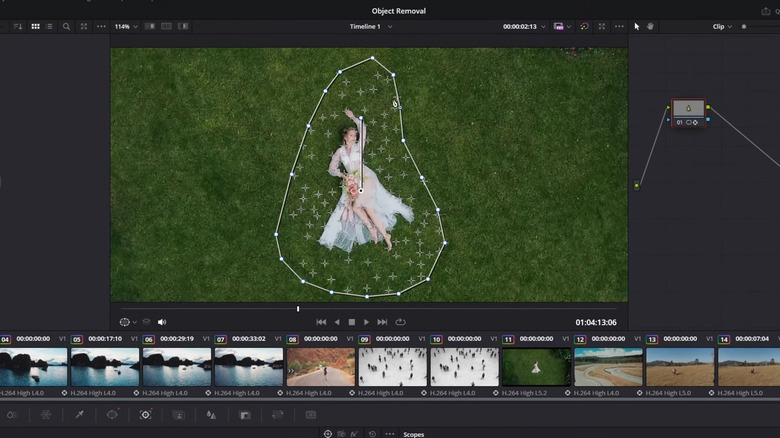
Unwanted objects that make their way into your shot can seem like a death sentence. Whether its a soda can on a table that someone forgot to throw away or a car driving in the far background of a scene meant to take place in the 1800s, few things get under the skin of production teams quite like these mishaps, especially if they're noticed long after shooting has wrapped. Whereas taking care of these issues was once a tricky task to be handed to a VFX artist, DaVinci Resolve's Object Removal feature gives just about any user an easy and effective way to get the job done.
In the Color section, you'll place a mask around whatever you plan to remove and choose the appropriate tracker depending on if your subject is moving or not. You'll find Object Removal in the Effects tab, which you can apply on to your clip, select Scene Analysis, and then choose Build Clean Plate. You can further edit the texture of the clean plate to more seamlessly integrate with the rest of the video by adjusting the Search Range and Analysis Boundary. Additionally, while you can allow Resolve's Neural Engine to create your clean plate, some choose to use their own.
Voice Isolation
Sound quality is an often overlooked factor of video production, especially for many novices. But no matter if you're a beginner, a seasoned pro, or even just a casual viewer who's never touched an editing program in their life, bad audio will stick out like a sore thumb — especially against a beautifully put-together video. This begins long before editing takes place, as those filming should be capturing good quality audio while shooting. Of course, mistakes happen.
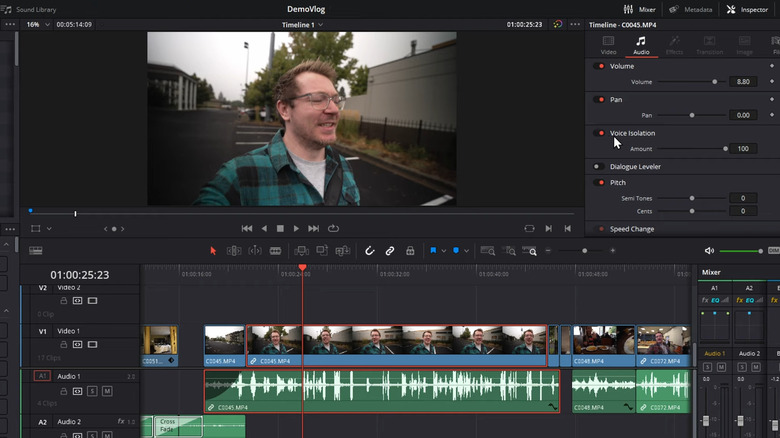
For example, if someone's voice is being obstructed by background noise such as wind, nearby chatter, or construction, it may seem like a tall task to try and fix it. You could always try dubbing over the original footage, but more often than not this will come across as distracting. Instead, those editing with DaVinci Resolve will find a far more effective solution with the Voice Isolation feature. Found on the audio tab of the Inspector section, Voice Isolation will remove undesirable background noise and, as its name suggests, isolate the voice of whoever's speaking. You can adjust the Amount between 0 and 100 to more naturally balance out speech with background sounds.
