Turn Images Into Excel Data Instantly With This Handy Feature
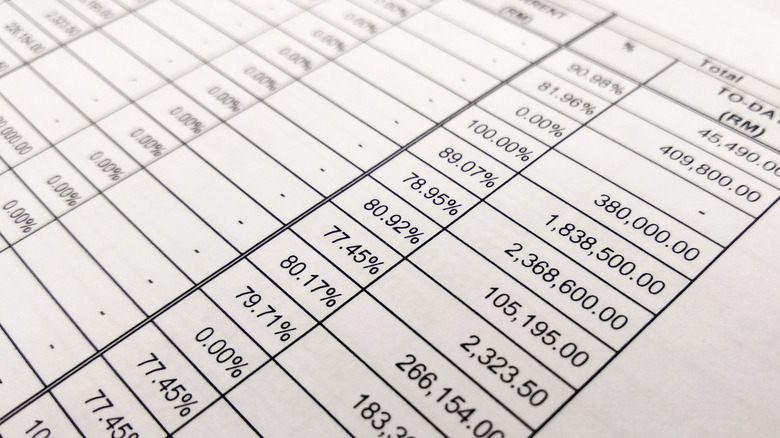
Converting large paper-based data into a spreadsheet is arguably the most mundane of tasks. In an era where AI can make Donald Trump sing a Taylor Swift song with perfect vocals, the manual drudgery of feeding data into a spreadsheet feels menial, to say the least. If your job involves constantly tossing around paper and digital data, Excel's latest offering – Data from Pictures – might just be a lifesaver. The feature uses a blend of AI and optical character recognition (OCR) to identify the contents of an image and turns them into an editable spreadsheet.
While machines generally perform better at automating repetitive tasks such, the OCR tech can make mistakes if the image is blurry or due to an interpretation error. Hence, rechecking your data and identifying mistakes is crucial for correctly using the Data from Pictures feature. Here's a quick walkthrough on how you can instantly turn images into proper spreadsheets and rectify errors using Excel.
Using the Data from Pictures feature
Excel's Data from Pictures feature is available on the latest mobile, web, and desktop apps. The mobile apps give you the additional benefit of capturing the image on the go using the smartphone's camera. The desktop and web apps, on the other hand, require you to save the image on the device, before you can convert it into Excel data. Here's how you can use the Data from Pictures feature on the desktop app:
- Open Excel on your desktop and navigate to the Data tab.

Microsoft - Now, find the Data from Pictures option and click on it.

Microsoft - Select the Picture from File option and browse to the image location. Alternatively, you can also select the Picture from Clipboard option if you have the image copied to the clipboard.

Microsoft - Hit Insert Data twice and the table should appear in the spreadsheet.

Microsoft
The feature works similarly on the smartphone apps. Here's how:
- Simply head to the bottom left and tap on the folder icon to reveal the ribbon commands.

Microsoft - Now, find the Data from Pictures option by swiping left.

Microsoft - You should see the options to capture the image on the go or browse it from your files.

Microsoft - Choose one of these options and tap Open to feed this data into the spreadsheet.

Microsoft
Minimizing and identifying errors
Microsoft gives you a fair warning to validate the data, as OCR can occasionally misinterpret data. Try clicking head-on images of just the data to minimize the errors while using the Data from Pictures feature. Moreover, well-lit images with little to no blur turn out error-free much of the time.
That said, validating the data is an essential step in any OCR application. The best way to identify errors is by using the SUM function to calculate a quick sum of the data from each column. Next, calculate the same sum for the paper data and if the numbers match, the data is most likely accurate. Repeat the same steps for all the columns and you should be good to go. For the text, however, manually checking each entry is the only way to identify errors. The red wavy lines for spelling errors can be a giveaway, but they fail to flag mistakes in names.
While the Data from Pictures feature works great for smaller data, validating multiple data rows can become as tedious a task as manually entering it in a spreadsheet. A blend of manual entry and Data from Pictures is a good way to go for large and complicated datasets.

