What To Know Before Attempting A DIY Wheel Bearing Replacement
We may receive a commission on purchases made from links.
In 40-plus years of working on cars, I have tackled nearly every job, from simple tune-ups and fluid changes to complex engine swaps. Considering how expensive some professional car repairs can be, especially on late-model cars, this has saved me thousands of dollars over that time. There's one job you can do with a few special tools that will not only save you money but might potentially save you from disaster.
If you're hearing noise or feeling excessive vibration from one of your wheels, you may have a wheel bearing that's reached the end of its useful life. Bad wheel bearings will compromise your car's braking and handling and can even cause a wheel to fly off while you're driving. Since these noises and vibrations can also be caused by a bad constant velocity (CV) joint or tire, there's a simple test you can do to see if a bearing is in need of replacement.
Raise the suspect wheel via a jack and jack stand and put one hand at the 3 o'clock position and the other hand opposite it at 9 o'clock. Grab firmly, and rock the wheel back and forth. If the bearing is good, there should be minimal play in the wheel. Repeat the test with your hands at 12 o'clock and 6 o'clock. If you have any doubt as to whether the bearing is good, it's best to err on the side of caution and replace it. Here are some things you should know before tackling this important job.
On most vehicles, the bearing is part of the wheel hub assembly
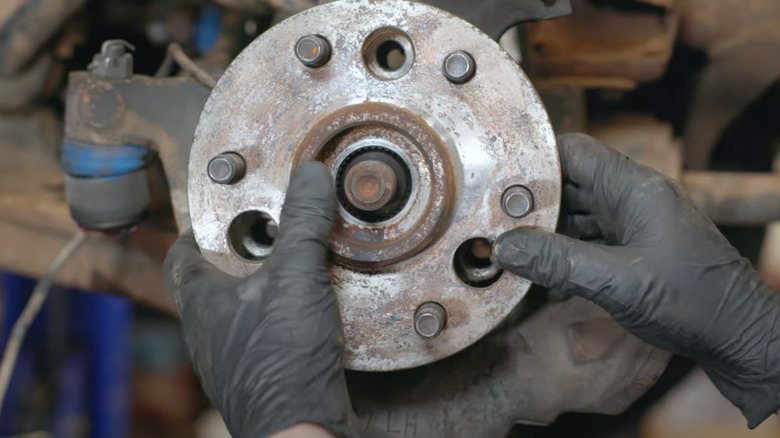
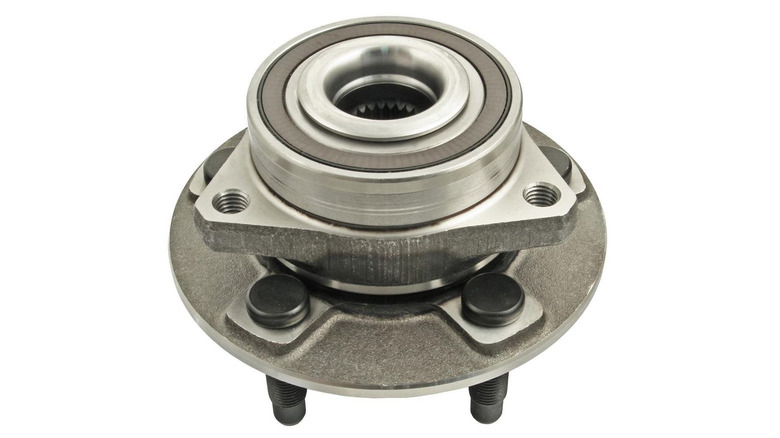
A wheel bearing consists of two metal rings separated by ball bearings that allow them to rotate smoothly around one another. Bearings are necessary for your wheels to spin properly as you drive and also take up the weight of the vehicle. On most modern cars, the bearings are integrated into the wheel hub assembly, like in the one from a 2021 Chevy Camaro shown above. Many older cars, like the first-generation Ford Thunderbird, have tapered bearings that require them to be pressed into the hub; this makes for a more complicated replacement process that requires a bearing press.
If you have a rare or classic car and might eventually want to fabricate your own parts, a machine like the Strongway 12-ton Hydraulic Shop Press that Amazon sells for $198.98 might be a good investment, but this requires a garage with a decent amount of free space. For removing and installing most wheel bearings, a portable tool like the Orion Motor Tech 24-piece Wheel Bearing Press Kit will do the job just fine for $68.99.
You'll need a large socket to remove the axle nut
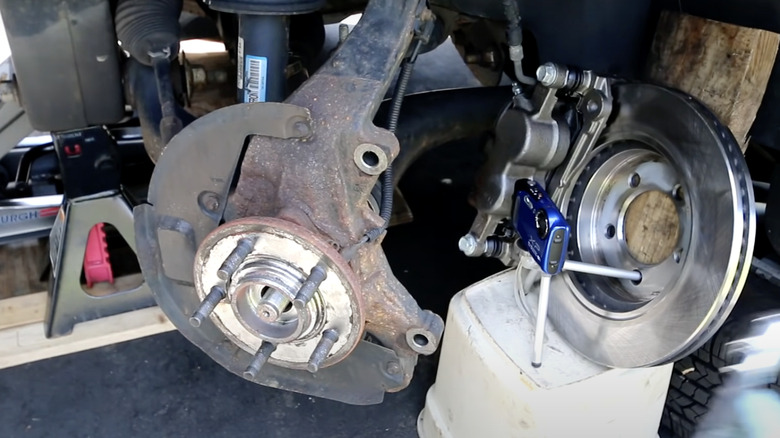
Replacing a bearing and hub assembly requires you to remove the brake caliper. You should have some baling wire or large zip ties handy to secure it while you swap the hub, and this also presents a good opportunity to change your brake pads. An impact driver also comes in handy to remove some of the fasteners for a bearing and hub change.
On many vehicles, like the 2006-2018 Jeep Wrangler, you'll have to remove the axle nut to pull the old hub and bearing assembly. For this, you'll probably need a socket that's larger than the ones in your regular toolbox. A quick call to your dealership's parts department will tell you the size of your axle nut; this is also a good chance to order a new nut, since best practices dictate that you replace axle nuts each time you remove them.
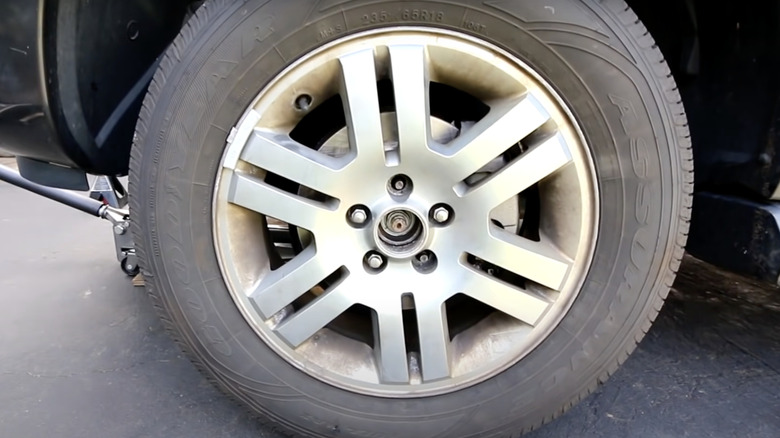
Amazon has a good variety of axle nut socket sets for sale, including this Dayuan 9-piece Axle Nut Hub Impact ½-inch Drive Socket kit for $36.95. Many vehicles, like the late 2000s Ford Explorer and Mercury Mountaineer, have a metal ring that you'll need to remove to access the axle nut. For this, a pick tool like the ones found in the Tooleague 9-piece Precision Pick and Hook Set that Amazon sells for $12.99 will allow you to pop it out easily.
Check some other things while you work on the wheel bearing
Once you're ready to remove the nuts that hold the hub to the steering knuckle, take a little extra time to inspect the other components of your steering, suspension, and brake systems. These include ball joints and tie rod ends, brake lines, and shock and strut bushings. As always, make sure your vehicle is securely supported by jack stands before crawling underneath. It's best to place jack stands under the frame or axle to keep them securely underneath your car. Once it's raised, give the vehicle a good shake to make sure it's secure before starting to work.
Another important safety consideration is to make sure you have a reliable torque wrench on hand. When reattaching any nuts and bolts that are part of the axle or steering assemblies, proper torque is necessary to avoid disaster later. If you don't have a factory service manual to tell you the proper torque specs for your car, it's worth it to take a few minutes to call your dealership's service department to get them.


