6 Mistakes To Avoid When Upgrading Or Repairing Your PC
We may receive a commission on purchases made from links.
When it comes to the arguments about the benefits of owning a Mac vs. a PC — whether it's running Windows or a flavor of Linux — the biggest argument in favor of owning a PC is that there's significantly more freedom to customize a PC. Whether you're upgrading an existing PC or building your own from parts you personally selected, PCs are made to be relatively modular and standardized, ready to upgrade. This is a significant reason why gamers flock to PCs, as they can keep upgrading to keep up with the latest and greatest whenever a significant hardware upgrade in their price range hits stores.
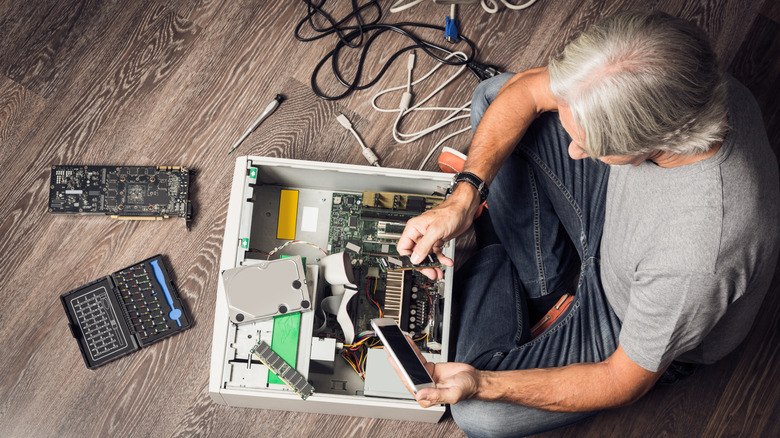
However, upgrading or building a computer is not a task to be taken lightly. Some upgrades/repairs are easier than others, but even if you're confident in your ability to do everything right in physically putting the computer together, there are various planning concerns. You need to ensure everything is compatible, and you need to keep a clean, organized workspace to make sure that you don't lose little things, like any necessary screws. You even need to be acutely aware of the presence of static electricity, a minor annoyance in most walks of life that, when building a computer, can destroy your expensive components and cost you serious money in the process. If you know what you're doing, though, upgrading your PC can be a very rewarding process.
Generating static can damage your PC
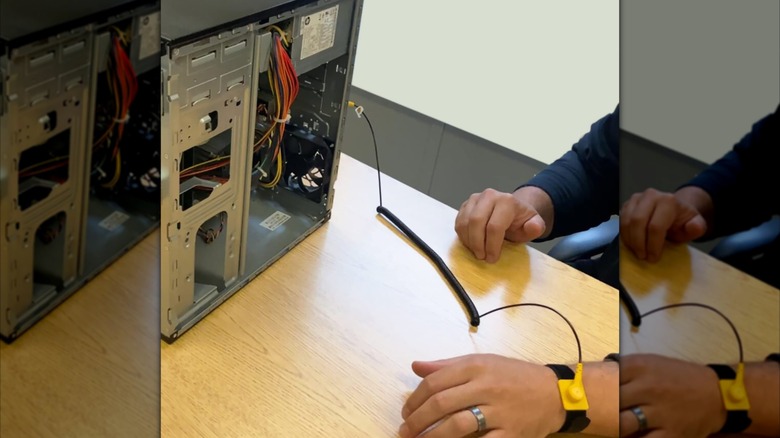
If you're new to working on computers, you're not used to thinking of static electricity in terms of it being anything more than a minor annoyance; at worst, you probably think of it primarily in terms of attracting dust. But static electricity can easily destroy brand-new components. In a pinch, the best way to prevent this is to ground yourself by touching an independent metal object that's on the ground — like a bed frame — before touching the computer and its components.
However, there is a cheap and easy way to keep yourself grounded while working on your computer without second-guessing whether or not you've grounded yourself recently enough: wearing an anti-static wrist strap. Those are rubber or plastic-based wristbands that connect to a longer strap with conductive material, which is connected to a clamp that you can connect to a grounded metal object. This keeps you grounded and your components safe as long as you have it connected to a grounded object. If you have any interest in working on your computer or even doing something like upgrading the internal storage on a PlayStation 5, you should absolutely keep one of these wrist straps in your toolkit.
Not backing up your data
Backing up your data isn't part and parcel of the literal PC building or repair process, but it's some of the most basic, standard computer advice. It's important to have your data backed up all the time, but it's especially important during repairs because so much can go wrong. Even if your actual storage device is OK, having it backed up on a separate device makes it much easier to migrate that data if something goes wrong that impedes your ability to use the computer.
When we say "backup," we mean that it's at least the second copy of the data in your possession, if not the third or more. Ideally, you should have both a local backup, such as an external drive or network-attached storage device that you have on-site, as well as some kind of off-site storage, like another external drive or a subscription to a cloud backup service. Depending on your setup, this can either be a traditional cloud backup service like BackBlaze or CrashPlan or a syncing service like Google Drive or DropBox.
It's best to make regular, incremental backups. If you subscribe to one of the cloud backup services, the service's backup software will be configured to do this at regular intervals by default. In Windows 11, the built-in app for this is the very plainly named Windows Backup, which serves as Microsoft's counterpart for Apple's Time Machine on macOS.
Using a low-quality or insufficient power supply
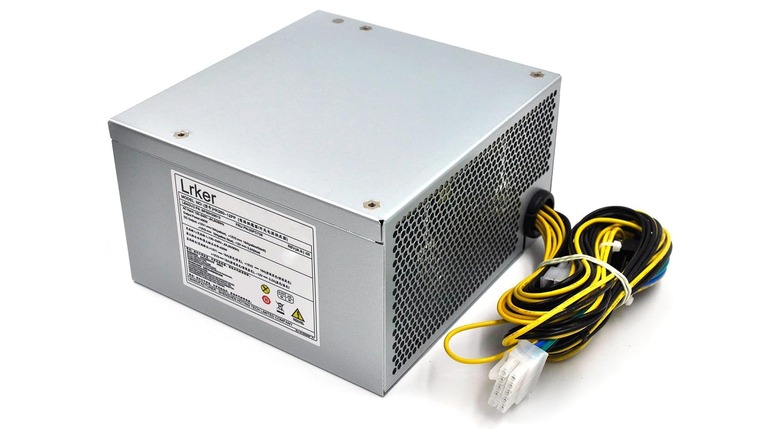
One aspect of speccing out a new PC or repairing an old one that may feel like an afterthought is the power supply unit (PSU). It's not a fancy piece of constantly advancing hardware like a CPU or GPU, but it's as important as any of them. It's what's feeding your PC in the first place, and it needs to be robust enough to handle whatever you throw at it. A mistake those newer to PC building and repair often make is selecting a power supply that is of low quality or does not operate at a wattage suitable for powering the rest of the components in the computer.
When it comes to the appropriate wattage, that's simple: Use one of the many high-profile PSU calculator sites available online, like Newegg's, and then add some additional headroom over the estimated power draw to be safe. PSU manufacturer Corsair's website pegs 150W as a good amount of headroom if you're keeping future upgrades in mind, but there's no hard and fast rule. As for quality, you're best off sticking with name brands that carry 80 Plus efficiency certification, which recognizes that a given PSU can reach 80 percent efficiency at loads of 20 percent, 50 percent, and 100 percent. Professional reviews should help you narrow them down, but in a pinch, 80 Plus certified name brands available at big box stores are fine.
Seating the CPU and/or cooler incorrectly
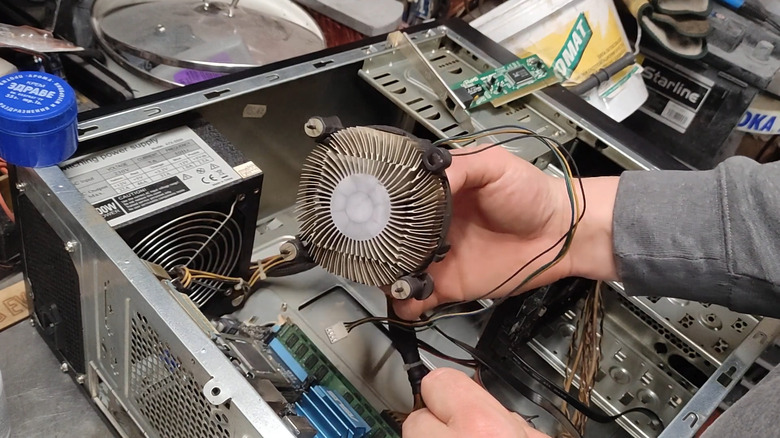
One element of PC building that doesn't always get enough attention is the process of installing a CPU and cooler, which can be a lot trickier than it might seem. The bottom of the CPU is covered with pins that connect it to the motherboard; you need to handle a CPU very carefully to avoid bending those pins and ruining your processor. Not only do you need to be careful when seating it, but it can get even dicier if you're removing the cooler and/or CPU, as a cooler sticking to a CPU could easily yank it out with too much force if you're not careful.
On that note, the stock coolers that come with Intel and AMD CPUs — and those that are designed to be functionally identical — have some very particular quirks that might throw off a newbie to PC building and repair. Specifically, it can take a good bit of force to get the cooler's fasteners locked into the motherboard. If you're not used to the feel of these stock coolers, it can be distressingly easy to cause damage to one of the parts, especially the cooler's pins or feet, by exerting too much downward force. It's worth watching videos on YouTube to get a feel for how the coolers attach, but if you're nervous, a less standard cooler with a more proprietary mounting process leveraging the mounting holes may be better for you.
Buying and trying to install the wrong kind of RAM
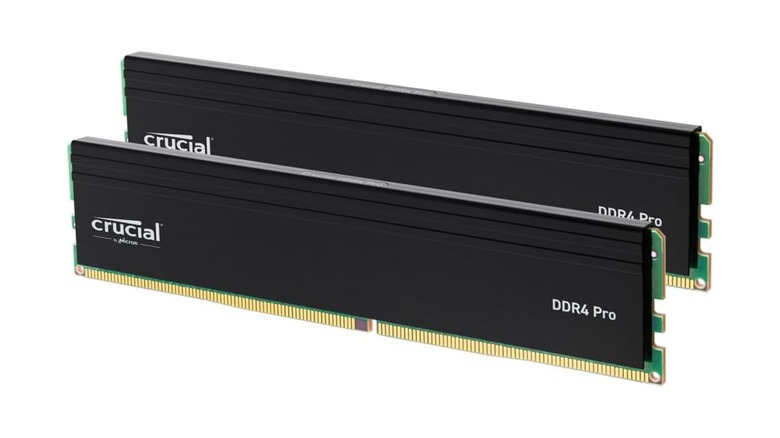
On the bright side, unlike CPUs and coolers, memory upgrades are incredibly easy to do, even if you're opening up your computer for the first time. As long as your computer's insides aren't overly cramped or using some kind of non-standard layout, removing and adding new sticks of RAM is probably the upgrade that requires the least effort and has the lowest reliance on steady hands. It's easy to see how to line the sticks up in the right direction and they lock into place with a satisfying "click" noise, so even someone afraid to tinker with other parts can get by swapping them out just fine.
The tricky part with RAM isn't the act of installation itself. It's making sure that the memory is suitable for your machine. There are various specs that you need to check to determine the speed and timing of compatible RAM, and usually, they correspond to what your CPU is capable of. Another factor that needs to be taken into account is that your motherboard might have a hard limit on how much RAM it supports, meaning that you could, for example, buy 32GB worth of RAM and only get 16GB of memory out of it because of what your motherboard supports. If you need a simple way to find the particulars of your system, RAM manufacturer Crucial has a handy system scanner tool.
Underestimating the importance of screw management
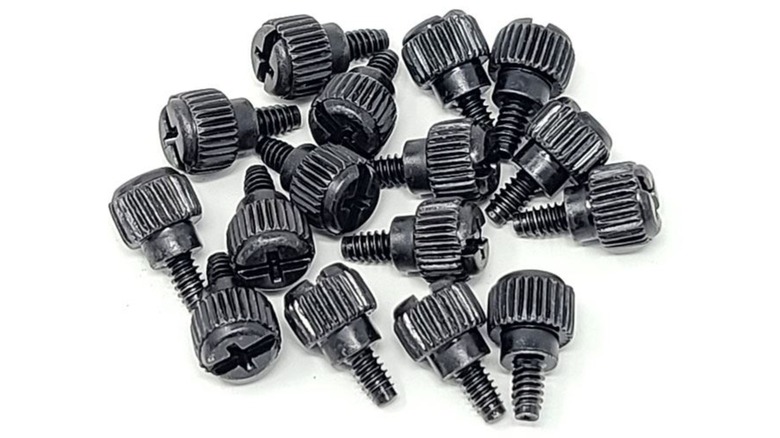
When you open up a desktop computer case and attempt to make repairs, there are screws everywhere. Screws hold the case together, as well as hold hard drives, optical drives, and drive bay-mounted SSDs in place. Motherboard standoffs, while not requiring a screwdriver, still need to be screwed into place. If nothing else, you'd better make sure that you don't lose any screws, so it's always best to have somewhere to put them when you remove them from the computer. A strip of duct tape to stick them to can come in handy for this use case, but a secure container can work just fine, too. Also, you need to make sure that you don't over-tighten the screws when putting them back into place and risk stripping them later.
If you're worried about losing screws, then we have good news for you: Most computers tend to use the same type of screw as every other computer for the same task. If you go to the "build your own PC" section of a computer store like Micro Center and look at the aisle where they have screws on the shelves, you'll see screws that are marked as being for specific uses in the PC building process, including thumb screws for opening/closing the case without needing tools. So if you don't trust yourself to not lose screws, you can just come prepared by buying plenty of extras in advance of your project.
