Raspberry Pi Password Not Working? Here's What You Can Do
The Raspberry Pi is indeed versatile as it is powerful. And if you are a tech hobbyist, it would be a missed opportunity not to try out its many capabilities in different areas of your home. So to make the most out of your Pi while expanding your skills, you're probably working with more than one board at the same time. Maybe you have a smart sunrise alarm in your bedroom, a media center running in your living room, and perhaps even a couple of automated watering and monitoring systems keeping your outdoor plants happy.
But with your many Raspberry Pi projects active simultaneously, it's not uncommon to forget the password for some of your boards. If it happens, it can be frustrating, especially if you need to access it to control your system. Fortunately, there are some troubleshooting methods you can try if your Raspberry Pi password isn't working.
Method 1: Try the old OS version's default password
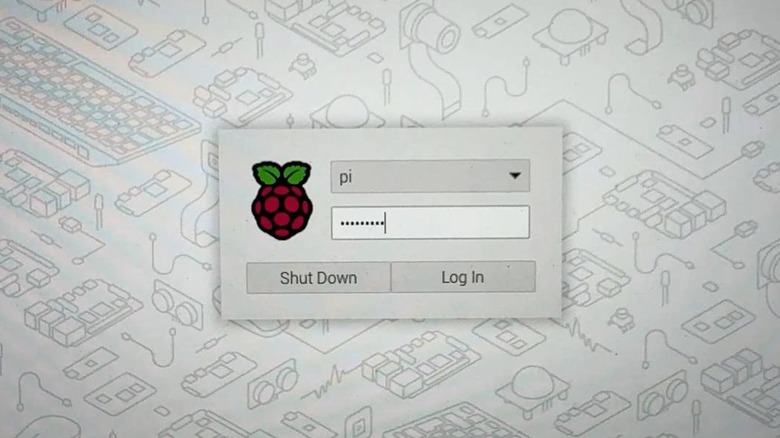
If you've forgotten the password for an old Raspberry Pi project, it might be running an older version of the Raspberry Pi OS and could still be using default login credentials: pi as the username and raspberry as the password. So once you boot the Pi, simply type raspberry when prompted for a password. However, if it doesn't work, you likely either changed the password during setup or are using a more updated Raspberry Pi OS release.
Starting with the 2022 update of the Raspberry Pi OS Bullseye, the system no longer comes with a username and password by default. Instead, you'll be asked to create your own when you first boot the Pi. This is mandatory — you can't access the desktop until you go through the setup wizard first. Since you're using a custom password, you'll need to reset it to get back into your system.
Method 2: Reset the password from the GUI or CLI (if you're auto-logged in)
If you can get into the graphical user interface (GUI) or command-line interface (CLI) without being asked for a password, then it means you have auto-login enabled. In that case, you can easily change your old password using one of these three methods:
- Using sudo passwd [username]:
- In the Terminal (or CLI if you're running the Lite version of the OS), type sudo passwd [username]. If you've also forgotten your username, simply look at the green text in the command line. The name before @ is your username, while the name after is your hostname.
- Type your new password.
- Press Enter on your keyboard to proceed.
- Input your password again.
- Hit Enter. You should then see a message confirming that the password has been successfully updated.
- With sudo raspi-config:
- Type sudo raspi-config in your Terminal or CLI.
- Navigate to System Options > Password.
- Select OK to proceed.
- Enter your new password.
- Click Enter.
- When prompted, retype your password.
- Press Enter. A message saying "Password changed successfully" will appear on-screen.
- Hit OK to close the confirmation message.
- Select Finish to exit the raspi-config.
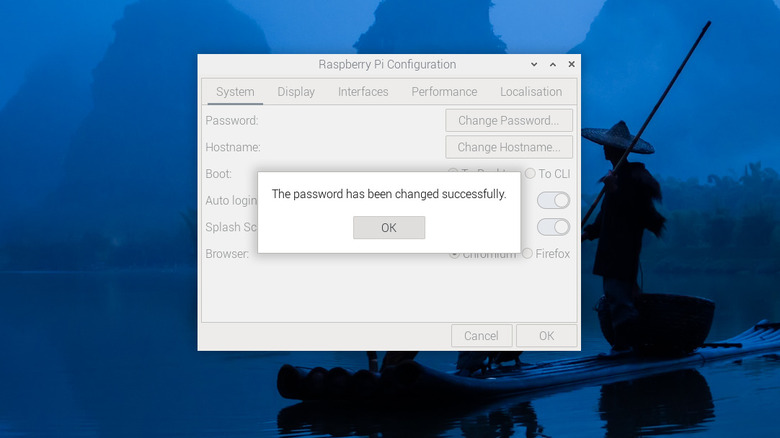
- From the Raspberry Pi Configuration app (for desktop OS only):
- Click the Raspberry Pi menu in the upper left corner of the screen.
- Go to Preferences.
- Choose Raspberry Pi Configuration.
- In the System tab, click on Change Password.
- Input your new password.
- Retype it in the next field.
- Press OK to save your changes.
- Click OK in the success popup to exit.
Finally, restart the board to sync all changes. From there, you can start using your newly created password anytime you're prompted to.
Method 3: Boot into the root shell
If you can't access the Raspberry Pi because it's requiring a password you don't know, you can try booting into the root shell instead. The root shell doesn't require a password unlike the regular CLI, so you can use it to change your Pi's password. Here's how:
- Insert the Raspberry Pi's microSD card into another computer.
- Open the cmdline.txt file in the microSD card's bootfs drive.
- Type init=/bin/sh at the end of the last entry in the same line (don't hit Enter to create a new line). Add a single space between the last entry and init=/bin/sh.
- Save and close the file and remove the microSD card from your computer.
- Re-insert the file into the board.
- Boot the Pi. You should then see a # prompt for your CLI commands. If you don't, hit Enter. If you've run into an error, eject the microSD card and re-do the steps.
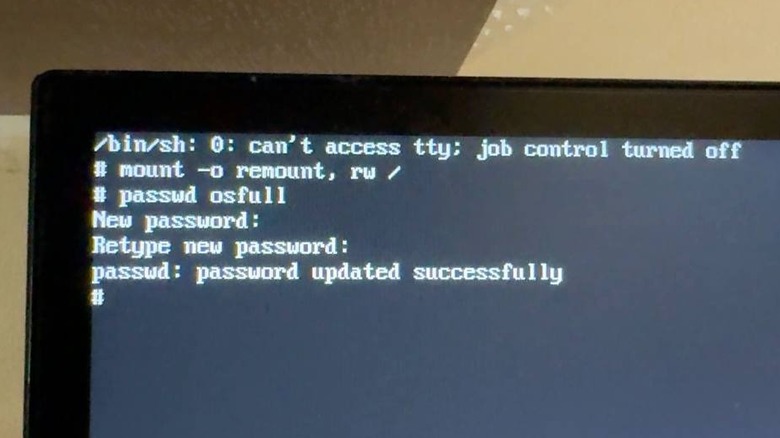
- Type mount -o remount, rw / to remount the root file system as read-write. This will enable you to make changes to the system.
- Type passwd [username], where [username] is the Pi's original username.
- Input your new password and hit Enter to save it.
- Re-type your new password and press Enter again.
- Type sync to ensure the data is written to your storage.
- Type exec /sbin/init to reboot the Pi normally, not in the root shell.
- Once the Pi boots, open the Terminal (or continue on the CLI if you're already here).
- Type sudo nano /boot/firmware/cmdline.txt to edit the cmdline.txt file.
- Delete the init=/bin/sh entry you added earlier.
- Hit Ctrl+X, and press Y, then Enter to save the file.
- Reboot the Pi.
It should now start booting as normal, and you can proceed with using the password you set.
Method 4: Copy the password from a different Linux computer to your Raspberry Pi SD card
Another way to "reset" your Raspberry Pi password is by using the password from a different Linux computer you can log into. This involves editing the /etc/shadow file, where you can find the system's username, encrypted password, and other account-related details like date of last password change and account expiration date.
For this method, you can use any Linux distro as long as you know its username and password. If you don't have a spare Linux computer, you can also install the Raspberry Pi OS on a new SD card and use this as the alternate Linux computer on the same Pi board. Just make sure you have a USB microSD card reader to connect the original microSD card to the Pi. Follow these steps to edit your /etc/shadow file:
- Log into your alternate Linux computer.
- Open the /etc/shadow file of this computer in the Terminal by typing sudo nano /etc/shadow.
- Find the username entry, which typically has the longest line.
- Copy the entire username entry. Highlight the entire line up to the very last value or semicolon. Then, right-click and select Copy.
- Press Ctrl + X to exit the shadow file.
- Connect the Raspberry Pi microSD card to your Linux computer.
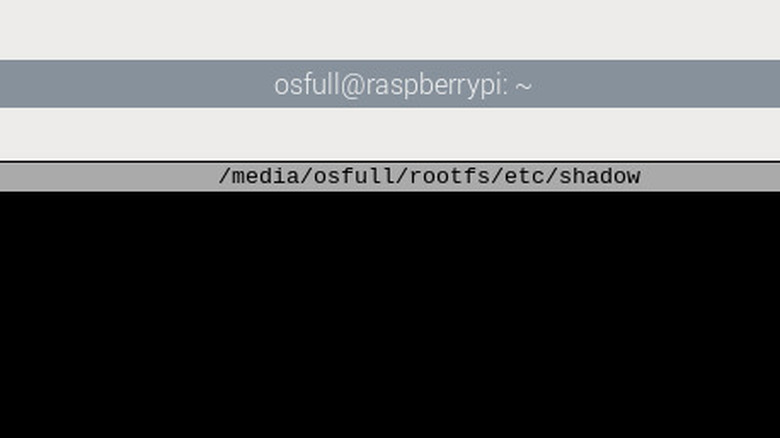
- Open the Pi's shadow file by typing sudo nano /media/[username]/rootfs/etc/shadow into the Terminal. Make sure to replace [username] with your alternate computer's username, not the microSD card's.
- Delete the username entry from the Pi's shadow file.
- On that same line, right-click and choose Paste.
- Press Ctrl + X, then Y, and hit Enter to save the file.
- Safely eject the microSD card.
You can now reinsert the card to your board and use the same username and password as your alternate Linux computer.
Method 5: Reinstall the OS
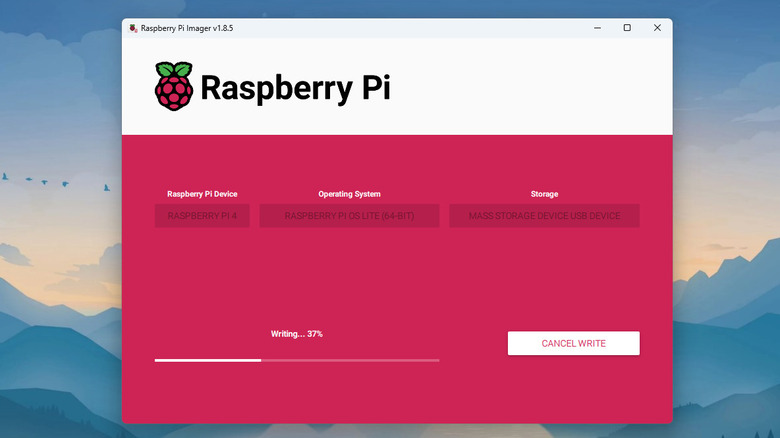
If all else fails and you still can't access your Pi, your last resort is to reinstall a new OS. Just a heads-up, though: this erases everything on your SD card. If you're fine with losing the data, here's how you can reinstall a new Raspberry Pi OS using the Raspberry Pi Imager:
- Install the Raspberry Pi Imager to a different computer (Windows, macOS, Ubuntu, and Raspberry Pi OS work).
- Connect the microSD card to the computer.
- Open the Imager app and select Choose Device.
- Choose the Raspberry Pi model you'll be using the microSD card with.
- Hit Choose OS.
- To install a desktop version of the Raspberry Pi OS, choose the recommended OS at the top — it's the latest release.
- To install the Lite version, go to Raspberry Pi OS (other) and click on Raspberry Pi OS Lite.
- Click on Choose Storage.
- Pick your SD card from the results. If your microSD card doesn't appear, check if it's mounted correctly.
- Press Next.
- In the Use OS customisation dialog box, select Edit Settings.
- Under the General tab, set your new username and password.
- (Optional) In the OS Customisation window, configure the hostname, Wi-Fi connection, locale settings, and SSH.
- Press Save.
- Back in the Use OS customisation dialog box, select Yes to use your saved configurations.
- Click on Yes to proceed.
- Wait for the Imager to finish writing and verifying the OS installation.
- Hit Continue on the Write Successful dialog box.
- Eject the microSD card from the computer.
- Re-insert the card to your Pi.
- Boot the Pi.
You should be able to access the system using the username and password you created earlier. Go through the setup wizard as you normally would.

