7 Ways To Improve Your Video Editing Speed And Workflow
Video editing is a time-consuming craft to say the least. Trying to sketch a story through video, audio, and graphics is a challenge that, depending on the complexity of footage, requires hours of painstaking work. There are many ways to go about cutting or splicing together the narrative of a video. There are conventional rules of editing — processed that take time to explore and experiment with. While this might be old hat to some editors who prefer a more meticulous work process, others have adapted to the changing times by shaking up their workflow and quickening the pace.
Prioritizing speed while video editing is not an excuse to turn in sloppy work. However, there are tips and tricks you can use to hasten the process. You may be surprised by how much quality work you can get done in a short time frame and with fewer headaches to boot. With that said, here are seven ways to improve your video editing speed.
Keep your videos short
It's no secret that attention spans are getting shorter. While there are plenty of creative techniques you can utilize to up your video's quality, often a solution as simple as cutting your video down is more than enough to keep attention.
It may not be apparent when you're watching a five minute YouTube video or 15-second clip made for TikTok, but it's not uncommon for editors to have hours of footage to trim down to create that final product. It can seem overwhelming, but your end goal should be to effectively convey the story in the least amount of time. Sticking with this mindset streamlines the process. As you'll discover, you can get rid of a surprising amount without sacrificing quality. If anything, your video will have more impact as you identify unnecessary filler and repetitive remarks.
You don't want to cut too much though. Even viewers with no editing knowledge whatsoever can pick up on choppy editing. So ensure you video is organic with the use of B-roll and transitions to break up your main footage.
Make use of J-Cuts
So much about the success of your productivity in editing depends on how clearly you can visualize the rhythm and timing of the video. Even though you should be open to — and likely will have to deal with — some change to your initial vision, having a clear road map before editing will make your job easier in the long run.
One template that will help you accomplish efficiency is the time-tested J-cut. This refers to any section on your timeline where the audio for your clip plays before the corresponding video is seen. As your audio layers are typically below your video layers in most non-linear editors, this creates a similar shape to the letter "J," hence the name. While it may not look as orderly as a timeline where the video and audio are cut equally, J-cuts actually give your video a more organic quality. We often hear noises before we see what made them, so having audio precede your clip helps make for an overall more effective piece.
Like many other editing conventions, overusing J-cuts will become obvious after a while, so make sure you're using them with purpose.
Keep your assets organized
How you organized things while editing can create efficiency. A tidy timeline can help; while a messy one may show that you're a novice editor. It can't be stressed enough how crucial it is to keep a tight leash on your video's assets throughout the editing process.
It's easy to get overwhelmed by the amount of assets a video may require at any given time. You may have input from multiple cameramen, an online drive, or even separate video exports. While you may have a handle early on, it can become easy to lose track of files. If you reorganize your assets in the middle of editing, some programs may think any items you move to other folders no longer exist and require you to relocate them to put on the timeline again.
The best way to avoid these headaches is by organizing everything before you being editing. Take the time to create specific folders for project files, videos, audio, graphics, and more.
Use your shortcuts
As seasoned editors know, editing is as meticulous as you make it. The actual editing process doesn't need to be all that difficult if you know how to use the tools at your fingertips.
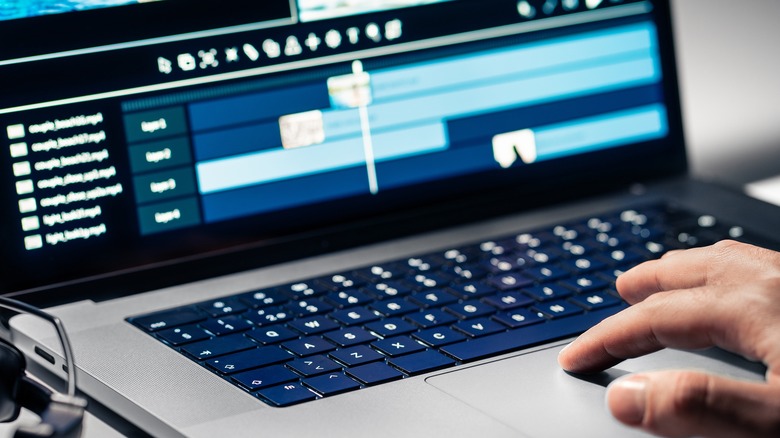
You can greatly improve your productivity with the keyboard shortcuts built into your editing software. Moving about your timeline and manipulating assets using nothing but your computer mouse will not only make for a more frustrating process but slow down your momentum quite a bit. As you take the time to dive into the keyboard shortcuts at your disposal, you may be surprised by just how much faster you can work.
With Adobe Premiere Pro alone (on a Mac in this case), you can access the razor tool by hitting C, go back ten frames using Shift + E, toggle to full screen using Control+, and even go back to the last point you edited by selecting A. Explore what your program can do by hovering over the functions and take note of what shortcut corresponds with them. For serial mouse users, it might take some time to default to these shortcuts, but it'll be worth it.
Have presets ready to go
As you advance in your editing journey, you'll may want graphics and effects to add a visual punch to your videos. You may even chose to adopt a certain visual aesthetic specific to your brand. But the time it takes to create and alter the settings can seriously add up, especially if you're applying them to several clips. Fortunately, this doesn't need to be a repeat process if you save your effects as presets.
If you created a specific graphic, color correction setting, audio effect, transition, or even export setting that you want to use on your future videos, the idea of recreating the many specific settings that make them up sounds like a nightmare. With presets, you can create your settings once, name and save them as a preset that will then be available in the effects option panel of your software. From there, you can search your presets and reuse them in any future videos, while still having the ability to further alter them down the line. Every program differs with how you go about this process, but once you crack the code on how to create presets, you'll wonder how you ever lived without them.
Take notes before and during the editing process
A common phrase you might hear in video production circles is to "fix it in post." This usual happens when you acknowledge an error In filming and plan to fix it in editing — or the "post-production" — phase. While skillful editing can hide many mistakes, you don't want to encourages laziness in filming.
Visuals begin with conception. Whoever is shooting, whether it's you or an entire production crew, should make an effort to think about what will be involved from shooting to editing. A great way to do this is by taking physical notes. If you're part of planning the shoot, break down scenes and figure out how they should be approached shot and edited later in post. Likewise, during the shoot, being on set to assess and take notes can help expedite the editing process.
While editing, it helps if you can come back to notes. It may seem like a simplistic recommendation, but with so much going through your head throughout the process, having a way to retain information can become a lifesaver.
Have an editing team
Sometimes video editing quickly isn't possible on your own. Online content creators who put out one or more videos a week may need assistance. Additionally, not everyone is an expert at everything. Rather than struggle to learn every facet of video editing, sometimes the best bet is to get a helping hand.
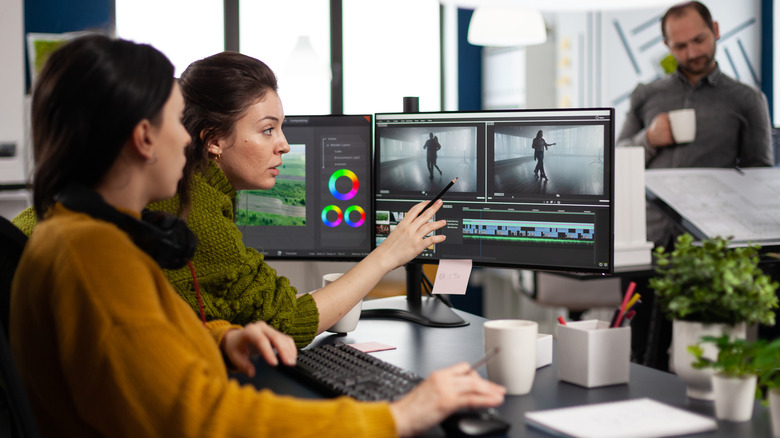
Oftentimes post-production teams will consist of editors, sound designers, colorists, effects artists, and more. Working in a team can be an efficient approach to video editing. With each team member assigned a specialized task, the pieces of a video can come together faster, and a higher quality end product can often be achieved.
Many video editing platforms today have made sharing work between different parties easier than ever through the use of cloud-based collaboration tools. This allows different editors to be added to a project file and edit, make contributions and leave comments — remotely or otherwise.


