How To Take Great Low-Light Photos With Almost Any Camera (Without A Flash)
We may receive a commission on purchases made from links.
Photography is in essence the art of capturing light, but some of the most interesting photos ever taken have been when there isn't much light around. Over the course of decades capturing photos for both profit and pleasure, the greatest technical challenge for me has been figuring out how to get sharp, clean photos in low light. This ranges from capturing lifestyle product photos for reviews in dim, interior settings, to recording the wheel of stars in the night sky, to documenting unexplored legacy forests, and snapping pics of barn owls soaring in the pre-dawn twilight on the high desert of the Columbia Plateau.
I'm not always successful, and my hard drives are crammed with the blurry failures of my early experiments in poor lighting conditions. Fortunately, if you follow a few key steps, you may avoid some of the trial and error I went through and start capturing great shots in total darkness today.
Aperture, ISO, and shutter speed, the three components of exposure
Before you can start capturing great photos in low light, you first need to understand how aperture, ISO, and shutter speed determine how much light reaches your camera's sensor. In simple terms, aperture is how much light your lens allows to hit the sensor, ISO is the sensitivity of the sensor to light, and the shutter speed is how long light is allowed to enter the camera. Each has properties other than simple exposure, making for a balancing act between them to achieve your desired result.
Aperture determines depth of field. If you want beautiful out-of-focus backgrounds (bokeh) you need to open the aperture (typically referred to a "bright" or "wide" aperture"). If you want more of the image to be in focus you want to close down the aperture ("dark" or "narrow"). Often lenses experience optical issues at their widest aperture, and perform better the farther you stop the aperture down, but past F/11 image quality usually begins to degrade.
With ISO, you've got to look out for noise (graininess) which creeps into your images the higher you set the ISO. Each camera typically has a sweet spot for image quality, though it's surprisingly not always the lowest ISO it can achieve. Shutter speed essentially controls motion blur in addition to light transmission. If you want to freeze a fast moving subject, you've got to use a fast shutter speed.
I typically set ISO to auto and control and manually change aperture and shutter speed based on what subject I'm shooting and the creative effect I want to achieve.
Why you need a tripod, and why you should buy a good one
Tripods aren't as exciting as a new camera or lens, but they are the best way to ensure a shake-free photo in challenging lighting conditions — especially with a lengthy exposure. Nearly all low light photography benefits from the use of a tripod, and it's one piece of gear you really shouldn't cheap-out on.
A good tripod needs to be rock solid on any terrain, and its head must not waver when you've lined up the perfect shot. This means you need a tripod that is rated for the weight of the camera and lens you will be using. It needs to be solidly built so that there's no chance of failure. Remember that you're trusting your tripod with potentially tens of thousands of dollars worth of camera gear.
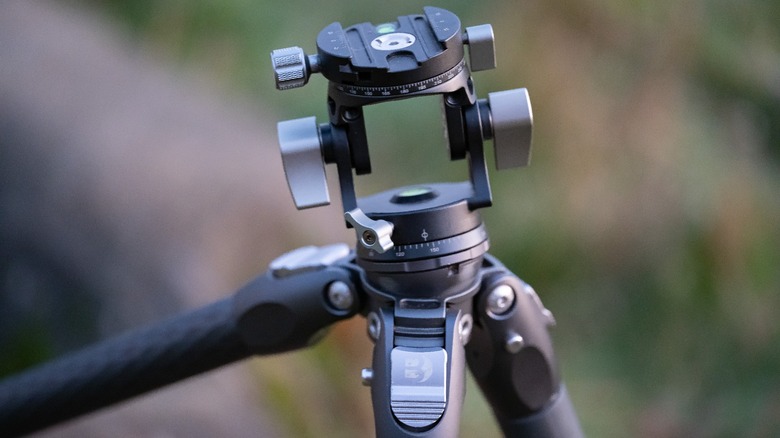
I myself went through more than half a dozen tripods before finding one I was happy with: Benro Tortoise legs, coupled with a Leofoto VH-30-R panoramic head. The legs have a leveling base, which allows for ballhead-like adjustability, while the panoramic head allows for fine-tuned angles and smooth, level panning. I've used this setup in the middle of mountain rivers, ocean beaches, trailless rainforests, and at the top of mountain peaks in the howling wind. It's dependable, rugged, tall, and light enough for backpacking. It's expensive, but actually relatively affordable compared to premium brands such as Gitzo and Aratech.
A small tripod can also be helpful for travel and working in spaces where a big tripod won't work. I highly recommend the Manfrotto Pixi Evo, which has been a near-constant companion of mine for years now.
Using a time delay or remote trigger
When capturing a long exposure, even the slight pressure of your finger to activate the shutter may be enough to ruin the shot. This can be a problem even when using a tripod, and a time delay or remote trigger solves this issue. Most cameras, including smartphones, feature a built-in time delay. Typically, 2 or 3 seconds is enough, but depending on how well supported the camera is you may want to opt for a 5 or even 10 second delay.
A remote trigger enables you to accomplish the same result as a time delay, but takes the waiting out of the equation and allows you to choose when you take your shot with more precision. Options vary depending on what camera you're using, but most modern cameras feature a companion app so you can connect and control your camera via Wi-Fi or Bluetooth.
How to get by without a tripod
You may not want to lug a tripod around everywhere with you, and for those times where you don't have a tripod handy there are some tricks you can use to get the shot even in pitch black darkness. In some cases it's possible to simply set your camera on the ground or on some solid object.
If you absolutely need to shoot handheld, you can develop better personal stability with practice. As a general rule, keeping your shutter speed at double your lens' focal length will keep motion blur out of your handheld images, but you can learn to push those boundaries. A good IBIS system such as that found in the Nikon Z8 or Olympus OM-1 Mark ii helps immensely, and with such a system I can get decent results at very slow shutter speeds. Your own physical condition does potentially make a difference here, and it will take time to find how steady you can be.
With that said, it's worth pushing ISO if you absolutely need a faster shutter speed. For example, I would much rather capture a grainy photo of a bird or other fast moving subject than one with excessive motion blur. Until you know your abilities as a human tripod, air on the side of caution to avoid disappointment when you get your images home.
Use a flashlight, or invest in a video LED light
A headlamp or any flashlight can elevate a low light image when properly applied, and an LED light made for videography can be a great tool for still photos. When I'm out backpacking, I often use my headlamp to light up foregrounds, which would otherwise be lost in inky shadow.
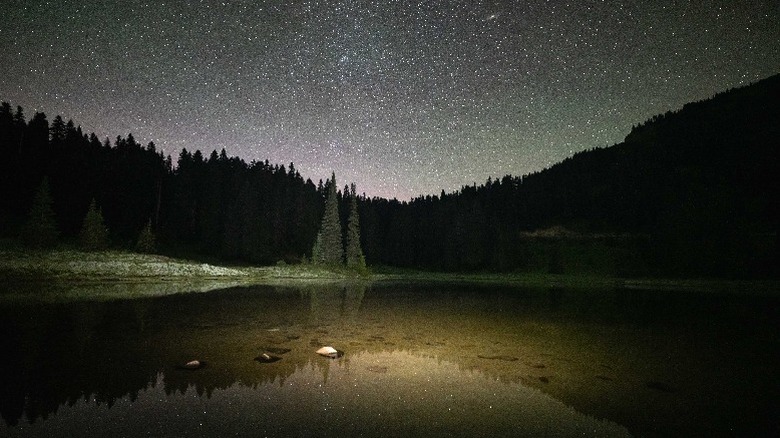
It's a great tool when doing astrophotography, but it takes practice, along with some trial and error in the field. If you leave your headlamp shining on an object for too long, it'll get washed out, too little time and it will be too dim. The factors which influence this are the strength of your light and the distance to the subject you wish to illuminate. Often it only takes the briefest of illumination to provide the minimal lighting necessary to imbue a dark landscape with texture.
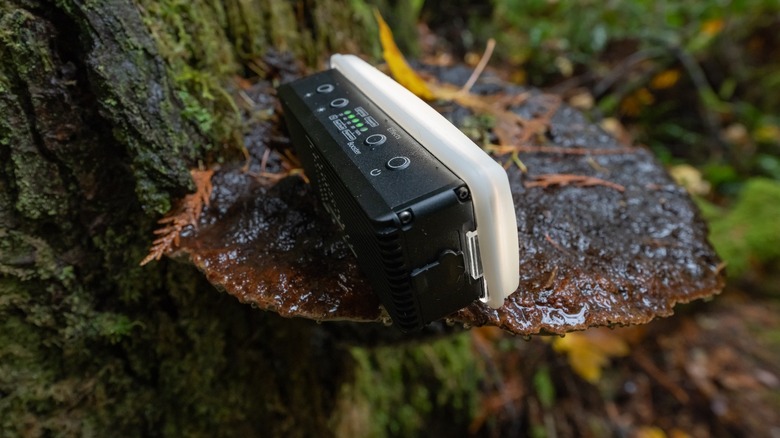
A more professional LED video light will yield better results. In the studio, I use a pair of 60W COB lights, while in the field I'll reach for my waterproof, pocket-size Aputure Amaran AL-MW, and if I need a bigger, brighter battery powered light I'll choose the Smallrig RT25. These are a part of my daily workflow as a photographer and product review writer, and serve me equally well when pursuing personal photography projects.
Software tools can help banish noise from photos
If your images have too much ugly noise, there are software tools, such as those found in Adobe Lightroom Classic, which can reduce or entirely remove it. I largely rely on the basic noise removal sliders in Lightroom Classic, which I find delivers reliable good results. Keep in mind that practically all photo editing software has at least basic noise removal tools that work as well or possibly better than what Adobe offers.
Using noise removal, it's possible to make even a very grainy image captured using a very high ISO significantly better. However, you're going to lose details with noise reduction, so there is a tradeoff. It's important to keep an eye on key objects in your composition when applying noise removal and make sure the image isn't turning to mush. Some noise is better than an image that's been completely melted by noise removal. When editing to post photos online, I typically apply extra noise removal, as compression algorithms on various websites have a tendency to exacerbate noise after you've uploaded the image.
Lightroom also features an experimental AI powered noise removal tool which can very occasionally produce amazing results, removing all noise at no cost to detail. However, it can just as easily transform your photo into a nightmarish mockery of itself, so it's not a reliable tool. This tool isn't unique to Lightroom either, as Topaz offers similar AI powered noise removal tools. In general, I find it's usually not worth using AI noise removal, as it's more time consuming and unreliable.
Make sure to shoot in RAW format in low light conditions.It's much easier to rescue details from crushed shadows when shooting in RAW.
Different subjects call for different strategies
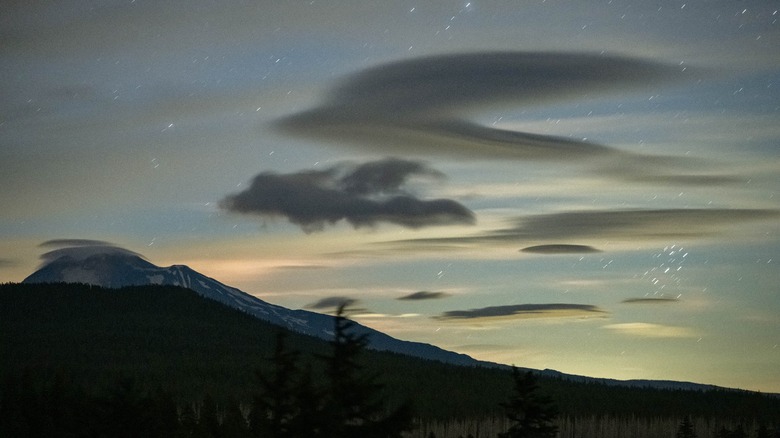
Not every low light subject is the same, and you need to be aware of many factors when taking photos in the dark. When shooting landscapes at night, both earth and sky will need different exposures. You can shoot a single photo and then try to adjust different regions of the photo separately by masking them in post processing. Alternatively, you can take two different exposures, one for the sky and one for the Earth, and combine them in photoshop. Lightroom and Photoshop have grown highly competent at automatically selecting subjects and the sky, which makes both methods much easier than in the past.
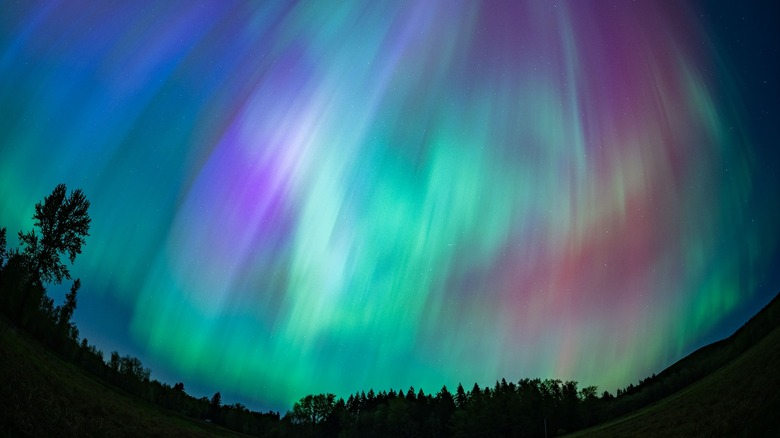
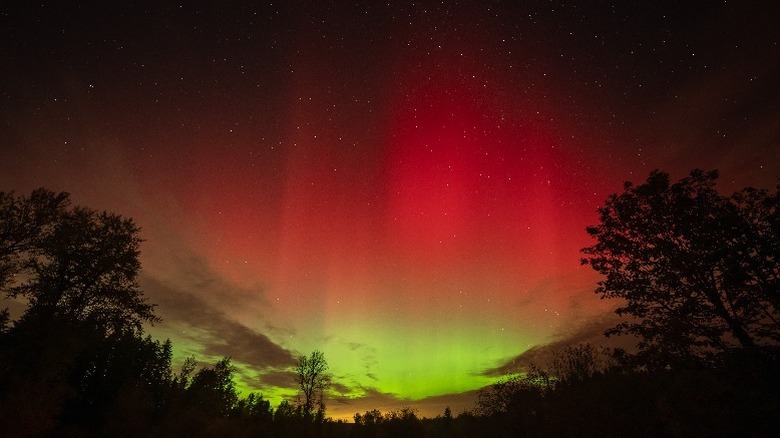
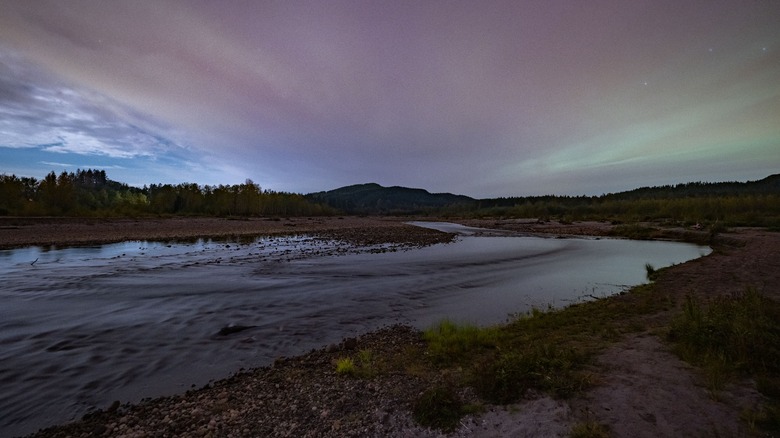
When the aurora appears overhead, it throws a whole new spin on things. The really bright auroras at shockingly low latitudes which we're experiencing now that we're approaching solar maximum mean that capturing nighttime landscape photos requires a much darker exposure, and it's easier to capture both the sky and the foreground subjects without need for additional artificial light, multiple exposures, or heavy image manipulation in post processing software.
Getting photos of people in the dark is certainly going to require a faster shutter speed to avoid motion blur, so some sort of artificial lighting is necessary, or a lens with a really bright aperture. In general, low light photography benefits from the use of lenses with as bright an aperture as possible.
Dealing with bright lights in dark places
Low light photography becomes even more challenging when the darkness is contrasted by bright light sources. However, there are ways to counteract high-contrast scenarios, and they largely call back to strategies that we've already discussed.
With a single exposure, you can selectively lighten or darken different areas of the image, or you can combine two exposures into HDR images. Alternatively, you can use an LED light to illuminate the foreground so you're not competing with a brighter background. It's great in dim forests where the low light under the canopy contrasts strongly with the relative brightness of the sky.
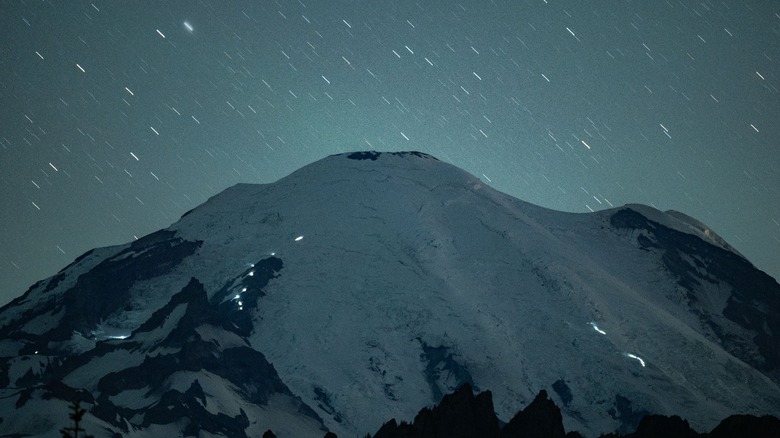
For astrophotographers, the satellites and air traffic are an ever increasing headache, with perhaps the worst offender being Starlink and their constellation of thousands of satellites. Where once it was easy enough to photograph the entire sky and only rarely find the streak of a satellite in your final image, now it's almost impossible to capture a wide-angle image of the stars without it being marred by at least one telltale line of light. My go-to solution is to use a cloning or healing brush in post-processing software to erase satellite streaks.
Stay safe in dark places
Low-light photography is inherently more dangerous than when you venture out, camera in-hand, to capture photos in well lit environments. There are some basic safety precautions which may help you avoid catastrophe in the pursuit of the perfect photo.
Having a good headlamp is essential to navigating at night, and I recommend one with an optional red light, as this will preserve your night vision. Be cautious, particularly at locations you're not familiar with, and avoid locations which show signs of vandalism or other indications that they might not be safe after dark. While it's always wise to be wary of potentially dangerous wildlife in the evening and early morning when animals are most active, know that other people are a concern too.
It's best when practicing low light photography to have a companion, but if you can't convince anyone else to go out on an after-dark photography expedition, be sure to let people know where you'll be.
The best gear for low light photography
While most of the above advice is relevant to whatever camera you may already be using, be it a smartphone, DSLR, or action camera, there is specific gear I'd like to take a moment to recommend.
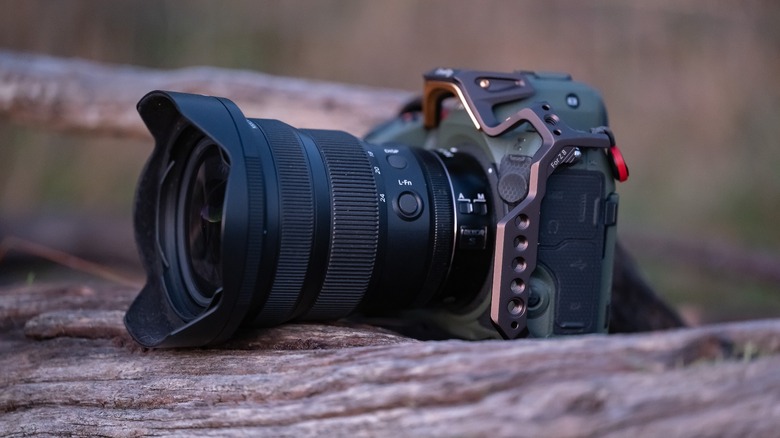
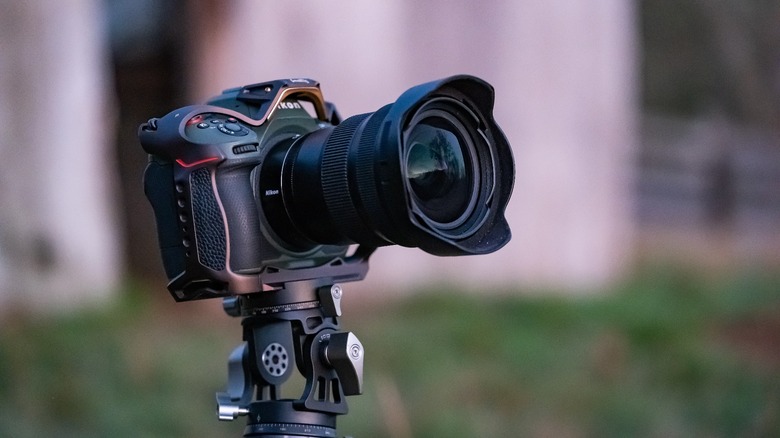
My favorite camera for low light photography is the Nikon Z8, which performs well at high ISOs and can capture a lot of light with its big full frame sensor. In general, the bigger the sensor, the better the low light performance. Action cameras are actually great for capturing wide angle photos and timelapse video of the stars, with the DJI Osmo Action 5 Pro and the Insta360 Ace Pro 2 being particularly competent in this regard. Additionally, a 360 camera such as the Insta360 X4 is ideal if you want to record a star-trail image of the entire night sky.
The absolute best ultra-wide angle lens you can buy for low light photography is the Sigma 14mm f/1.4, due to its extremely bright aperture, though since it's not available for Nikon Z mount cameras I personally use the Nikkor Z 14-24mm f/2.8 S. If you want to go even wider on Nikon Z mount, Laowa offers a 10mm f2.8 lens, or if you want an ultra-bright ultra-wide on Z mount, Viltrox has a 16mm f1.8 lens available. In general, if you're picking a lens for low light photography, choose one with the widest aperture possible, such as the Sigma 50mm f/1.2 DG DN Art.
Keep in mind that regardless of what gear you have at your disposal, it's entirely possible to get good low light photos with a bit of patience, practice and ingenuity. Remember the old adage that the best camera is the one you have with you.
