How To Change The Oil In Your Car Yourself: A Step-By-Step Guide
Of the many automotive fluids that your car uses, one of the most well-known and important is engine oil. Most people understand that oil is vital for their cars' performance, and many people are familiar with oil's primary job: lubricating the engine's internal components. However, others may not be aware that motor oil has a secondary function. In addition to lubricating things like the crankshaft and camshaft(s), oil also absorbs heat and carries it away from the engine. It's vital that oil performs these functions because friction and heat can lead to a lot of mechanical problems, up to and including complete engine failure.
Considering how critical oil is for your car's engine, it makes sense that checking the oil is one of the things you need to be doing to your car every 1,000 to 3,000 miles. But while frequently checking the oil is important, it's also vital that you replace the oil regularly. Usually, that means performing an oil change every 3,000 to 5,000 miles. You may be able to go a little longer if you use synthetic oil, but it never hurts to replace the oil more frequently, and it's definitely something that you can't skip.
That said, if you'd like to cut down on your expenses and time spent at the shop, you might be interested in learning how to change your own oil. Fortunately, it's relatively simple — in fact, it's one of the best DIY auto jobs for beginners, and if you want to learn how to do it, I've got you covered. As a former professional mechanic who has performed thousands of oil changes, I'll break it down for you step-by-step. Let's dive in.
Prepare your vehicle for an oil change
Before you can get started on the actual act of changing your oil, there are a few steps you need to complete to prepare your car. First of all, you need to know your vehicle's oil change intervals, meaning how frequently your car's manufacturer recommends replacing the oil. You can find this information in your owner's manual, by calling the dealership, or by looking it up online. You'll also need to keep track of how many miles you drive in between changes. If you can't remember how long it's been since your last oil change, just go ahead and replace the oil anyway — it won't do any harm to your engine, and it could actually help your car perform better if it's been a long time since the oil was replaced.
Next, you need to purchase the correct type and classification of oil and a new oil filter. You can also find this information in your owner's manual. However, if you don't have an owner's manual, and you plan to change your own oil, the best move is to visit an auto parts store. There, you can ask an employee to look your vehicle up in their system. They'll be able to provide you with the correct type of oil and oil filter, and they'll most likely offer you a few options at different price levels.
Finally, prepare your car for an oil change by parking on a level surface and ensuring the transmission is in park and the emergency brake is set. Then, you just need to wait a bit for the engine to cool down — changing the oil while the motor is hot can result in some pretty serious burns, especially if you're inexperienced.
Gather the necessary tools
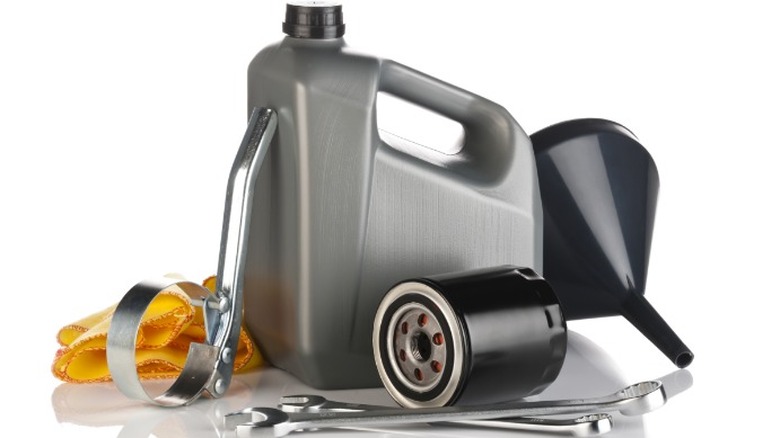
Changing your own oil doesn't require a ton of tools. However, you will need a few basic items, and having a couple more non-essential tools can make the process easier.
First, you'll need something to catch the old oil. That can be a cheap drain pan from your local auto parts store or even an old milk jug. You'll also need to lift the car off the ground to access the oil drain plug and filter. If you own a large truck or SUV, you may be able to slide under it as is. However, most people will need some type of automotive jack to lift their vehicle. Next, a funnel can help you refill the engine, but you can also use half of a plastic bottle in a pinch.
Moving on, you'll need something to remove the oil drain plug. Most people prefer using a ratchet and socket set, but you can also use a wrench. When it comes to reinstalling the drain plug, you can use the same tools. However, you're technically supposed to tighten the plug with a specialized torque wrench. Each car has a different torque rating, so you'll need to look yours up or be very careful not to over- or under-tighten the plug.
Besides those tools, you may also want an oil filter wrench and a creeper. Oil filter wrenches shouldn't be necessary if the old oil filter was installed properly. However, it's very common for people — even pros — to over-tighten filters, making oil filter wrenches all but essential in some cases. Finally, a creeper will allow you to slide under the vehicle without lying directly on the ground. It's not necessary, but it can make the job easier and more comfortable.
Lift your car off the ground
After gathering your tools and preparing your car, you're finally ready to get started changing the oil. The first step is to raise your vehicle off the ground. It's an important step because the oil drain plug is located on the bottom of the engine — on many cars, the oil filter can also be found near the bottom of the engine.
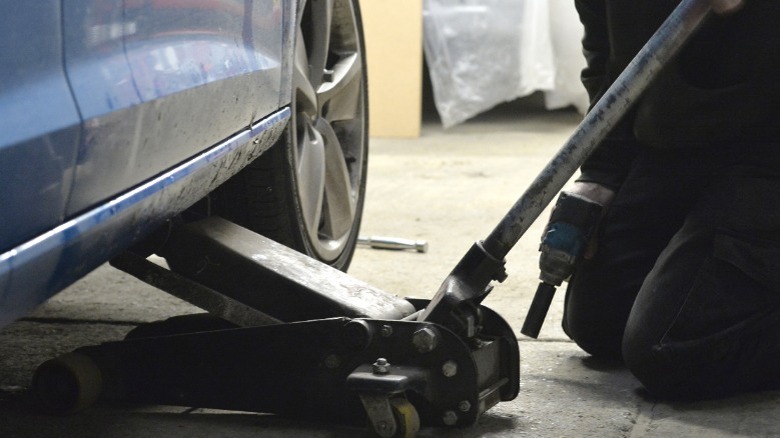
To accomplish this, we use automotive jacks. In a professional shop, a mechanic will raise your car off the ground using a hydraulic lift. However, most people don't have access to full-size vehicle lifts at home — although it is possible to install a car lift in your home garage if you choose to do so. Instead, most people rely on either a floor jack, bottle jack, or scissor jack to raise the vehicle a few inches off the ground. Then, it's common practice to place jack stands beneath the frame to support the car if the jacks fail. Remember to keep your vehicle level when lifting it — if it's sloped, it may be difficult for all of the old oil to drain out.
Using jacks will allow you to lift your car high enough off the ground to slide under and change the oil. However, if you're going to be performing extended jobs, like swapping out your exhaust system, you may want to consider going to a professional shop or getting your own full-size lift.
Drain the old oil and remove the used filter
Once your car is in the air, remove the oil fill cap from the engine bay — do this before raising the vehicle if using a professional lift. Then, slide underneath the car with your drain pan and tools. Locate the oil pan — its location and appearance will vary slightly from car to car, but it's generally directly beneath the engine. Most look like rectangular containers and are usually black or gray. There will be a drain plug on or near the bottom of the pan. Be careful not to confuse your oil pan with the transmission pan. The oil pan should be closer to the front of the vehicle, but it's always a good idea to check a vehicle-specific repair manual beforehand to familiarize yourself with your car's anatomy, especially if you're a novice.
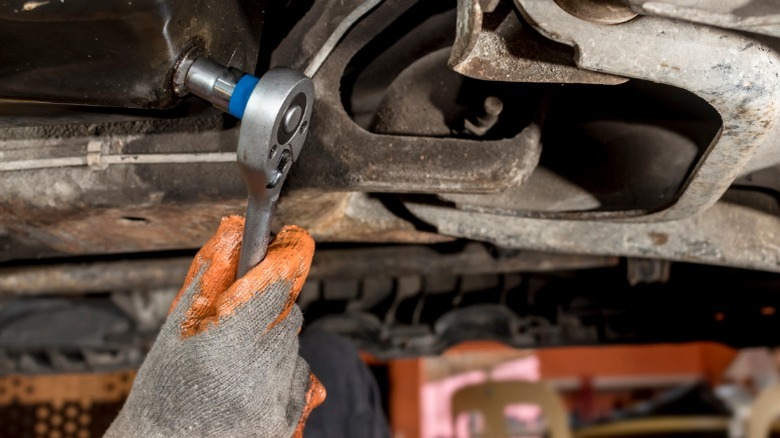
After locating the oil pan, loosen the plug's seal with your ratchet and socket or wrench. Use your fingers to slowly remove the plug, so that you can confirm the fluid is oil before it all pours out. Remove the plug completely after positioning your pan, and allow the oil to drain completely. While waiting for the oil to drain, you can remove your old oil filter if it's close enough for the oil it contains to spill into your drain pan. If it's not close, wait until you replace the drain plug.
When replacing the drain plug, don't over-tighten it. Ideally, you should use a torque wrench. If you don't have a torque wrench, finger tighten the plug until it's snug, and then give it a slight — no more than one-quarter — turn with your wrench or ratchet. For the filter, apply a thin layer of oil to its gasket, and screw it on until it's hand tight.
Lower your car and refill the engine with fresh oil
After your drain plug and filter are correctly installed, wipe the area clean and remove your tools and drain pan from under the car. Lower the vehicle, and then follow the steps above to replace your oil filter if it's located in the engine bay — it's still more common for your oil filter to be under the car, but many modern vehicles have top-mounted filters.
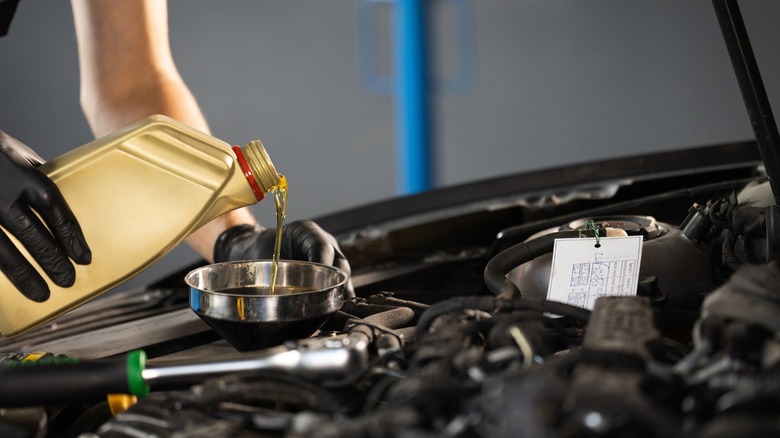
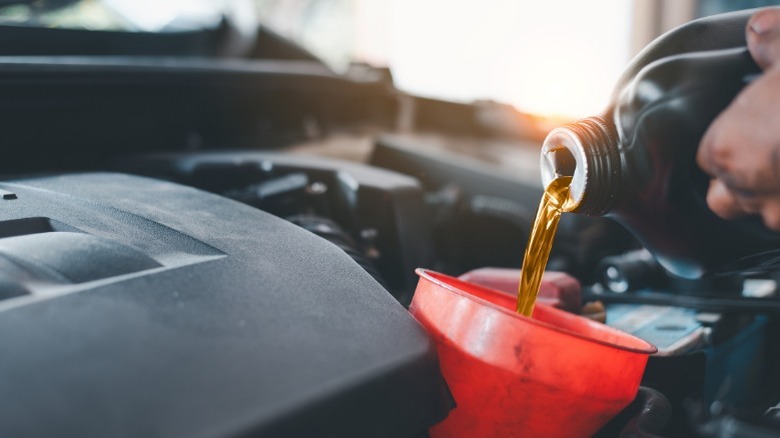
Next, it's time to fill the engine with fresh oil. Ensure that you're using the proper type of oil, and then use your funnel to pour it into the engine's fill port. You should confirm your engine's oil capacity beforehand by looking the information up in your owner's manual or using another resource. Nevertheless, pour slowly, and don't empty all of your oil jugs at once.
Once you think you've added the correct amount, use your dipstick to check the level. You may have to check a few times, as oil can take a few minutes to settle into the pan. If the level is too low, slowly add more while checking the dipstick. If it's too high, you'll have to drain a small amount back out. Yes, it's a pain, but there are various negative consequences for overfilling your engine with oil. So, it's better to just crawl back under the car and drain a little out.
Check your work
Once the level is correct, there are a few things you'll need to take care of before the job is finished. First, check to make sure the fill cap, dipstick, and all other fluid caps are secure. Then, start your car and let it run for between 30 seconds and one minute. While it's running, look underneath to confirm that no oil is dripping from your filter or drain plug. Then, shut the car off, and check the oil level again. You may have to add a small amount, as the filter will absorb roughly one third of a quart when you start the engine. If after all that, the oil level is correct, you're ready to perform your final wipe down of the area, close the hood, and clean up your tools.
When it comes to the old oil in your drain pan, don't just throw it in the garbage or pour it out in the dirt. You can pour it into the container the fresh oil came in and return it to virtually any auto parts store. They'll dispose of the oil properly, ensuring that it gets recycled instead of polluting our ecosystems.
