Improve Your Videos With These 7 Creative Editing Tips
Whether you're putting together a short film, a YouTube essay, or a social media reel, how you edit your video will ultimately determine its effectiveness. The ways in which clips are pieced together, sound is leveled, and graphics are utilized is a delicate balancing act that takes time to truly get the hang of and can easily harm the final product if even one element is out of sync. On the flip side, video editing can be an invigorating and rewarding process that, when done right and with intent, can elevate a potentially mediocre project into a great one.
Of course, if you're new to video editing, you're bound to make some mistakes along the way as you get comfortable with the craft. With time, persistence, and dedication, however, you'll not only make less of these mistakes, but will seek new challenges and ways to improve your work. Likewise, as the viewing habits of audiences continue to evolve, it's important to stay on top of editing trends in order to maintain your audience and find work.
At the end of the day, the goal of the best editors is to find ways to enhance the story being told and do so in a way that will enrich and entertain. Whether you're looking to increase engagement, add some flair, or are looking to approach some of the basic rules from a more experienced point-of-view, the following seven tips have something that every editor can benefit from hearing.
Add subtitles and captions
If you're on social media regularly, you've more than likely noticed that a common feature of short form videos is the inclusion of captions. Of course, captioning and subtitles have been around since the days of silent movies, but there's a reason why, even today, videos with captions typically perform better than those without them.
Perhaps the biggest draw to using captions is that they increase your video's accessibility by a significant degree. Those hard of hearing or who speak different languages rely on subtitles and captions to be able to watch and engage with videos. Others may be watching your videos on mute due to being in a public area and similarly depend on captions to understand what's going on. Captions may even be able to pick up the slack in areas where your video might be lacking, such as if you're filming in a loud location where your voice is hard to hear or if the subject of your video has a thick accent.
While many social media and video sharing platforms offer automated captions, they aren't always the most accurate, so it's best that you make adding captions a regular part of your editing process. Most software nowadays are able to generate captions and transcripts automatically, which you can then go in an edit to ensure their accuracy and make changes to font designs.
Use creative motion graphics
In today's content-packed world of increasingly decreased attention spans, finding ways to keep your content fresh and engaging can seem like a never-ending battle. However, no matter how much our viewing habits change, it's important to remember that humans have and always will respond to interesting visuals. One skill that will bring this quality to your work and put you ahead of the competition is implementing interesting graphics and animations into your videos.
Motion graphics come in many forms, each giving off their own unique effect. A simple place to start is using lower third titles. Lower thirds are graphics positioned on the lower portion of the frame where text and titles can be inserted, offering a clean and stylish way of introducing subjects, listing facts, or promoting brands. You can then move on to animating shapes, text, and logos. You can go as simple or complex with this as you'd like, with the end product giving your videos an increased kinetic quality. There are countless other motion graphic avenues to explore, from advanced transitions to morphs and warping to infographic presentations and so much more.
There's no shortage of software and applications that will help you get to going on. While some such as Adobe After Effects or Illustrator can cost quite a bit, there are plenty of low cost and even free motion graphic and animation programs such as Blender that can still produce professional level work.
Use repurposed content for B-rolll
You know the old saying, "work smarter, not harder"? The time, effort, and expense it takes to create valuable video content is a big reason why only a handful of individuals can truly commit to working in this field. However, the best content creators know that there are ways to cleverly cut corners while still maintaining quality. A time-tested method that creators use, is the reuse of previously shot content for B-roll.
B-roll, sometimes known as supplementary footage, are clips you use to compliment and add further context to the main footage of your video, often known as A-roll. Think of when you're watching a traffic report on the news, and you see footage of the highways in your area while you hear audio of the reporter describing the situation. That traffic footage would be considered the B-roll. B-roll can be used in a countless variety of videos, from explainer videos to documentaries to short films. Doing so helps emphasize messages, adds context to your subjects, and gives your video a nice visual variety, giving viewers more to look at than a person sitting in one place and talking.
Of course, you can film your own B-roll, which you can then reuse in later videos. However, you can also find stock footage sites that contain a variety of clips that range from establishing shots of certain locations to people going about regular activities. While you will have to pay for these clips or even subscribe to use certain services, having high quality footage at your fingertips is a worthwhile investment that will save you oodles of time.
Play around with your audio
A feature you'll often see in the work of amateur video editors is a severe lack of attention to the audio, which can have a devastating effect. No matter how good your video footage looks, how impressive your transitions are, or how pretty your motion graphics appear, poor audio is a distracting element that completely tanks the overall quality.
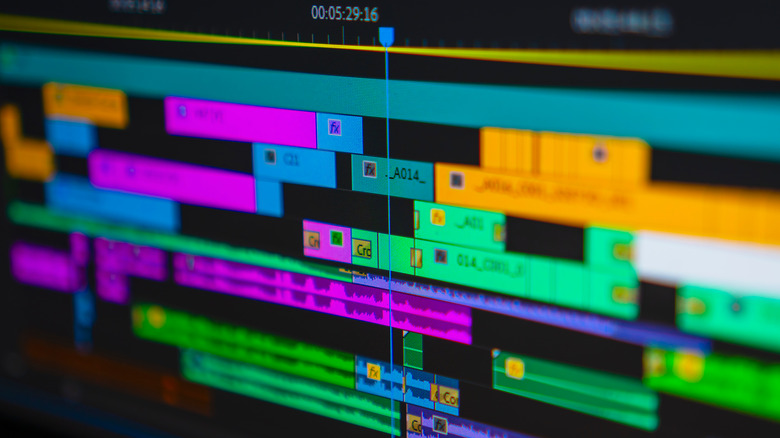
The tricky part about working with audio is properly balancing your different tracks. Your timeline should have dedicated tracks for dialogue, music, and sound effects. These, all of which, need to be arranged, leveled, and mixed in a way that isn't so silent that viewers will be straining to listen and not so loud that the sound becomes abrasive. At the same time, you'll want to make sure you're using the right kind of sounds. Having music or sound effects that clash with the tone of your video can also be distracting and take viewers out of the experience. Take your time searching for the right music and use royalty-free sites such as Artlist and Audio Jungle to avoid copyright issues.
The way in which you edit your audio will entirely depend on what you intend to be emphasized visually. In most cases, you'll want any speech or talking to have the most presence, so be sure to give your dialogue track priority when editing. You can do this by adjusting the levels of each track to lower or raise the volume as you desire. Most editing programs also offer additional audio editing features such as distortions, noise clearing, and fades.
Color correct your footage for visual appeal
As we mentioned earlier, having a strong visual component be part of your video is a key way to capture people's attention right away and keep them engaged. But doing so doesn't require the bells and whistles that come with learning motion graphics or similar methods. Sometimes, adjusting the color correction on your video is more than enough to get the job done.
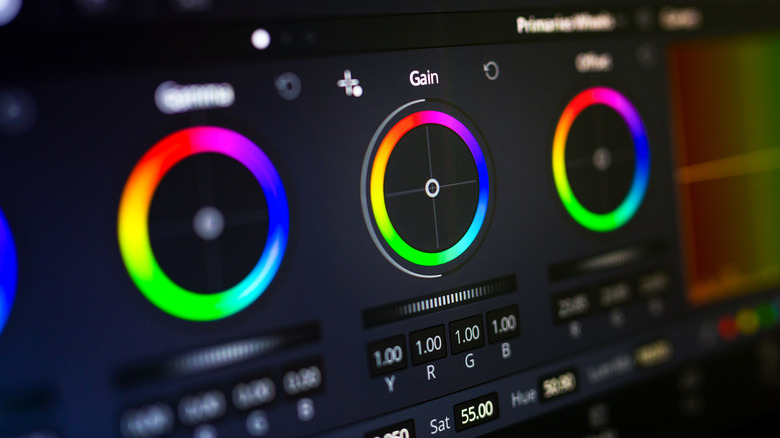
Oftentimes, even if the original footage you get back was well-shot, there can be elements lacking such as the video being too desaturated or dark. This is especially the case if you're using footage from various sources that may not have been shot with the same camera type or settings. Just as you might do with photos before posting on social media, you should always perform some level of color correction on your videos before exporting them. This process involves adjusting elements such as the brightness, saturation, contrast, shadows, and vibrancy, ensuring that those settings are applied to all of your shots to keep a consistent look.
As always, good color correction will depend on how well the settings are balanced. Just as easy as it is to have a video that's too desaturated or lacks contrast, it's just as easy to overdo many of these elements and give your video a grotesque look. Think about the mood you're going for with your video and take the time to play with the settings, color wheels, and graphs on your software until you strike that proper balance.
Take advantage of your software
Of course, your viewers won't care about what program you edit on, so long as the final product delivers the goods. Focusing more on your skill set rather than obsessing over the software you use should be a philosophy you abide to as well, but there's likely a reason why you use the software that you do. While many programs nowadays share similar features and functions, they all have unique distinctions worth getting acquainted with.
Adobe Premiere Pro is among the most popular editing programs for indie creators and professional teams alike thanks to features such as its extensive key framing capabilities, warp stabilization to smooth out rough footage, multi-camera support for editing clips from different cameras simultaneously, and the ability to link assets from other Adobe programs such as After Effects. Final Cut Pro is another software that, while only able to be used on Mac, has also become industry-standard. It breaks the norm of most non-linear editing programs by having a timeline that is trackless and magnetic, allowing for more customization and a faster work flow. It also possesses especially powerful multi-cam editing and collaborative capabilities.
While these programs make for a worthwhile investment, there are also plenty of budget-friendly options that can still deliver quality work. DaVinci Resolve has become a widely used software for both editing and color grading, with its latest update featuring advanced AI tools for audio editing and auto subtitling features. iMovie is another great free choice for Apple users, with such functions as clip connection and precision editing, making it an ideal choice for beginners and amateur editors.
Be purposeful with everything you do
If we haven't made it abundantly clear already, editing plays a substantial role in the success of your video. Every piece of the puzzle that goes into the process is equally important in crafting what the final experience will be. But while it can be easy to get overwhelmed by the many elements that go into editing, the dos and don'ts of the process, and the intricacies that come with your specific software, what matters first and foremost is the story you're aiming to tell.
No matter if you're making a 10-second reel or a 90-minute movie, there should be a well-defined beginning, middle, and end. Watch your video several times from start to finish throughout the process or, better yet, have someone else watch it with you to get some fresh eyes on it. Doing this puts you in the shoes of your audience, allowing you to judge its effectiveness as a whole and more accurately pick up on areas that need to be tweaked. Does the pacing have a natural rhythm and flow? Are there any distracting or jarring elements? And most importantly, is your narrative being told in the way you intend?
And while it's never a bad idea to seek inspiration from other creators, overdoing it can be detrimental to your work. The best editors are those who, after learning the basics, continue to explore and experiment to find their individual voice. By seeking challenges and going out of your comfort zone, you'll find out that you're capable of far more than you thought possible.
