7 DSLR Settings That Will Help You Capture Phenomena Like The Northern Lights
We may receive a commission on purchases made from links.
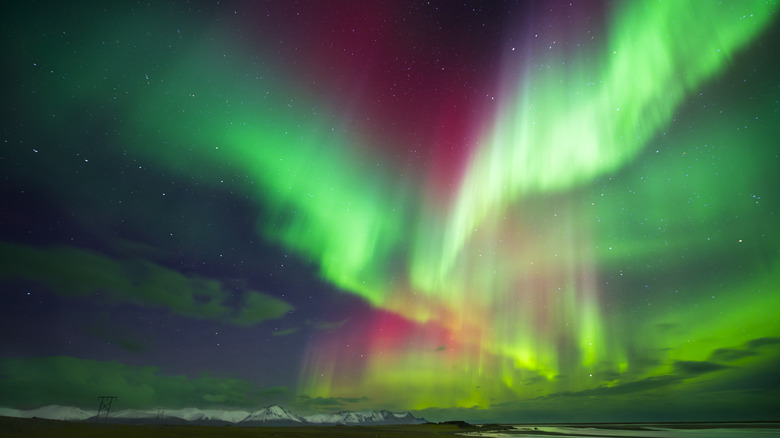
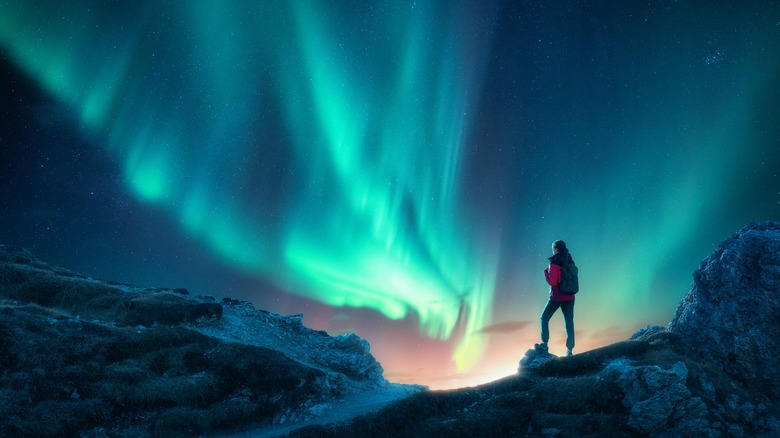
The northern lights are one of nature's great wonders, streaking across the night sky in curtains and lines of bright, vivid colors. They also used to be an event you could only see if you made the trip up to the Arctic Circle, limiting the experience to those with the time and money to do so. That's changed over the past few years, though, as the northern lights have become much more visible across the northern hemisphere, including as far south as U.S. states like North Dakota, Washington and Massachusetts.
But while the northern lights are a treat for the eyes, capturing them on camera isn't as straightforward as one might hope. Our eyes and brain actually work more like a video camera, processing a constant stream of light and information to create a mental image with greater dynamic range than a single snapshot can achieve — allowing us to appreciate the northern lights in all their glory.
This isn't to say that cameras aren't as good as the human eye. But high-contrast, low-light situations require some DSLR camera settings tweaks to capture photos that come closer to what we see with our eyes. So here are a few settings you'll want to change to take great photos of the northern lights.
Switch to manual mode
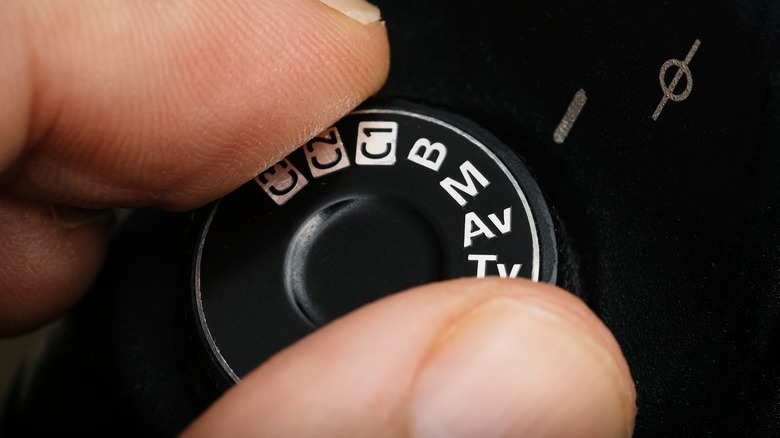
The first, and most crucial, setting to change is the camera's shooting mode. Most, if not all, DSLRs offer several shooting modes such as aperture priority, shutter priority, program mode, and full auto. While all these modes have their uses, they usually won't offer the flexibility you need for the northern lights or other low-light nighttime phenomena.
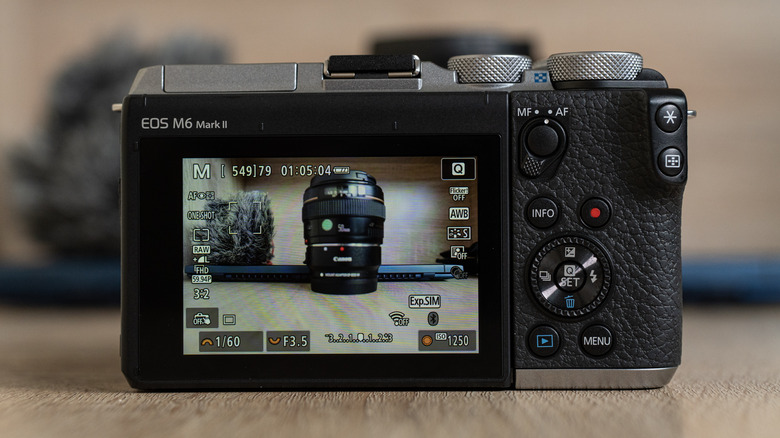
No matter which mode you're familiar with, you'll want to leave it behind and switch to your camera's full manual mode, usually indicated by the "M" on the top dial (but check your camera manual just in case). This does what the name says: removes all the assistance and exposure compensation of the other modes, requiring you to select the light sensitivity, aperture, and shutter speed to get the best photo possible.
It may sound intimidating, but it doesn't have to be: photographing the northern lights doesn't require split-second reactions and the ability to get all of these settings right the first time. You should have time to try all the settings out, so this can be a good way to learn how to shoot manually if you've otherwise stuck to the automated modes.
Use manual focus
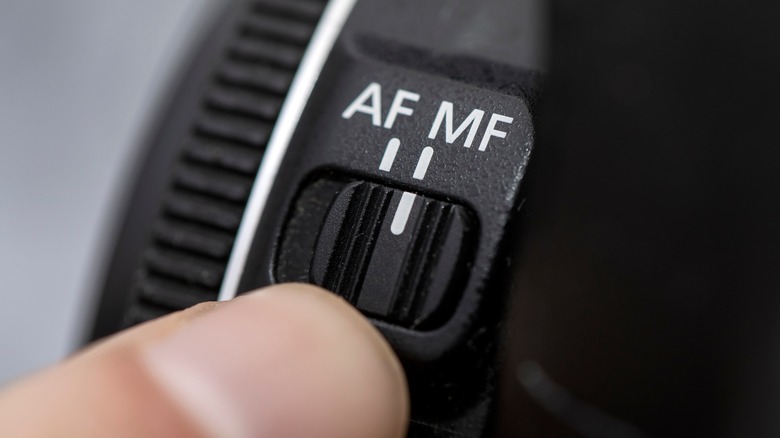
Switching to manual shooting mode may seem like a big step for some photographers, but we're not done yet. We need more than just control over light sensitivity, shutter speed, and aperture; we also need to be able to focus the lens ourselves, so the next step is to change your lens to manual focus.
Why? For one, autofocus doesn't always perform well in low light, even on pricey cameras like the Leica SL3 we recently reviewed — and that's just in everyday low-light situations. And given that we'll be using wide apertures that reduce the depth of field (more on this later), getting the focus right is paramount if you want to photograph the northern lights; after all, you don't want that great photo to be all blurry and out of focus.
Manual focus bypasses all of these issues. And in the case of the northern lights, it's mostly a set-and-forget setting that you won't need to change unless you move your camera or recompose your shot. Some photographers suggest focusing on a distant star or light, but the easier method is to just focus your lens at infinity, which entails moving the focus ring until your lens reaches the infinity symbol at the end of the focus range. It's quicker than trying to get a star in focus, and the results are usually more than good enough for long-distance landscape or sky photography.
Increase the ISO
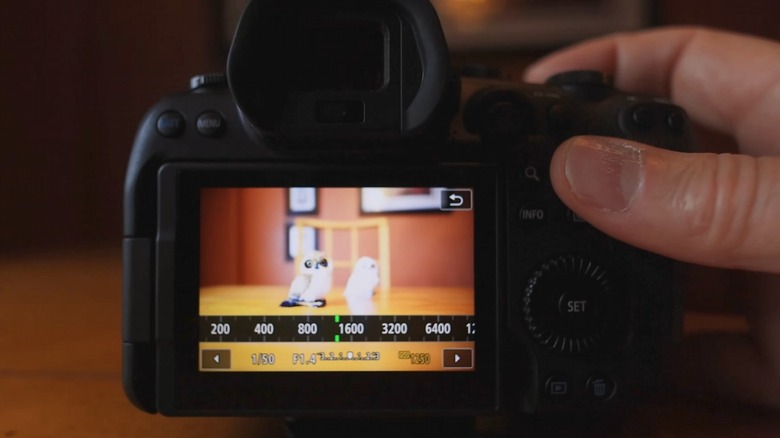
Now let's get into the first camera setting you'll want to change, the ISO. A camera's ISO number determines its sensitivity to light, with higher numbers denoting higher sensitivity. Higher sensitivity lets the film or digital image sensor capture more light, which is ideal in situations where there isn't much of it — like the northern lights.
Opinions differ on the ideal ISO setting for photographing the aurora borealis, as much of it depends on how bright the environment is and the lens and shutter speed you're using. An 800 or 1,600 ISO is a good place to start, and you may even be able to drop it lower if it happens to also be a full moon. Of course, the inverse may also be true: if it's dark, you could have to increase the ISO further — although there will be a point, different depending on the camera and sensor, where the image will be way too noisy even for an Instagram post.
Some high-end cameras, like the Canon EOS R6 Mark II, can go up to ISO 12,800 without overly affecting the photo, making them great for the northern lights at almost any ISO setting. On the other hand, mid-range options like the Nikon D3500 tend to perform best below ISO 6,400. This hard limit for image quality is why we recommend setting the ISO first.
Open up the lens aperture
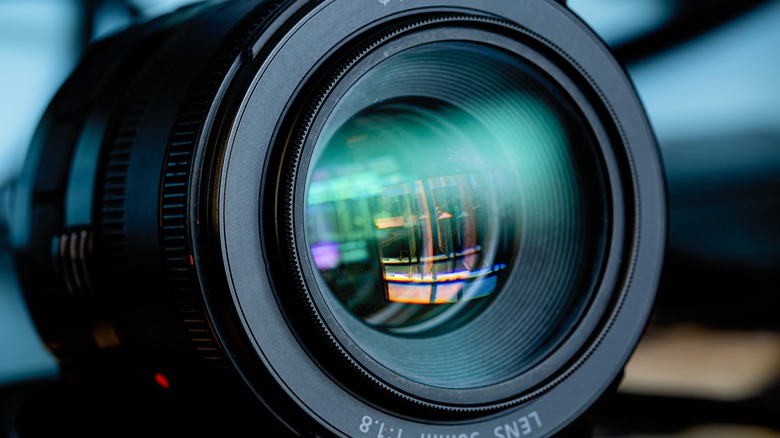
The next step is to adjust your lens's aperture, which is the opening the light passes through to hit the image sensor. Aperture plays a big part in photography, having technical and artistic effects on the final image. An example of the latter is how larger apertures create the blurred background and shallow-depth-of-field look that Pixel and iPhone portrait modes try to achieve with post-processing.
But that's not what we're aiming for here. Instead, you want to use as wide an aperture as possible — somewhat counterintuitively expressed with a smaller f-stop number — to let as much light in as possible. On most modern cameras, you adjust this on the camera — the bigger the aperture, the better. Now, you don't have to rush out and buy a large-aperture lens like the Sigma 50mm f1.2 DG DN ART we reviewed, of course, but having more light coming in via the lens is always a good thing. It'll let you reduce the ISO, which will create a cleaner image.
That said, any lens with an f-stop number of f4 or smaller should be usable. You may be tempted to buy a new lens for this, but we recommend sticking with what you have first — unless, of course, you know you'll use the lens for other photography as well. If so, a wide f2.8 lens like the Tamron 24mm F/2.8 Di III OSD M1:2 should do the trick.
Use longer shutter speeds
Finally, we get to shutter speeds, the third image-related setting to explore. Shutter speed determines how long the shutter stays open and lets the light coming through the lens hit the image sensor. Shutter speeds can go from fractions of a second like 1/1000 to multiple seconds, with the former better at freezing fast-moving objects and the latter better for static situations with little movement — and, crucially, for low-light photography.
The shutter speed you'll need will depend on how bright the northern lights are when you're out taking photos, and how much they're moving. Bright, active lights will require shorter shutter speeds to avoid the lights becoming too blurry, although these will still be in the multi-second range. On the other hand, faint, less-vivid lights will need much longer shutter speeds.
Start at around three seconds and see how the photo looks. From there, you can decide whether to increase or decrease the shutter speed. There aren't any hard-and-fast rules here, so feel free to experiment to find the right shutter speed for you.
Use a tripod
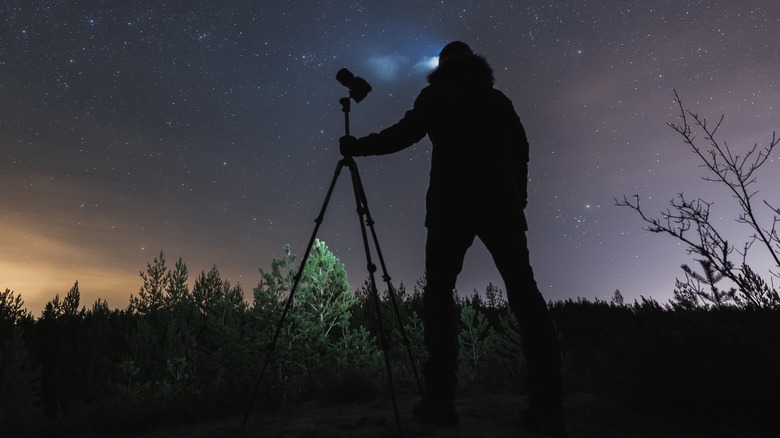
This admittedly isn't a setting, but we would be remiss if we didn't remind you to use a tripod when photographing the northern lights. The long shutter speeds mean that your photo will capture any shaking and camera movements that occur while the shutter is open, blurring the shot and potentially ruining it. While you can use camera motion to great effect with long shutter speeds, we're betting that most of you will want a clean, clear photo of the northern lights.
To that end, you'll need a tripod, no ifs or buts. You could leave your camera on a solid surface if you absolutely had to, but tripods offer more adjustability than a table or other surface. You can adjust camera height and compensate for uneven surfaces with the tripod's feet, while the tripod head's pan and tilt functionality should help you get the angle and composition of your photo just right.
There are a lot of tripods to choose from, so if you need somewhere to start, you can check out our list of five of the best tripods for your DSLR or mirrorless camera.
Reminder: It all works together
The most important aspect of photographing the northern lights — or any subject, really — in manual mode is to bear in mind that the three settings we've discussed all work together to create the final image, in what's often called the exposure triangle.
Changing one setting often has an effect on the others, and manual photography is about finding a balance among all three. Increasing the ISO makes the sensor capture more light, which may let you use a larger f-stop (smaller aperture) or shorter shutter speed. Conversely, if you use a cameras with poor high ISO performance, you'll have to compensate with smaller f-stops (larger aperture), longer shutter speeds, or some combination of both. Now, this doesn't mean that the previous advice is all useless: you're still going to have wide apertures, high ISO, and long shutter speeds, it's just that how wide, high, and long you go is something you'll have to determine through experimentation.
It can get complex, but you don't need to worry about it too much. You're not shooting a sporting event here, and you should have more than enough time to take lots of photos and change settings until you find the right balance that'll capture the northern lights the way you want. And don't sweat it if you it's not perfect: the best free photo editing apps can help turn a good shot into a great one — provided you know how to use them.
