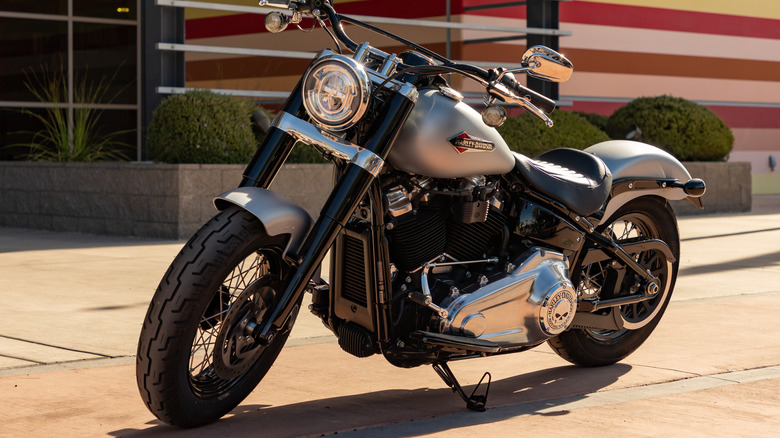
What Is A 3-Hole Oil Change On A Harley-Davidson?
Much like larger vehicles such as cars and trucks, motorcycles can't go without routine maintenance. In time, bikes of all kinds will require new parts and fresh fluids to keep them running at their best. For those looking to tackle such efforts on their own, there are some more simple must-know tips for motorcycle maintenance out there. Once you get past these, though, things get a little more intensive. For example, if you have a Harley-Davidson in particular, one form of upkeep you can do regularly to improve the health of your motorcycle is known as the 3-hole oil change.
As the name of this oil change procedure implies, a 3-hole oil change involves the refreshing of oil in the three main components of a Harley's powertrain: the engine, transmission, and primary. In terms of how often you should change your motorcycle's oil, it's generally recommended to conduct a 3-hole oil change between every 3,000 to 4,000 miles. If you're unsure about this interval, checking your bike's manual or speaking to a mechanic isn't a bad idea. You'll also want to check with your manual or a mechanic to make sure you're using the best motorcycle oil for your Harley-Davidson above all others. After all, it's better to be safe than sorry when it comes to oil, as dirty, thin, or insufficient amounts of oil within a Harley can lead to all kinds of mechanical issues on the road.
How to conduct a 3-hole oil change
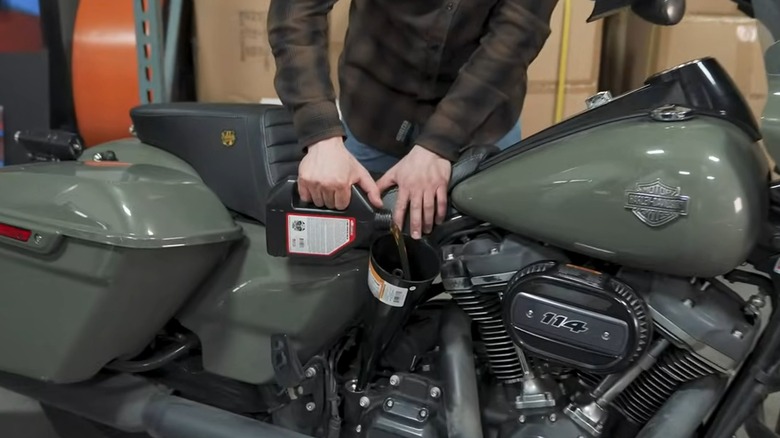
Before starting a 3-hole oil change, there are a few preliminary things to take care of. First is to gather up all of your tools, new fluids, and anything else you'll need. In most cases, you'll at least need a socket set, fresh oil — the exact amount needed is typically found in your motorcycle's manual — a drain pan, and a fresh oil filter. Depending on their condition, you might also need fresh gaskets as well. You then want to let the engine run for a bit to warm up the internals, then park the bike in a well-ventilated, ideally climate-controlled area. With the pre-change checklist finished, you're now ready to get started.
- Locate your bike's engine and transmission drain plugs and situate the drain pan underneath. Remove the plugs with the required socket and allow the oil to drain out.
- After a few minutes, most of the oil will be drained. Remove the engine and transmission dipsticks to reduce pressure, then clean the drain plugs and return them to their holes.
- Locate the primary drain plug, remove it, and allow the oil to drain. Clean and replace the drain once draining is over, and refill with fresh oil per your manual's specifications.
- If necessary, clean and replace the derby cover gasket. Then, reattach the derby cover.
- Refill the engine's oil reservoir and then the transmission with the required amount. Put the dipsticks back on once refilled.
- Start the motorcycle and take it for a ride to get the fresh oil flowing. Add oil in small increments as needed if levels appear low.
With that, your 3-hole oil change is complete, and you're ready to take on the road for another few thousand miles.