How To Insulate Your Home Garage Door The Right Way
Your garage is so much more than just a place to park your car. With a little creativity and a few garage organizing tips, it can double as a home office or a place for your DIY projects. Unfortunately, even if you look forward to maximizing your garage space, it will always experience inconsistent temperature fluctuations, especially if you've a thin, uninsulated door. Not only will this problem make your garage uncomfortable to work in, but it will also lead to increased energy bills and damaged storage items.
The good news is that if you want to have a comfortable multipurpose space, insulating your garage door is the solution. Besides keeping the cold out during winter, garage door insulation will shield your HVAC system from overworking, which, in turn, will reduce energy costs. As a bonus, insulating your garage door will help reduce noise and manage moisture by creating a barrier between your garage and the outside world.
Now, you don't have to hire a professional to complete a garage door insulation project. Instead, you can attempt this project yourself as long as you've the right DIY tools and materials. The key is doing it correctly. After all, poor garage door insulation can make the garage less usable for activities. Plus, it can interfere with your HVAC system and even fail to offer the energy savings you're after.
How to properly insulate your garage door
Before you insulate your garage door, you'll want to ensure that you're using the right material. Not only will the wrong material lead to poor results and wasted money, but it can also result in costly garage door repairs. For most insulation projects, rigid foam board — such as polyiso or polystyrene — will work best, as it is easy to install. Plus, they'll provide good thermal resistance without adding too much weight to your door.
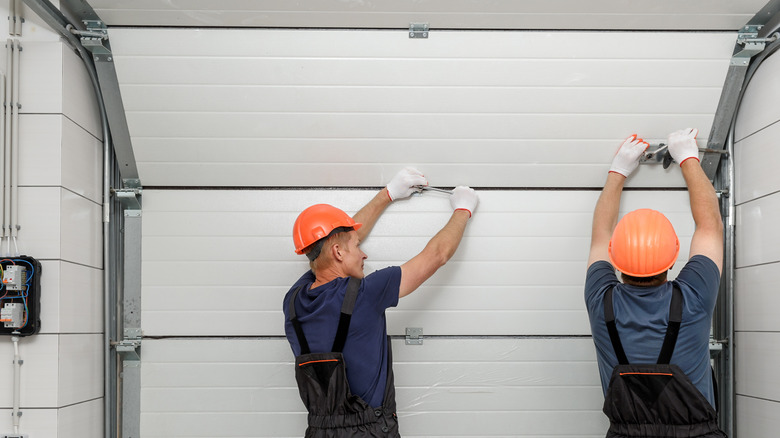
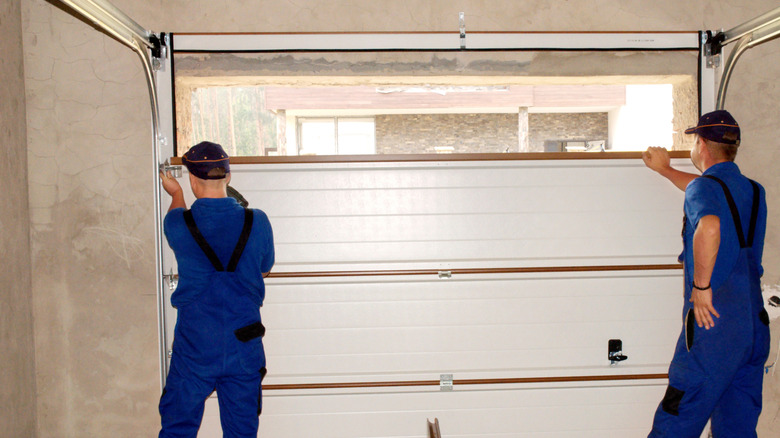
With your arsenal ready, your first step should be to inspect the door carefully. You will need to examine the surrounding frame and panels, checking for any damage that would compromise the DIY project. Small cracks and gaps can be filled with a foam insulation spray, such as the Red Devil 0909 Spray Foam. While you're at it, don't forget to inspect the weather strips and seals. Damaged weather strips and broken seals will definitely undo all your hard work later by allowing leaks to sneak through unaddressed areas.
When you're done, measure each panel and cut the insulation to fit the size of each panel. For this, a sturdy utility knife like this Milwaukee 6-in-1 Fastback will come in handy, especially if you want clean cuts. You may want to pay close attention to the edges and corners of the insulating material to avoid thermal bridges and air leaks. Next, slide the insulation into the panels, working panel by panel without gluing them. Make sure to seal any small gaps left (plus the perimeter gaps) with a spray foam. Don't forget to check the bottom seal, either; replacing a worn-out sweep is just as crucial as the insulation itself.
Common garage door insulation mistakes you want to avoid
Insulating your garage is an easy DIY home improvement project that any beginner can handle. But before you grab your DIY tools, you should know that there are some common missteps that people make when insulating garage doors. One issue that many homeowners run into is not prepping the panels for insulation. Whether you are insulating your garage door with Readi-Board White Foam Board from Dollar Tree or fiberglass batts, you'll want to clean all areas and inspect the moving parts.
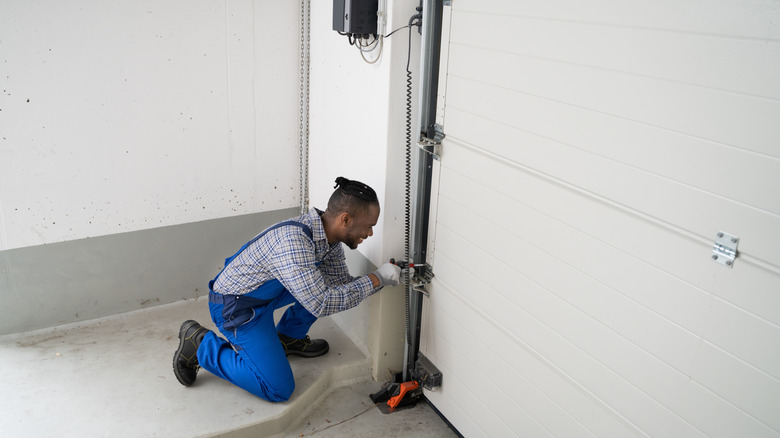
Another major mistake that you don't want to make when insulating is overloading the door. Adding too much weight to the door (by using excess adhesive and insulation materials that are not ideal for your door) can damage the door and even make it unsafe to use. Also, you don't want to overlook the airflow around your door's moving part. As you work on your garage door, double-check the hinges, sensors, and tracks, since insulation that blocks these parts can interfere with your door's functionality.
Lastly, don't forget to inspect your garage door. After completing the project, carefully check if there are gaps in the panels. You'll also want to look for visible cracks or sagging panels. Don't forget to lift the door manually — if it feels unusually heavy, that's a sign that there's too much strain on the opener or springs. Also, don't ignore the noises. Rubbing or grinding sounds could be a sign that your insulation is affecting the moving parts.