How To Transfer Photos From iPhone To Chromebook (3 Easy Ways)
While iPhones are primarily communication devices, they're well known for their ability to take stunning photos. If you're like most iPhone users, over time, you'll accumulate lots of pictures on your device. When this happens (or even before), you'll probably want to transfer them to a computer, an external hard drive, or a USB flash drive to free up space on your phone. Even if you automatically backup your photos to a cloud service like iCloud or Google Photos, transferring them to a computer will allow you to do things like edit your photos using a free Photoshop alternative, something that's often easier to do on a big screen.
If you own a Chromebook, you might be scratching your head trying to figure out the easiest way to get your iPhone photos onto your computer. After all, Apple products work exceptionally well within the Apple ecosystem, but they don't always play well with non-Apple devices like those running ChromeOS. Luckily, this isn't the case when it comes to moving photos from an iPhone to a Chromebook. In fact, there are a few easy ways to do so.
Use a USB cable and the ChromeOS files app
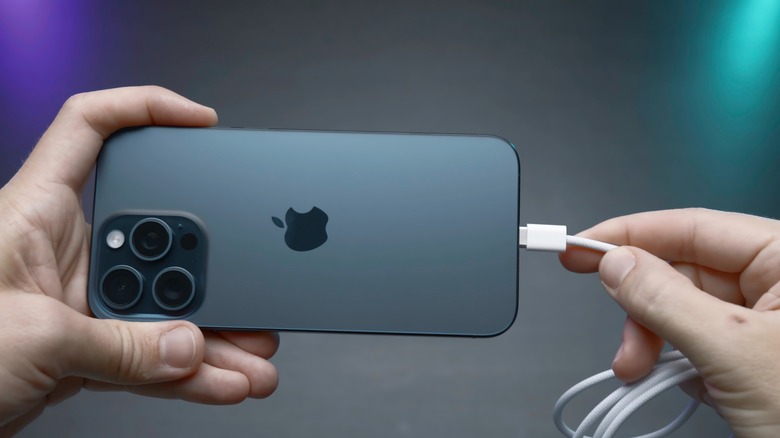
Whether you're transferring photos from one of Apple's newest flagship smartphones, like the iPhone 16 Pro or an older model, the old-school method of transferring pics from a phone to a computer with a USB cable works when moving images between an iPhone and Chromebook. If you're using an iPhone 14 series or older model, you'll need a USB to Lightning cable to do this. iPhone 15 models and beyond use a USB-C connection instead of the Lightning port. Follow these steps to transfer photos to your Chromebook with a USB cable:
- Use a USB cable to connect your iPhone to your Chromebook.
- When prompted, select Allow on your iPhone to grant permission for file access.
- Open the Files app on your Chromebook, then click Apple iPhone.
- Select DCIM to see the photos stored on your iPhone.
- Scroll through your photos and highlight the ones you want to copy, then press Ctrl + C.
- Click Downloads in the sidebar.
- Click the three downward pointing dots and select New Folder.
- Open the new folder and press Ctrl + V to move the new photos there.
The newest Chromebooks have a USB-C port, so if you're using an iPhone 15 or newer model, you can use a USB-C to USB-C cable to transfer your photos. You'll need a USB-A to lighting cable (or a USB-C adapter) for older and budget Chromebook models. This is a good option if you're not transferring a lot of photos or are transferring images to a Chromebook that's not linked to your Google account. Otherwise, you'll usually be better off using a cloud-syncing option.
Use Google Photos for a cloud-based transfer
If you'd prefer not to deal with cables when transferring your photos from iPhone to Chromebook, Google Photos is an efficient alternative. Google Photos is one of the best Chromebook apps, and you can use it to upload pictures from your iPhone and then download them to your Chromebook. You get 15 GB of free storage across your Google accounts, which is enough for most people to store a good number of photos until they transfer them to their Chromebook. Follow these steps to use Google Photos to transfer photos from iPhone to Chromebook:
- Download the Google Photos app to your iPhone.
- Sign in to the Google account you use with your Chromebook.
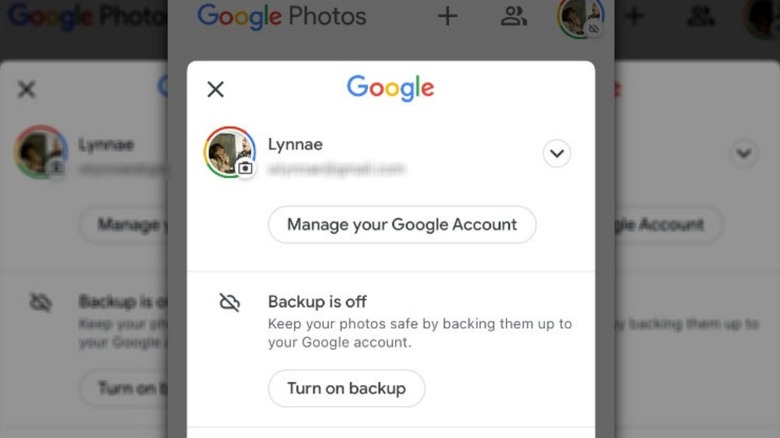
- Tap your profile photo in the top right corner of the screen.
- Tap Google Photos settings and select Backup.
- Toggle the Backup button on.
If this is your first time using Google Photos on your iPhone, you'll be prompted to set up auto-backup when you open the app for the first time. Once you've completed these steps and your photos are synced, all you have to do is open Google Photos on your Chromebook to select the pictures you'd like to download.
Use iCloud to transfer your photos
If you use iCloud to back up your photos, you can use the cloud storage service to transfer your images from an iPhone to a Chromebook. Just like with Google Photos, iCloud makes your photos accessible on any internet-connected device. Before you can use iCloud to transfer pictures between your iPhone and Chromebook, you'll need to enable the service on your iPhone. Follow these steps to save your photos to iCloud:
- Open Settings on your iPhone.
- Tap your name.
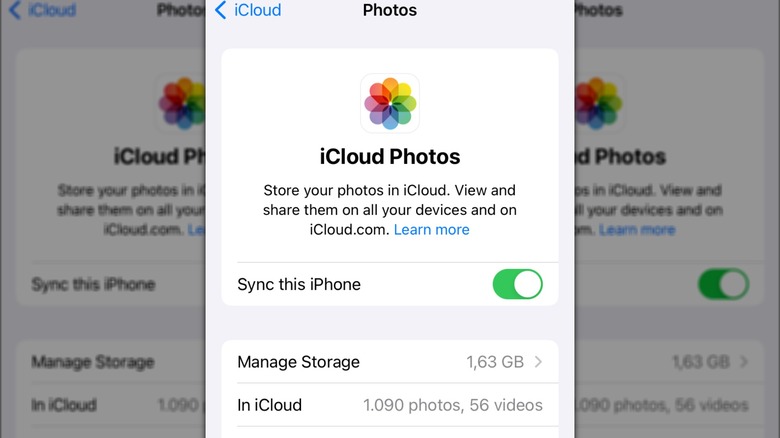
- Scroll down and tap iCloud, then tap Photos.
- Toggle the Sync this iPhone button to on.
After you've completed these steps, you're only a few steps away from downloading your photos to your Chromebook. Follow these steps to download photos from iCloud to Chromebook:
- Open the web browser of your choice on Chromebook and go to iCloud.com.
- Sign in with your Apple ID and open the Photos app.
- Wait for the photos to load, then select the ones you want to download.
- Click the download button (a cloud icon with a down-pointing arrow) to download the photos.
Using iCloud to download your photos is one of the easiest ways to transfer photos from your iPhone to your Chromebook. However, iCloud doesn't offer as much free storage as Google Photos, so you might run out of space quickly if you take lots of photos. However, you can always upgrade to iCloud Plus for additional storage if needed.


