How To Change The Wi-Fi Network On Your Google Home Device
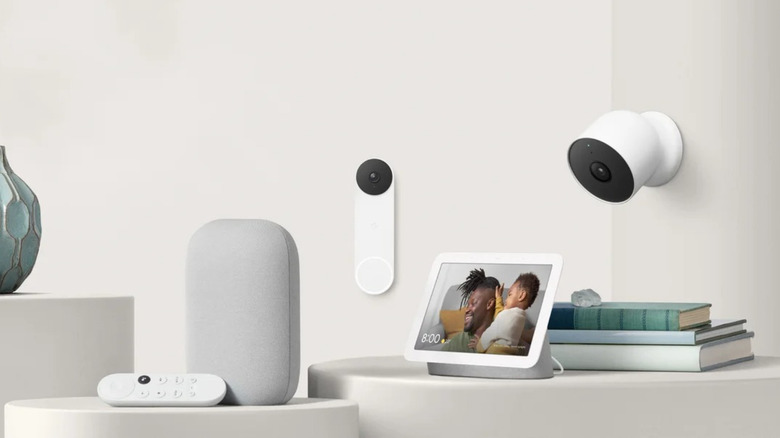
One of the big appeals of smart home devices is interconnectivity. You tweak some settings on your phone and your devices start working together in a coordinated fashion — the fans and window treatments switch on when the thermostat detects high temperatures, the lights and plugs turn off as soon as you lock the door, and the cameras and speakers get activated exactly at bedtime. But all of this only works if your smart devices are online. That's why it's important to keep them connected to your Wi-Fi network at all times.
However, you might encounter instances when your Wi-Fi network changes. Perhaps you switched to a different internet service provider, got yourself a new router, Wi-Fi extender, or mesh, or simply decided to edit the network name and password of your existing connection. Any of these could potentially disconnect the smart devices from your home network. If you're using Google Home or Nest smart devices (Nest is simply a rebrand of Home), Google recommends setting up your new Wi-Fi with the same SSID and password as before to prevent your devices from disconnecting. However, if this isn't possible or you prefer to use a different SSID and password, you can still change the Wi-Fi network on your Google Home or Nest devices. We'll walk you through how to do so.
For speakers, displays, streaming devices, and newer thermostats
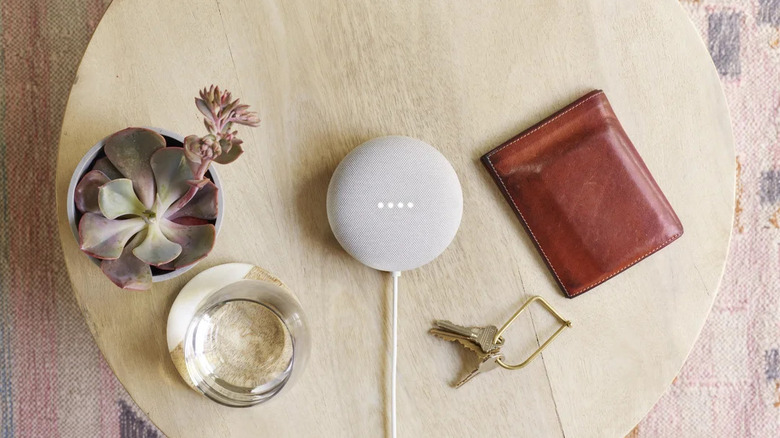
Here's a step-by-step guide to change the Wi-Fi network of your Google Home or Nest speaker and display, Chromecast and Chromecast Audio, and the newer thermostat models (Nest Thermostat 2020 and Nest Learning Thermostat fourth gen):
- Connect your phone or tablet to the same Wi-Fi network your Google Home device is currently connected to.
- Launch the Google Home app.
- Switch to the Devices tab at the bottom.
- Tap on your device.
- Select Settings (gear icon) in the upper right corner.
- Under General, press Device information.
- Tap on Wi-Fi to open the Google Home device's Wi-Fi settings.
- Select Forget This Network.
- In the confirmation dialog box, press Forget Wi-Fi network to proceed. You should then see a loading screen while the process is ongoing.
- Once your Google Home device has disconnected from the Wi-Fi network, go back to the Devices tab.
- Connect your phone to the new Wi-Fi network.
- Turn on your phone's Bluetooth.
- Press Add.
- Select Google Nest or partner device.
- Pick your home. Your phone will then search for your Google Home device.
- Set up your device how you did the first time but skipping some screens that are no longer relevant (like the installation instructions for Nest thermostats).
- Once you get to the Connect to Wi-Fi page, tap on the new Wi-Fi network you want your device to connect to.
- Press Next to proceed.
- Enter the Wi-Fi password.
- Hit Connect.
You can then go ahead with the rest of the setup process, which may include setting up Google Assistant, enabling personal results, picking your streaming subscriptions, and configuring Home & Away Routines. If, however, you see a "Could not communicate" error somewhere along the Wi-Fi reconnection process, factory reset your Google Home speaker, display, streaming device, or thermostat first.
For newer video doorbells and select cameras
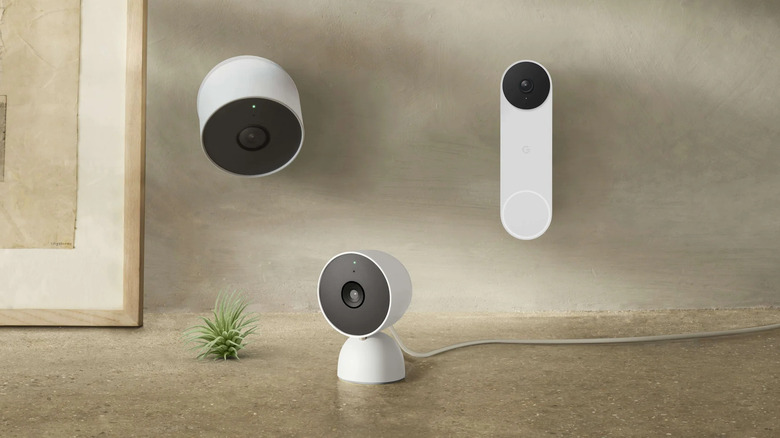
Unlike Google Home/Nest speakers, displays, and newer thermostats that forget a Wi-Fi network and easily reconnect to a new one, certain Nest video doorbells (wired Nest Doorbell second gen and battery Nest Doorbell battery) and Nest cameras (wired Nest Cam, battery Nest Cam, Nest Cam with Floodlight) with the Google Home app don't provide the same option. To change the Wi-Fi network, they first require a factory reset. This, of course, will wipe your video history, so if you have any important clips, don't forget to back them up to your phone. After doing so, follow these next steps:
- Ensure your Nest doorbell or camera is online by checking whether its status light is on.
- In Google Home, select the Devices tab.
- Choose your doorbell or camera tile.
- Go to Settings.
- Tap on Remove device on the bottom of the page.
- Select Remove to confirm. This will automatically factory reset your doorbell or camera.
- Once reset, connect your phone to the new Wi-Fi network.
- In the Google Home app, return to Devices.
- Tap on Add to set up your device.
- Choose Google Nest or partner device.
- Select your home.
- Tap on either Camera or Doorbell.
- Choose your device's model.
- Scan the QR code on your device. Alternatively, you can select Continue without scanning and enter the device's six-digit code.
- When prompted, select the photo of the device you're setting up.
- Follow the prompts for the Google Device Arbitration Agreement and Usage and Privacy guidelines.
- Choose No thanks on the "Help improve [Google Nest device]" page.
- Pick where you'll be installing the camera.
- Tap on your new Wi-Fi network.
- Type in the password.
- Hit Connect.
After your doorbell or camera is set up, it should be connected to your new Wi-Fi network.
For older video doorbells and cameras
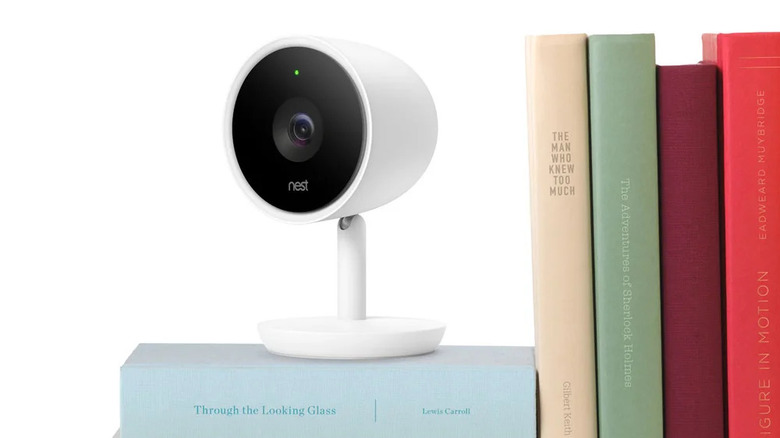
The older Nest video doorbell (wired Nest Doorbell first gen) and Nest cameras (Nest Cam and Nest Cam IQ Indoor and Outdoor versions) use the Nest app, which allows you to change the device's Wi-Fi network without factory reset. The process is done via Bluetooth, so you'll need to be near your device as you update Wi-Fi network settings. Once you're close to the Nest doorbell or camera, proceed with these steps:
- Make sure your phone is on the new Wi-Fi network.
- Launch the Nest app.
- Tap the Settings icon in the upper right corner.
- Navigate to Home info > Home Wi-Fi help.
- Choose the Nest device you need to reconnect to a new Wi-Fi network.
- Press Start.
- Select Update settings. Your phone will then start connecting to your device.
- Choose the Wi-Fi network you're currently connected to.
- Enter the password for your Wi-Fi network.
- Hit Next to proceed with the Wi-Fi update.
- After a few seconds, you should see a message saying your Wi-Fi settings have been updated. If, however, there's no Home Wi-Fi help option in the Home info settings, the only other way to change the Wi-Fi network on your old Nest doorbell or camera is by removing it from your account and then adding it again. Do keep in mind that doing so will erase your video history. If you want to keep any clips, save them first. To remove the device from your Nest account:
- In the Nest app, press Settings at the top.
- Scroll down to the Cameras section.
- Pick your device.
- Tap on the Remove [device] button.
- Press Confirm to proceed.
After removing the doorbell or camera, factory reset it (differs per model) and set it up again but now using the new Wi-Fi network.
For older thermostats
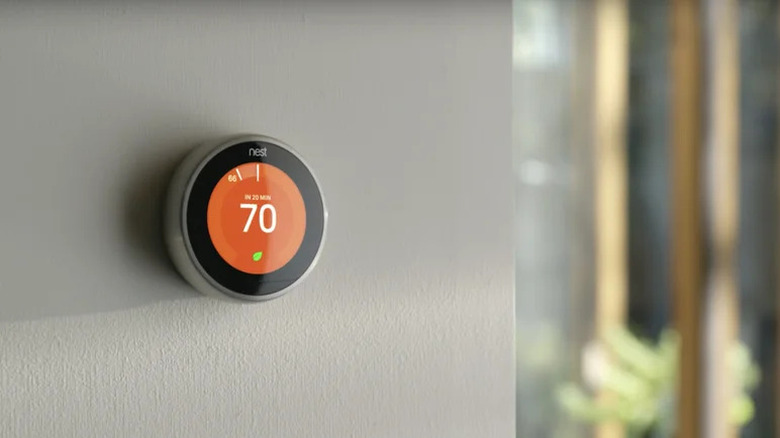
The earlier versions of the Nest thermostat, including the first- to third-generation of the Nest Learning Thermostat and the Nest Thermostat E, can't connect to a new Wi-Fi network via Google Home app. Instead, you need to go into the Settings on the device itself. Here's how to do so:
- Press the ring on your thermostat.
- On the Quick View menu, open the Settings.
- Navigate to and select the Network option.
- Scroll through the list of available Wi-Fi networks.
- Select the network you want to connect to.
- Input your Wi-Fi password by turning the ring and selecting the checkmark.
- After the thermostat connects to the new Wi-Fi network, you should see an online message. Press the ring and navigate to Done. If the thermostat doesn't connect to the Wi-Fi, you may need to reset its network settings first:
- In the device's Settings, rotate the ring until you get to Reset farther along down the menu.
- Press the ring to select Reset.
- Choose Network or Account Connection, whichever one you have.
- Select Reset.
- When prompted, turn the ring until the semi-circle displayed turns blue.
- Press OK.
If you reset the Account Connection, your thermostat will wipe previous network settings and disconnect from the Nest app. You'll need to remove the device in the app. Open Nest, navigate to Settings > [your thermostat]. Then, press the Remove thermostat button and select Confirm. Then, set it up again in the Nest app using the entry key found in the thermostat's Settings > Nest app > Get entry key:
- In the Nest app, select Settings.
- Press Add product.
- Tap on Continue without scanning.
- Choose your Nest thermostat model.
- Skip the installation pages.
- Enter the thermostat's entry key.
Finish the setup process and your thermostat should appear in your Nest app.
For lock and smoke and CO alarms
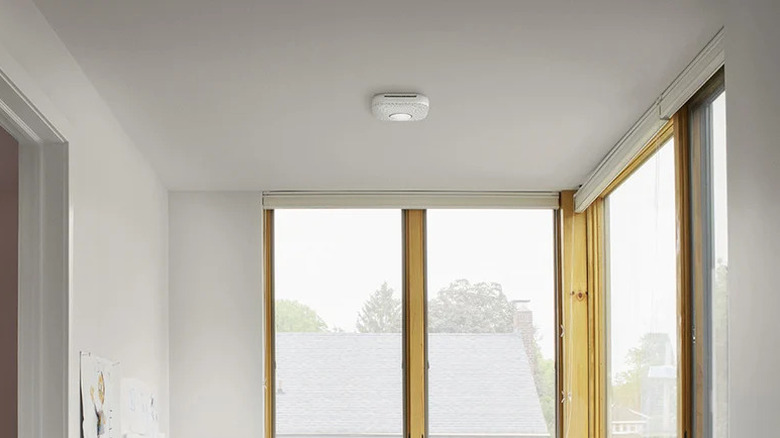
Unlike other Google smart home products, the Next x Yale Lock doesn't have a built-in Wi-Fi module, so it can't connect to Wi-Fi on its own. Instead, it uses Nest Connect to go online. If you need to change the Wi-Fi network on your lock, you simply have to update the network settings on the Nest Connect the lock is paired with. This update can be easily made via the Nest app. The same process is also used when changing the Wi-Fi network on the Google Nest Protect for both the first and second gen models. Here's a quick step-by-step walkthrough of how to change the Wi-Fi network for your Nest lock and smoke and CO alarm:
- Launch the Nest app on your mobile device.
- Select the Settings icon on the home screen.
- Scroll down to the Lock or Protects section.
- Choose your Nest Connect or Nest Protect from the list (if you have more than one).
- Under Device Options, press Wi-Fi connection.
- Hit Start or Next.
- Stand close to the device.
- On the Update your Wi-Fi settings page, press Next to connect your phone and the Nest device.
- Pick your new Wi-Fi network from the available options.
- Type your password.
- Press Next to proceed.
The Nest device will then set up the new Wi-Fi connection, and a message saying the Wi-Fi settings have been updated should pop up after a couple of seconds. Simply press Done to exit.