6 Novice Video Editing Mistakes And How To Avoid Them
It's easy to underestimate the importance that editing plays in the production process. While many might see editing as little more than gluing scenes together, those with an eye for the craft know it can be so much more than that. From short films and commercials to TV episodes and full-length movies, editing is the tool that shapes narrative into what it ends up being. How you order scenes, time actions, and utilize adjustments plays a massive role in the overall effectiveness of your work. The best creators know just how crucial editing is to finding the rhythm and pace of their story.
But just as beneficial as editing can be, it can also prove damaging in the wrong hands. It doesn't matter if your work has the best actors, the highest-end cameras, the best sound equipment, or the most stunning locations, if the editing falls short, it can tank the entire project in the blink of an eye. There are a number of common pitfalls that editors, especially newcomers, are prone to and can produce undesirable work.
I'll be listing out some of these problems, based on my almost decade's-long experience working as an editor on both personal and professional projects. Whether you're working with a top-of-the-line editing program or are starting off with more budget-friendly software, these tips are sure to help get you — and your timeline — on the right track.
Your sound is too loud or too quiet
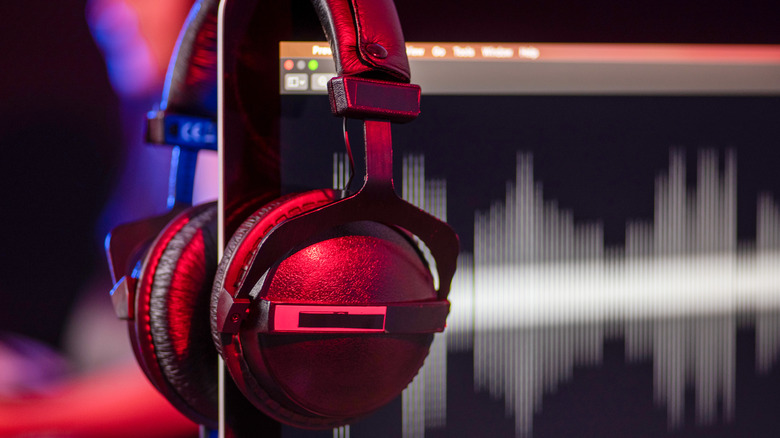
Sound is a crucial aspect to storytelling that's easy to overlook. Unless striving for a certain reaction, audio should be a factor that your audience is essentially unaware of while watching. Nothing can break that illusion faster than jarring sound quality, where some elements are too loud while others are too quiet.
Of course, a lot of this can be solved up front if you're using good quality sound recorders or microphones to capture your audio, but blending these sounds properly will ultimately depend on the skills of the editor. Effectively balancing dialogue, sound effects, and music can prove to be a more difficult task than you might imagine. Even quiet scenes are not void of audio. When I started off, it was easy to ignore the quality of my sound or get overzealous while playing with the levels, resulting in inconsistent audio throughout. Listening to a lot of the earlier videos I worked on again, I also recognized plenty of wonky static-sounding noise that could've used some additional cleaning up.
The best way to solve this is to be as attentive to your audio as possible. Make sure you're always editing with headphones on and adjust the levels of each audio layer accordingly. It's also a good idea to periodically step away from your edit for an hour or more. When you return to it for another listen, the audio will be fresh to your ears, allowing you to better pick up on any potential sound issues.
Poor or inconsistent color correction
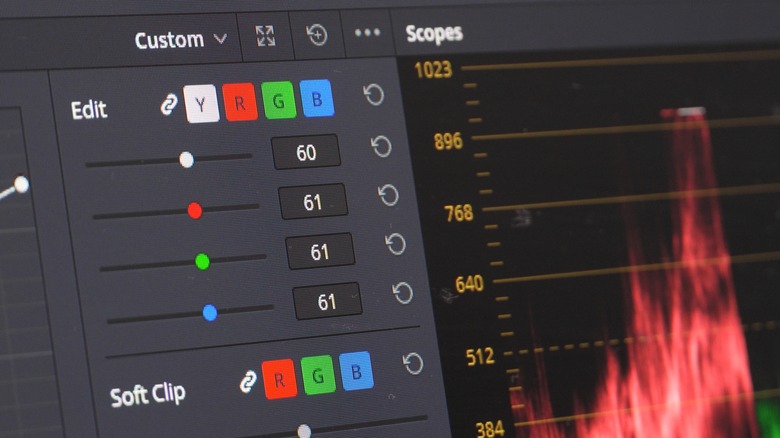
Video editing programs give users plenty of opportunities to enhance and even entirely fix a video's initial quality. One of the ways you can do this is through the use of color correction, which allows greater control of elements like contrast, exposure, saturation, and more. However, it's easy to get carried away with these functions and end up creating an unappealing final product.
Some creators opt to push the levels of every color correction setting to the max, which can become abrasive to eyes very quickly. Meanwhile, other shots will contain way too little in the way of color correction and can look bland or incomplete compared to more professional work. Having shots that go in between these extremes or have generally different color language can prove to be distracting for viewers. I found my work greatly improve after learning more about the basics of color theory, allowing me to better assess individual shots and find color settings that better suited them.
Many editing programs also allow you to copy the settings of one shot and paste them on to any others on your timeline. In most case, all you have to do is right click and select "Copy" on the shot you color corrected. Then, right click the other shots you'd like those same settings applied to and select "Paste Attributes." If your software does not allow for this, you can always simply note the numbers of each setting and manually apply those to your other shots.
Overuse of transitions and cuts
The only time casual viewers will likely take notice to editing in a movie or show is when a fancy transition or cut is used. Think of the wipes seen in "Star Wars" or the fast cuts in "Shaun of the Dead." However, the reason these work as well as they do is because they are used sparingly, acting in conjunction with other techniques that don't call attention to themselves. But the library of transitions that editing softwares come with may be too tempting for a newbie editor to resist.
A few transitions here and there can leave impact, but relying too heavily on dissolves, wipes, zooms, and fades can create a jarring experience that halts the momentum of your video and can quickly come across as cheesy-looking. Similarly jarring can be the overuse of jump cuts in an edit. This is commonly employed in YouTube videos or social media reels to cut out awkward pauses and speed up the pace, but can become irritating if used constantly in longer form content.
No matter if what kind of cut or transition you're using, make sure there's intent behind it. Constantly review your footage or, better yet, show it to others to get a good idea of if your transitions are having the desired effect or if they seem like extraneous fluff.
Lack of organization
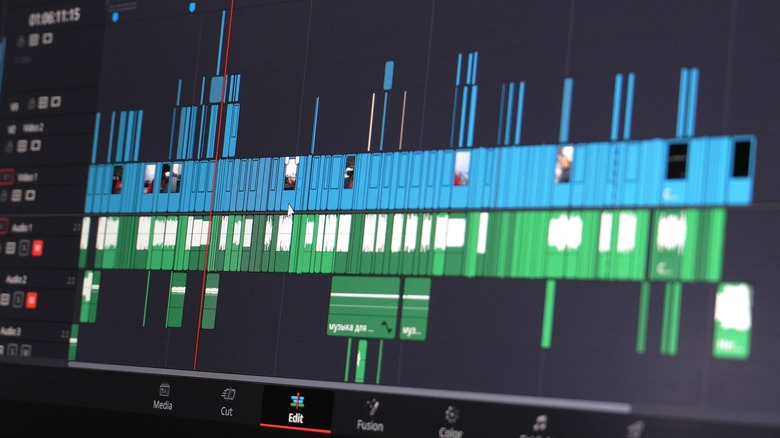
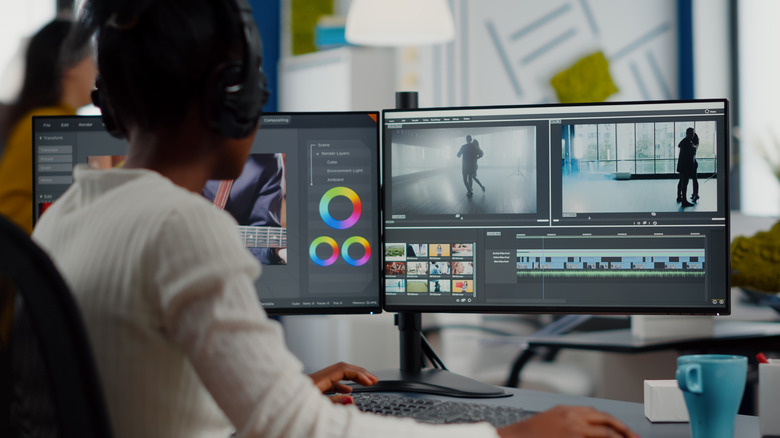
This is admittedly something I still struggle with from time to time. Editing can be a tedious and time-consuming process, so the prospect of spending additional time beforehand performing organization tasks may sound counterintuitive. But in fact the opposite is true, as taking the effort to keep your files and timeline neat and tidy will save you loads of time and headache down the line. Your timeline will quickly fill up with videos, audio, and graphics, all being pulled in from various places. An unorganized editing session can quickly turn to chaos as you struggle to locate files and find where things belong.
You should switch to the mindset that someone else will be editing your file. In a professional editing setting where your files will be shared between different departments, organization throughout the process is key to making sure everything moves smoothly and efficiently. So adopting this mentality, even if you're working alone, is a great way to motivate yourself to keep everything as orderly as possible. This includes using shared naming conventions for all your video and audio clips, organizing your files into separate folders, and color coding certain clips on your timeline to distinguish them from one another. Additionally, it's a good idea to get into the habit of using short cuts to perform certain actions while editing, as this will also save you loads of time.
Weak graphics

A telltale sign of a novice editor is their use of graphics within a video. Titles, effects, and animations can be helpful in enhancing and punching up the quality of your video, but they can easily work to its detriment if used improperly. There are a number of common scenarios where editors end up misusing graphics.
Using graphics too frequently can be a distraction, especially if you're not mindful where they appear on screen. Many beginners are also prone to using fonts that are either unprofessional-looking such as comic sans, papyrus, or trajan or overly bland fonts such as arial. Even worse are graphics that are hard to read, either being too small or having too many effects added to them such as drop shadows. Overdoing it with colors or using inconsistent fonts is also a potential issue that can prove distracting.
This is another situation where you'll want to use your best judgement, and possibly that of another viewer, to best assess if your graphics are working for the video. I found that applying the rule of thirds to any graphics that appear alongside video footage was a good way of better composing these elements within my videos, especially when making lower third titles for interviews.
Not backing up your work

It's impossible for an average person watching your work to comprehend the endless hours it takes to edit a video and the many problems encountered throughout the process. But all that time and effort can be washed away in an instant if something happens to your video file before you save your work.
This could have gone with the organization section, but this truly deserves its own spot. And trust me, I get it. It's easy to get sucked into editing for hours and forget about the world around you. But technology is technology at the end of the day, meaning that your editing software could freeze or crash on you without a moment's notice. As a result, you shouldn't wait until the end of your work session and instead save periodically throughout the day. You can start by setting a timer to save every 30 minutes to an hour or so of editing until it starts becoming a habit.
It's also a good idea to get into the mindset of saving different versions of your editing file at the end of each work day instead of saving your entire video as one file. On top of giving you more options to work from in the instance that one file doesn't work, it also allows you to return to your older edits with fresh eyes. And of course, along with saving your files on your work computer, you should also be saving to at least two other locations such as a hard drive or cloud storage system.