How To Make Your Windows 11 PC Boot Faster

Nobody likes to wait around, and few things are more frustrating than your computer taking forever to boot. Not only can this affect your productivity, but it can also set a less-than-ideal tone for your day. Moreover, it can become a real nightmare when you need to access your computer quickly for something important.
A slow startup can occur due to various factors, such as having too many startup apps, insufficient storage space, malware infection, or hardware limitations. Fortunately, you don't have to endure sluggish boot times or constantly put your PC into sleep mode to get around this.
If you're using a Windows 11 PC, there are several things you can do to speed up your device's boot process after a shutdown. This guide will walk you through useful tips, from leveraging the fast startup feature to defragmenting the hard drive, to help your Windows 11 computer boot faster and more efficiently. So, let's take a look.
Enable fast startup
One of the simplest ways to speed up Windows 11 boot times is by enabling fast startup. As the name suggests, fast startup allows your PC to boot quickly by saving part of the system state to a file. This enables Windows to load essential data much faster when powering on. Plus, there's no negative impact on your system's lifespan or performance.
Here's how to enable fast startup in Windows 11:
- Click the magnifying icon on the taskbar to access the Windows search menu.
- Type "Control Panel" in the text box and press "Enter."
- Click the "View by" menu in the top right corner to select "Large icons" or "Small icons."
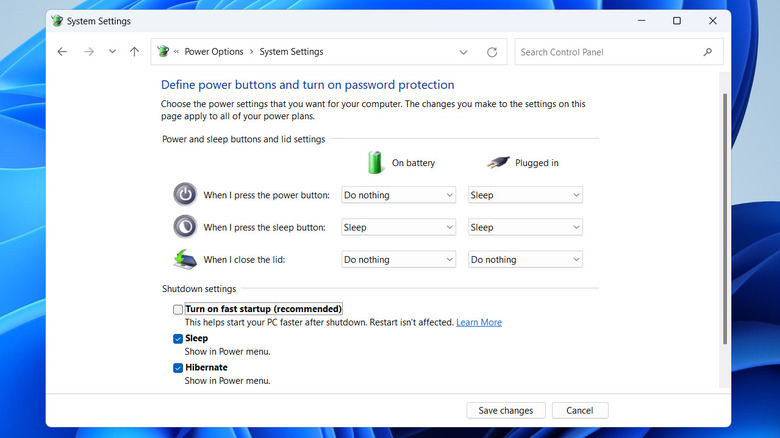
- Go to "Power Options" and click the "Choose what the power buttons does" option on your left.
- Click the "Change settings that are currently unavailable" option at the top.
- Tick the "Turn on fast startup" checkbox and then hit the "Save changes" button.
Reduce the number of startup apps
While having numerous apps running as soon as you boot your PC may be convenient, it can negatively impact boot times. Each startup app increases the load on system resources, leading to a sluggish boot process. By reducing the number of startup apps, you can free up system memory and processing power, resulting in a faster, more efficient startup. Here's how to disable unnecessary startup apps in Windows 11 to speed up boot time:
- Press Windows + I to open the Settings app.
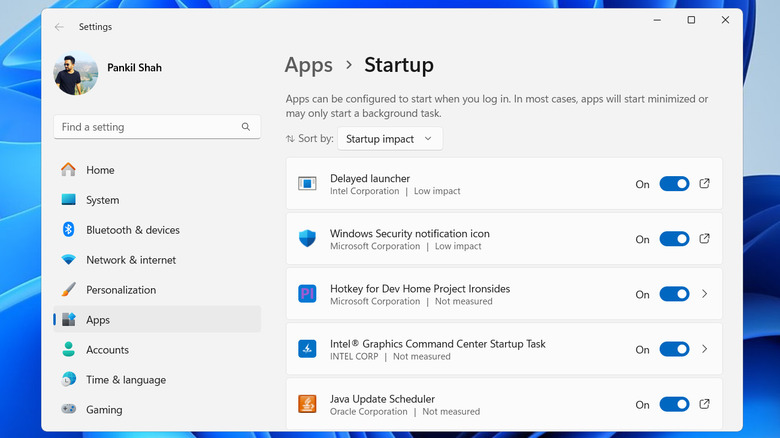
- Navigate to Apps > Startup.
- Review the list of apps, identify the ones you don't need to run automatically at startup, and toggle them off.
Additionally, you can sort the list by Startup impact using the drop-down menu at the top to see which apps have the greatest effect on your PC's boot time. Disabling high-impact apps can make the most noticeable difference in speeding up your startup.
Adjust Windows updates hours
Your Windows 11 PC may take longer to boot after a system update is installed. To prevent this from happening during your regular use, it's a good idea to adjust the active hours for updates. This way, you won't have to wait too long while booting up your PC. To set up active hours in Windows 11, use these steps:
- Open the Start menu and click the gear-shaped icon to launch the Settings app.
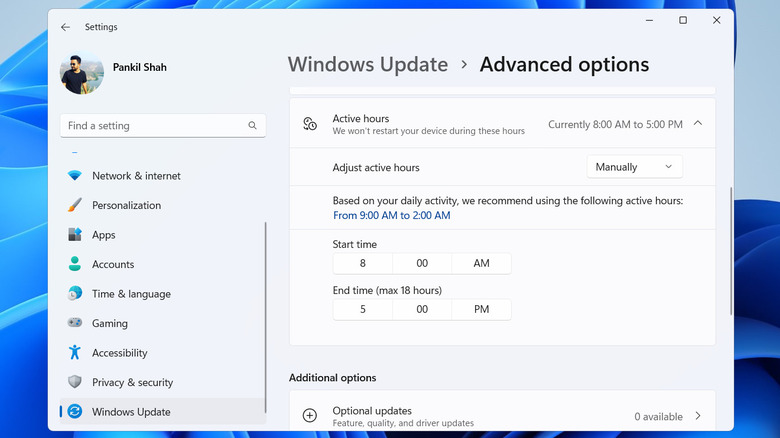
- Select "Windows Update" in the left pane and then go to Advanced options.
- Click "Active hours" to expand it.
- Click the drop-down menu next to "Adjust active hours" to select "Manually."
- Set the active hours to match the time you regularly use your PC.
Once active hours are set, Windows 11 will schedule updates outside of this time frame. This should prevent interruptions or slow boot-ups, ensuring that updates don't impact your performance when starting the PC.
Free up storage space and scan for malware

If the storage on your PC is almost full, it can slow down several Windows 11 operations, including startup times. To check your storage status, go to Settings > System > Storage. If your PC is running low on storage space, consider removing unused apps or transferring large files to cloud storage. Additionally, you can enable the "Storage Sense" feature in this menu to let Windows automatically delete temporary files and old data.
Another important step is to regularly scan your system for malware, as it can cause your PC to boot and run slowly by running unwanted background processes. Detecting and removing malware not only improves system performance but also ensures your PC remains secure. You can perform a full malware scan using the built-in Windows Security app to check for potential threats. Here's how to do it:
- Open the Windows Security app using the search menu.
- Select the "Virus & threat protection" tab in the left pane and click "Scan options."
- Select the "Full scan" option and hit "Scan now."
Defragment the drive or upgrade to an SSD
Over time, files can become fragmented and scattered across the disk, leading to slower performance. Hence, defragmentation is essential, particularly if your Windows 11 PC has traditional Hard Disk Drives (HDDs). Running the built-in "Defragment and Optimize Drives" tool in Windows can reorganize these files and improve performance. Here's how to do it:
- Open the Windows Search menu from the taskbar.
- Type "Defragment and Optimize Drives" in the search box and select the first result that appears.
- Select your HDD, click the "Optimize" button, and wait for Windows to optimize the hard drive.
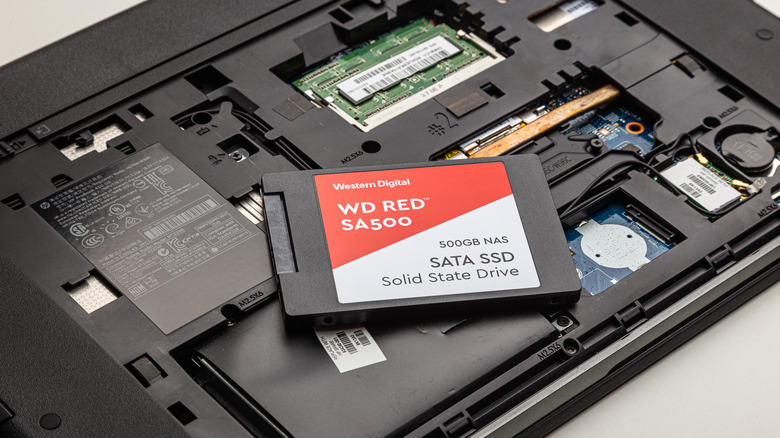
For a more significant performance boost, consider upgrading to an SSD. Unlike HDDs, SSDs have no moving parts and use flash memory to store data, which dramatically speeds up boot times and file access. Since SSDs offer faster read and write speeds, it results in quicker system start-ups and app launches. To upgrade, you'll need to buy an SSD that matches your PC's specifications, clone your existing drive to transfer your data, and replace the old drive.