How To Reset Your Harley Davidson Key Fob
We may receive a commission on purchases made from links.
Harley-Davidson's first production motorcycle, the 1905 Model 1, was really nothing more than a bicycle with a motor mounted to its frame, but that primitive machine helped launch a company that is now the leading motorcycle manufacturer in the United States. Harley Davidson is now a publicly traded company with operations spread around the globe, but the company's headquarters remain in the same Milwaukee, Wisconsin location where that first bike was built.
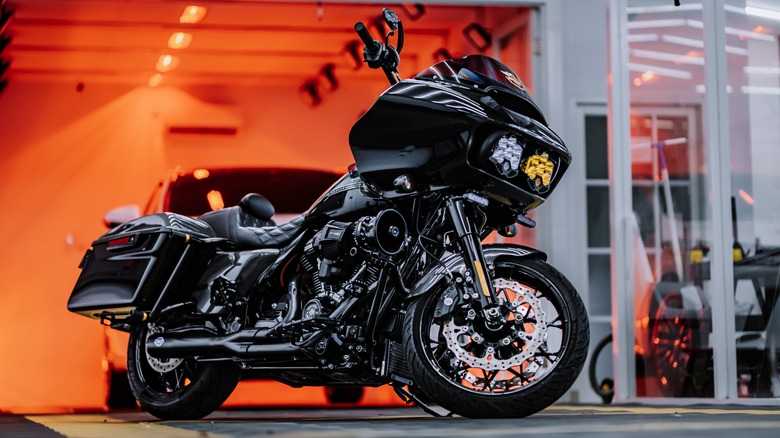
Harley's 2024 lineup included more than a half-dozen cruisers, which represent the cutting edge of internal-combustion powered bikes. Harley also introduced the Livewire S2 Del Mar electric motorcycle in 2023, with a price tag of just under $16,000 and a range of up to 113 miles. Modern Harleys have a suite of sophisticated electronic systems, from Bluetooth-ready infotainment panels to digitally controlled suspensions.
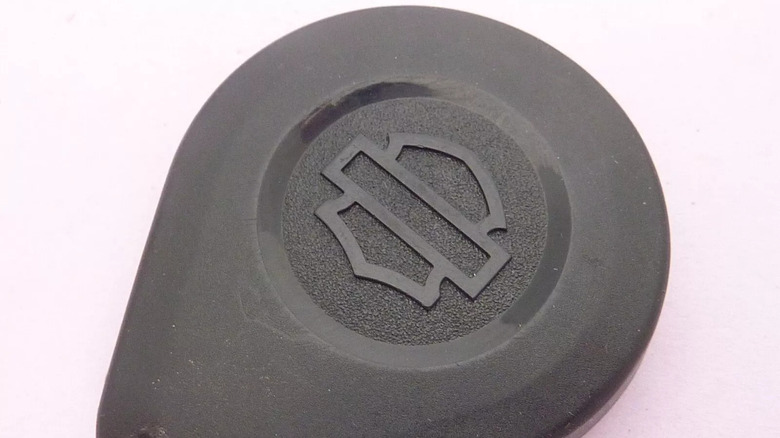
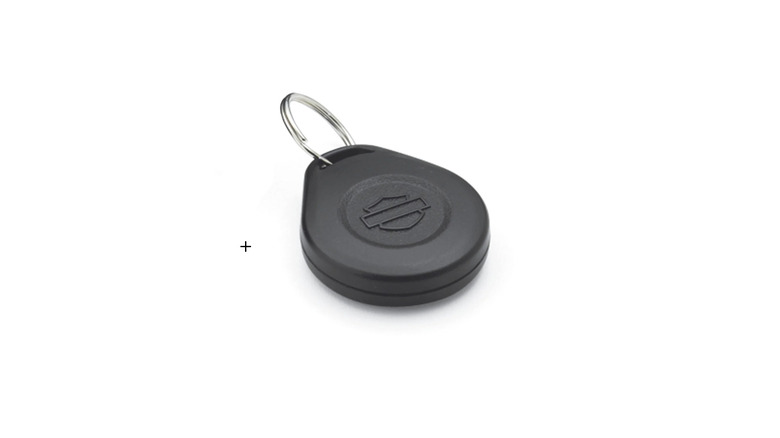
Many recent Harley models also have a key fob that arms and disarms the bike's security system. Some fobs have buttons to perform these functions, while other hands-free fobs unlock your bike when you're close enough to the security module. If your key fob stops working, follow these steps to reset it.
Harley key fobs take a 2032 coin-style battery
Your first troubleshooting step should be to replace your fob's battery to make sure that it has enough power to communicate with your bike. Harley key fobs use a series 2032 battery, which you can buy from Amazon or at most auto parts and hardware stores. Once you know your fob's battery is good, proceed with the reset process. If your fob has a clickable button, that means you have a Turn Signal Security Module (TSSM). To reset the TSSM and pair your fob, begin by setting the kill switch to "off."
- Cycle the ignition switch on and off twice, then turn it on again (a total of five actions).
- Press and release the left turn signal twice.
- Press the fob button firmly and release it. The current PIN will show on the odometer.
- Press the left turn signal to cycle the first digit until you get to the number you want, then press the fob button twice to cycle to the next digit.
- When you're done with all five digits, turn the ignition switch off. The first three steps must be done in rapid succession; if you're not fast enough to activate the PIN sequence, begin again by cycling the ignition switch.
The procedure for a buttonless fob is similar
If your key fob has no button, that means you have a Hands-Free Security Module (HFSM). The procedure for resetting this module is similar to the one for a TSSM, with a couple of important differences. Here's how it works:
- Bring your fob close to your bike, and turn the kill switch to the "off" position.
- Cycle the ignition switch on and off twice, then on again.
- Press the left turn signal twice.
- Press the right turn signal once; the current PIN should appear on the odometer.
- Use the left turn signal to change the first digit to the number you want, then press the right turn signal to move to the next digit.
- Repeat step 5 until the five-digit PIN is set to what you want it to be.
- Turn the ignition switch off.
Make sure to do steps two through four quickly to enter the PIN setting sequence; you might have to repeat these steps if you're not quite fast enough.


