How To Set Up A Ryobi Pressure Washer Before The First Use
A pressure washer is one of the most useful tools for cleaning around the outside of the house. Not only can you use it to clean your driveway and fences, but you can also strip paint or wash your car, leaving it just as sparkly as it was when you bought it. However, a pressure washer requires more hands-on time than other Ryobi power tools, most of which only need a charged battery to use.
Out of the box, pressure washers require an initial setup. Many of them come with handles that need to be attached to the wheel assembly and hoses that have to be plugged into the pump. Most of it involves simply inserting and screwing pieces into each other, so there's no worry about having to actually build out the machine. The tool should come with easy-to-read illustrated instructions, or you can look up the model you purchased on the Home Depot or Ryobi websites to find the instructions.
Ryobi has a whole fleet of pressure washers making up its arsenal, ranging from electric to gas. While there isn't much of a difference between these machines during setup other than the required lubrication addition for gas-powered pressure washers, the various models' power sources, PSI, and GMP do impact their job capabilities.
Some information about Ryobi's pressure washers
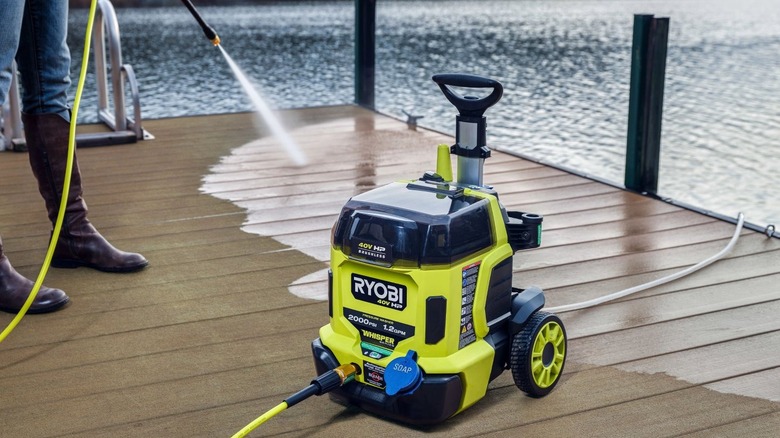
The 40V HP Brushless Whisper Series 2000 PSI Electric Pressure Washer is the highest PSI (pounds per square inch) available in Ryobi's battery-powered options. It may be a bit lower than a corded electric or gas machine, but it comes with the convenience of easy mobile transport, and with enough batteries and a Ryobi rapid charger, you can go all day.
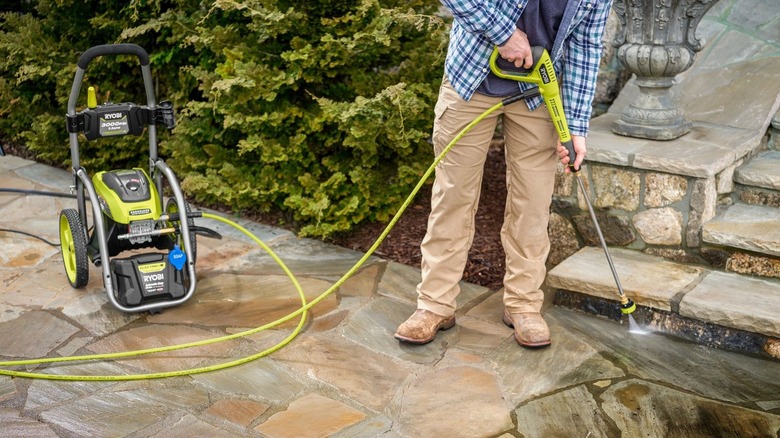
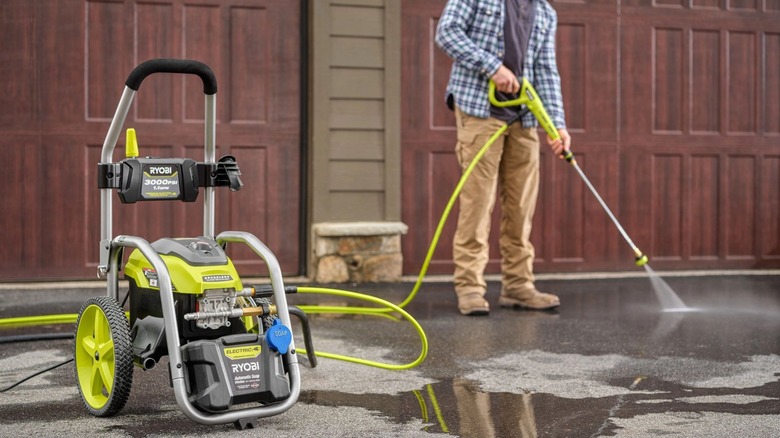
Another electric option is the 3000 PSI 1.1 GPM Cold Water Electric Pressure Washer. This tool is corded and runs a 13-amp electric motor, which means you're pulling power from a continuous power source like your home or one of Ryobi's generators. The PSI is also 1000 higher than the battery-operated pressure washer. However, the GPM (gallons per minute) is about the same at 1.1/1.2, and they both come with turbo nozzles for 50% faster cleaning.
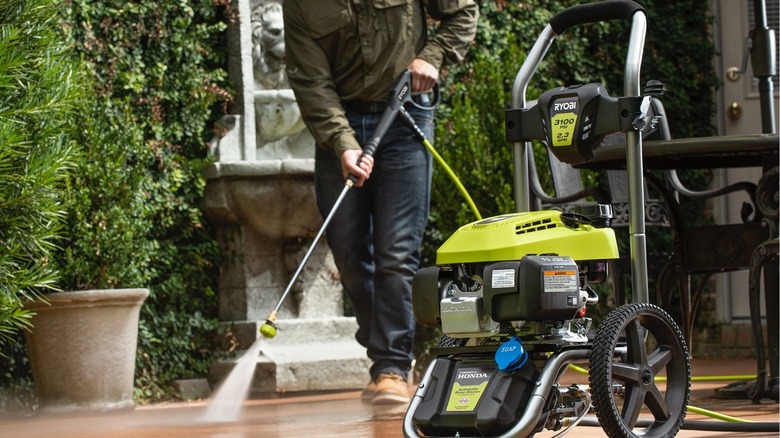
While many people still prefer gas-powered tools, be aware that some states, like California, do not allow their sale anymore. That's why companies are putting so much effort into creating and marketing electric tools that can keep up with gas-powered ones. If you live in a state where they're still available, Ryobi's 3100 PSI 2.3 GPM Gas Pressure Washer with Honda GCV167 Engine is a solid option with good reviews on both Home Depot's and Ryobi's websites. Just remember that gas-powered pressure washers require additional maintenance like engine lubricant changes to keep them running smoothly. This specific pressure washer requires a lubricant change after the first five hours of use and every 50 hours after.
How to set up a Ryobi pressure washer
When you get your pressure washer, you'll need to assemble it before you can use it. Connect the handle to the wheels and install it onto the washer. From there, each Ryobi pressure washer indicates that you'll need to connect the spray wand to the trigger hand first, then the high-pressure hose to the trigger handle, and, lastly, the high-pressure hose to the pump. If you're connecting it to a non-pressurized water source, install the self-priming adaptor first. Each of these components comes with screw-on pieces to secure everything together. You'll then connect the garden hose or the siphon hose to the machine.
You're going to want to make sure the garden hose is completely uncoiled to prevent any kinks from occurring while the pressure washer is in use. Additionally, you'll want to turn the water faucet all the way on without using the washer to make sure there are no leaks as the water makes its way through all the hoses and other components. If there is a leak, turn off the faucet and re-secure the connection where the water is coming out. If necessary, plumber's tape can be used to help stop leaks from threaded connections. Lastly, before using the pressure washer for its intended purpose and without a nozzle installed, squeeze the trigger to release any air buildup. When the water has a steady stream, your pressure washer is ready to use.
What about Ryobi's gas-powered pressure washers?
Because there are more moving parts, working with a gas-powered pressure washer involves more steps, even during the setup process. You have to add engine lubricant before you start it for the first time. If not, there will be engine failure. To do this, place the tool on a level surface and unscrew the oil cap. Ryobi's instruction manual clearly states that you should pour all but two ounces of the provided lubricant into the engine. This is because the machine will already have two ounces in the tool from previous testing done by the manufacturer. Afterward, check the dipstick to make sure there is enough lubricant, being careful not to underfill or overfill it.
Unlike electric pressure washers, which only need a battery or to be plugged in, you'll also need to add gas to the tool in order to start it. Make sure to only use unleaded gasoline containing up to 10% ethanol. All you need to do is turn the fuel valve to the closed position, mix fuel stabilizer with the gasoline, and fill the tank to approximately 1-1/2 inches below the top of the tank neck, leaving room for the gas to expand. After this step, add soap to your pressure washer if you wish and start the machine. For other questions or directions, consult your pressure washer's owner manual or reach out to a Ryobi representative.


