What P, Av, Tv And M Stand For On A Digital Camera?
The computers in our pockets are increasingly capable of replacing bigger and specialized hardware. A great example is a camera — with the right smartphone photography tips, anyone can capture stunning images without having to invest in expensive glass. However, the switch from an amateur or enthusiast to someone who's looking to become a semi-professional photographer requires the eventual use and understanding of traditional DSLRs or mirrorless cameras.
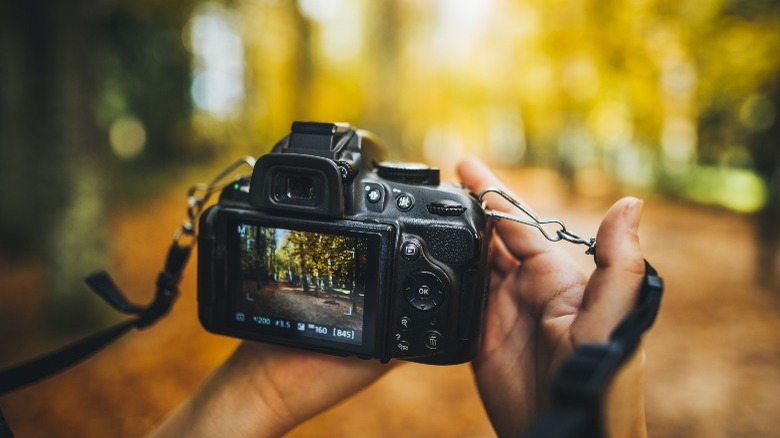
It might take some time to get used to the basic set of DSLR camera settings, but you'll be ready to go with a little knowledge and practice. Owing to the cluster of buttons and dials on a typical camera, you may have noticed that switching to certain modes can yield better-looking images than others — this is because they are each designed to be used in specific scenarios.
These cryptic symbols each represent different shooting modes on your camera. While it's true that learning every control of your DSLR will grant you with greater creative freedom, utilizing the other presets can significantly speed up the process of meddling with a dozen different camera settings — something that can be crucial for time sensitive captures like sports, events, or your baby's first steps.
Fortunately, the various modes are easy to distinguish once you understand what settings they control. Here's a quick guide to making sense of the P, M, Av, Tv, and other modes on your camera.
What do the different modes on your DSLR mean?
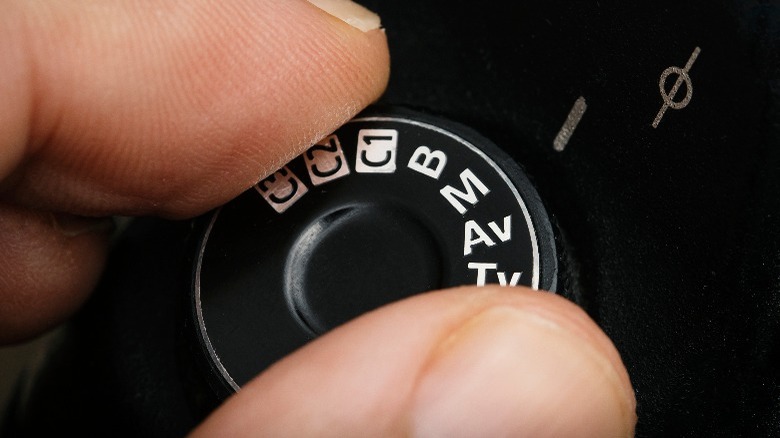
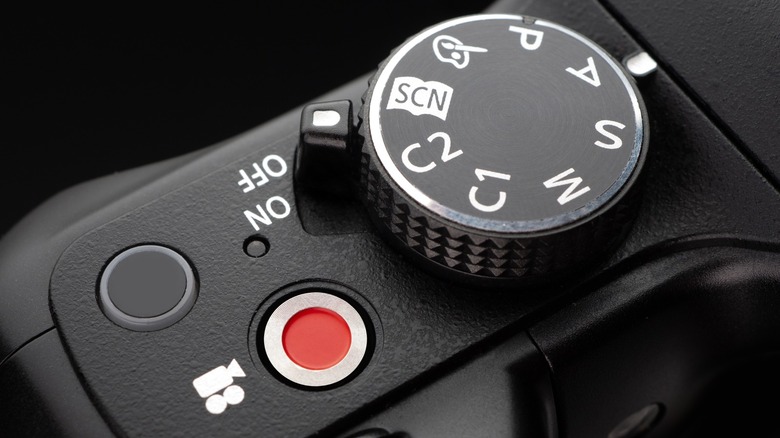
Most cameras have a dial right next to the shutter button that switches between a handful of shooting modes. While the symbols and letters may seem overwhelming at first, all they do is automatically set certain settings of your camera while giving you manual access to others. By default, the green A symbol represents the automatic mode. This is where your DSLR picks every setting on its own, essentially converting your camera into a point-and-shoot. Then there's the group of four letters — P, Tv, Av, and M. Note that these abbreviations may vary depending on your camera.
- The Program mode, illustrated by a P, instructs your camera to set the best values for aperture and shutter speed depending on the scene, leaving you with the freedom to play around with every other control.
- The Tv or S mode grants you access to your camera's shutter speed and automatically adjusts the aperture settings for a balanced shot. If you want to reproduce the iPhone's long exposure feature, this is the best mode to get started with.
- The aperture priority mode, denoted by A or Av, flips the controls and lets you manually pick the aperture, while the camera handles the shutter speed.
- M indicates the manual mode — every photographer's best tool. This is where your camera gives you full access to both the shutter speed and aperture values, which unlocks several hidden DSLR features you should be using.
What about the other modes on the dial?
Apart from these aforementioned modes, you can also spot other icons on your camera's mode switcher. They use a mix of automatic and manual controls to cater to different types of shooting environments. For example, the sports mode picks a faster shutter speed to capture sharp images of fast-moving subjects.
You might find a night photography mode as well, which usually slows down the shutter speed, and amps up the exposure and ISO values to compensate for the lack of light. For close-up shots, the macro mode can provide better results by narrowing the aperture, allowing you to move in closer to the object without compromising on light.
The CA, or creative auto mode has a couple of color profiles to choose from — which the camera then uses to pick the best values for shutter speed, ISO, and aperture. For photos of people or pets, the portrait mode prioritizes a shallow depth of field and lets you pick between a few lighting profiles. The landscape mode does the exact opposite by increasing the F-stop to make sure most of the objects in the frame are in focus.
Certain DSLRs and mirrorless cameras even come with a few custom modes that users can configure with various settings — this allows for quick and easy captures for very specific scenes and styles.
Picking the right mode for you
It may seem alluring to want to pick just one mode and depend on it for all your photography needs. However, there are a lot more settings that affect the end result. Things like the focus mode, white balance, exposure, and ISO, all play equally important roles in the kinds of pictures that you end up with. So relying on, say, the Av mode, can work in some situations, but quickly fall apart in others.
The best way to get accustomed to the different modes on your camera is to explore the kinds of images they spit out in different scenes. It is a common misconception that the manual mode is always the best one to rely on. Utilizing the hoard of other modes depending on what the scene calls for will end up with the camera capturing not just overall better-looking images, but doing so much quicker than the manual mode.