How To Fix The 'Your PC Did Not Start Correctly' Error
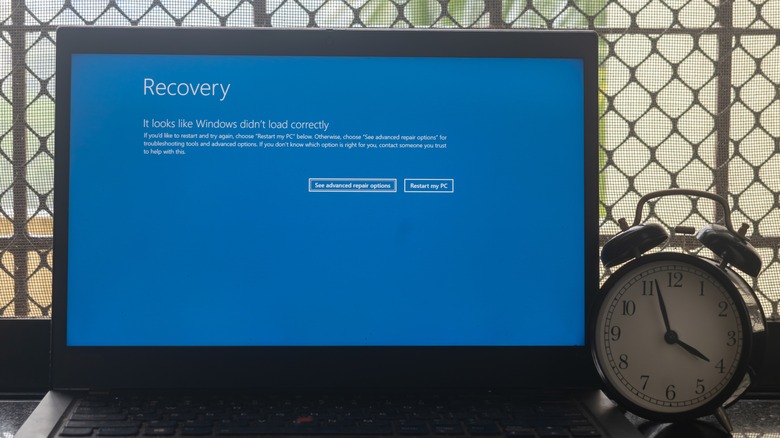
Dealing with the "Your PC did not start correctly" error on a Windows 10 or 11 computer can be quite troublesome. This error usually pops up when you try to boot your computer, preventing you from accessing the system until it is resolved.
This error message indicates that something went wrong during the startup process, preventing your PC from booting properly. This can occur due to various reasons, such as corrupted system files, problematic updates, or inaccessible boot configuration data.
In many cases, simply selecting the "Restart" option on the error screen can resolve the problem. Hence, it's a good idea to try that first if you haven't already. However, if Windows keeps running into the "Your PC did not start correctly" error screen, more in-depth troubleshooting may be necessary. Working your way through the following tips should help you fix the underlying issue and get your Windows PC to boot normally.
Run the Startup Repair tool
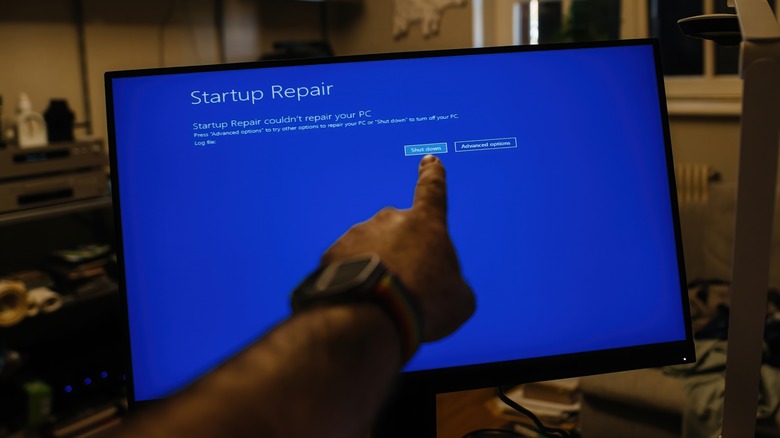
Startup Repair is a useful tool that can automatically diagnose and fix issues preventing your Windows PC from booting correctly. It will scan your system for corrupt registry entries, missing system files, and persistent disk errors, and then attempt to fix them. So, if a reboot does not resolve the problem, you should try running the Startup Repair tool using these steps:
- When your PC is on the Automatic Repair error screen, click the Advanced Options button.
- Select Troubleshoot and click Advanced Options in the following menu.
- Click the Startup Repair option, select a user account with administrator privileges, and enter the password to verify your identity.
- Click Continue and wait for the Startup Repair tool to diagnose and fix any issues.
Restart your PC after the Startup Repair tool runs successfully. If all goes well, Windows should boot normally, and you won't see any errors.
Uninstall recent Windows update
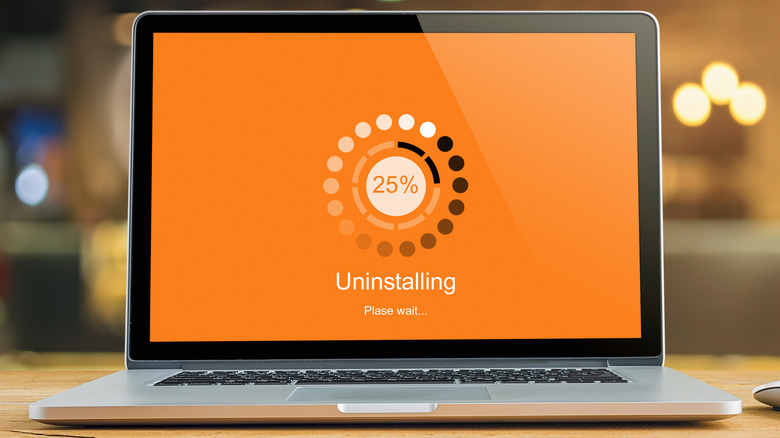
A recent system update installation may have gone wrong, causing Windows to show the "Your PC did not start correctly" error repeatedly. In such cases, uninstalling the problematic update should help restore normalcy. To do this, you will first need to boot your Windows PC into safe mode. Here are the steps for the same.
- On the Automatic Repair screen, click on Advanced Options.
- Go to Troubleshoot, select Advanced Options, and then choose Startup Settings.
- Click the Restart button. Wait for your PC to reboot and press the 4 or F4 key on your keyboard to enter safe mode.
- Once your PC boots into safe mode, press Windows + I to launch the Settings app and head to the Windows Update tab.
- Click the Update history option and scroll down to select Uninstall updates. Click Uninstall next to the update you want to remove.
Restart your PC after removing the problematic update and check if the error appears.
Repair Windows boot configuration data and corrupt system files

Boot Configuration Data (BCD) is a database that Windows uses to store crucial boot-related information and settings. It helps manage how the operating system loads and initializes, including configurations for boot options, system files, and recovery settings. If there's an issue with the BCD file, Windows may fail to boot correctly and encounter errors. This can also happen if some of the system files on your PC are damaged or missing.
To repair the boot configuration data and system files on your PC:
- Click Advanced Options on the Automatic Repair screen. Then, select Command Prompt from the following menu.
- In the Command Prompt window, type in the following commands one by one and press Enter after each: bootrec /fixmbr, bootrec /fixboot, and bootrec /rebuildbcd
- After repairing the boot configuration data, type the following command and hit Enter to run the Deployment Image Servicing and Management (DISM) scan: DISM /Online /Cleanup-Image /RestoreHealth
- Wait for the DISM scan to complete and then run the System File Checker (SFC) by typing this command and hitting Enter: sfc /scannow
Restart your PC after this, and Windows should boot normally as expected.
Perform System Restore or reset Windows
If nothing else works, you can consider performing a system restore. Doing so will allow Windows to undo any recent system changes that may have resulted in the "Your PC did not start correctly" error. Note that you can only use this option if you have previously created a restore point or configured Windows to create them automatically.
- Click the Advanced Options button on the error screen and choose System Restore on the following screen.
- Click Next, select the most recent restore point, and hit Finish.
- Wait for Windows to restore itself to the specified recovery point.
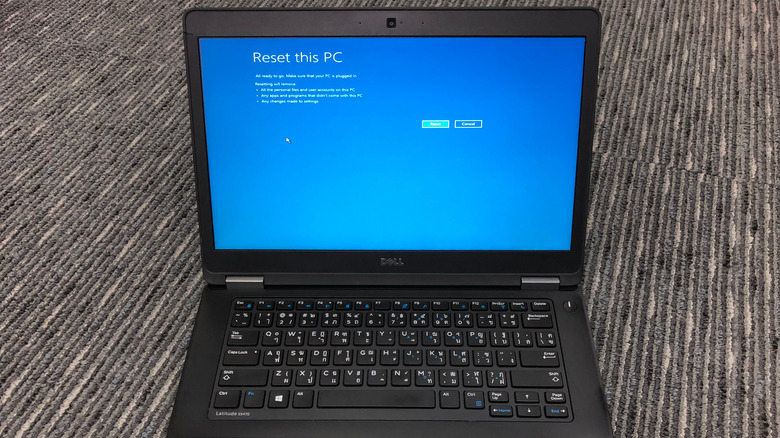
If Windows still boots on the error screen after a system restore, your last option is to reset your Windows computer. Don't worry; you can do this without losing any of your personal files. Here's how to do it:
- Go to Advanced Options from the error screen and click Troubleshoot.
- Click the Advanced Options button and choose Reset this PC.
- Select the "Keep my files" option and follow the on-screen instructions to complete the process.
Once Windows resets everything, you should be able to boot it normally.