Black And White Film Photography: 6 Tips Beginners Need To Know
We may receive a commission on purchases made from links.
Photography is a great hobby to get into if you want to practice your creativity. While almost everyone has a camera in their pocket nowadays thanks to the proliferation of smartphones, you'll still need a proper camera if you want to level up your skill and the quality of images you produce.
While you can master the art and skill of photography using a digital camera, film photography will help you refine your art much faster. This is because film photography will not give you instant gratification. Instead, you're going to have to wait until you develop your film before you can see how the image turns out. You're also limited with up to 36 shots on a single film roll. These two things will force you to think about every scene you capture and avoid the "pray-and-spray" method, where you hope that you get one good photo out of 1,000.
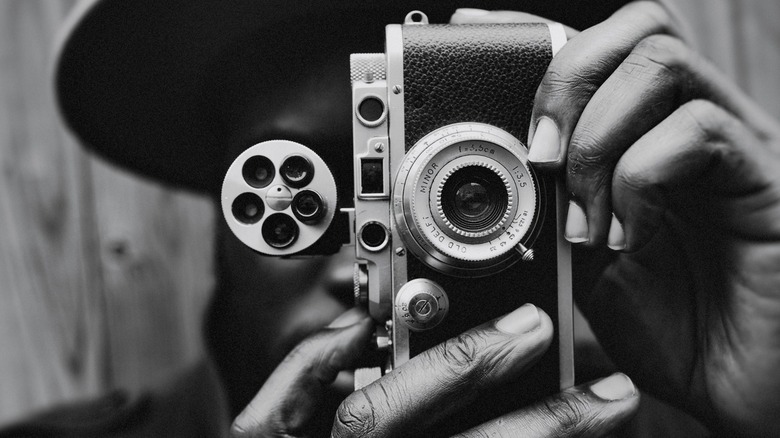
Black and white film photography further ups the ante. By removing color from the equation, you have to focus on other aspects of the scene to make your photograph stand out. So, if you want to challenge yourself, leave your digital SLR at home, pick up a couple of Ilford 400s, and start shooting with your parents' old film camera that's making a big modern-day comeback. To help your process, I'll share some of the things I learned when I started shooting with black-and-white film some 15 years ago.
Get used to one film stock
There are many black-and-white film stocks available today, so you might be tempted to get one of each when you're shopping for a roll of film. While switching between different film stocks might be a good idea if you want to mix up your shooting style, it's better to master one film stock at a time. Plus, you may get a discount if you buy in bulk.
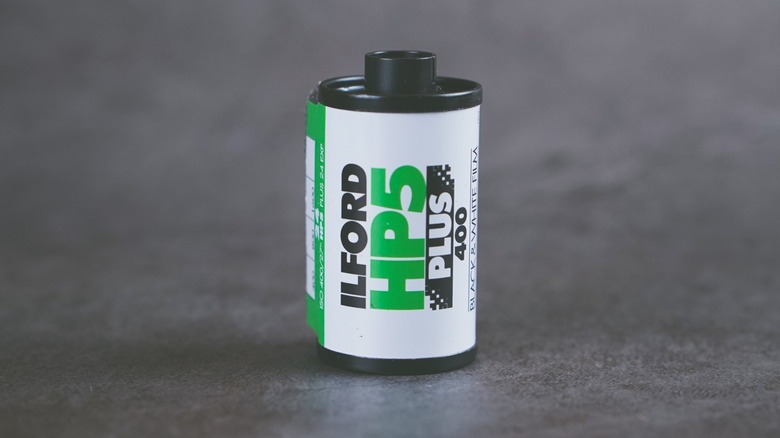
Different film stocks (even ones from the same company) offer different characteristics. For example, the Fujifilm Neopan Acros 100 II black-and-white film is known for its fine grain, allowing details to pop out from the shadows. On the other hand, Kodak P3200 TMAX rolls have a grainy output, usually best for low-light scenes and if you want to get that dramatic effect of old photos. Personally, I prefer the Ilford HP5 400 because it produces photos with a lot of contrast, allowing me to make the most of textures and surfaces. It also has a fine film grain, which is favorable if you don't want to add extra drama to your output.
Once I got used to the Ilford HP5, I could shoot confidently without having to always rely on my camera's built-in light meter to know what shutter speed and aperture to set. It was only after I knew my camera settings like the back of my hand that I attempted to switch to another film stock.
Master exposure settings

With a roll of film in your camera, your next move is to master your exposure settings. Basic digital SLRs have a ton of camera settings you need to know, but if you're shooting with film, you only need to master two at the start: shutter speed and aperture. Mastering the science of exposure settings is crucial to avoid wasting film and missing the moment.
I always say that if you're shooting with a digital camera, you can focus first on the art of photography — like composition, texture, contrast, etc. — as you can immediately see what your camera captured. With film photography, it's best to first focus on how the film interacts with light, and how your camera can manipulate that to get the photos you want. It's okay to use your camera's automatic settings — like shutter or aperture priority, or even Program Mode — especially if you're shooting in an area where the lighting situation changes rapidly and often. But you should still master shooting manually.
When you've mastered manipulating your camera's exposure settings, you can then rely on your experience to know the proper shutter speed and aperture numbers to get what you want. You can then just use the camera's tools, like its built-in light meter, as a guide to help make your life easy. Try taking notes with your first few roles of film, so that once you get the photos back, you remember which settings you used for which photos.
Play with light and shadow
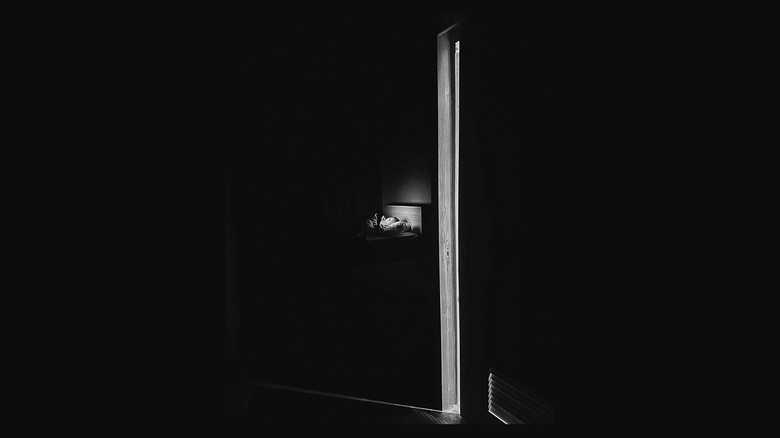
Black and white photography removes all color from your image. So, even if you're faced with a vibrant scene, all your camera will see are shades of gray. This is why you should learn how to play with light and shadow to get the most of any scene.
You can use light to draw the viewer's eye to a particular subject on your scene and then let shadows hide away distracting elements from the photo. Alternatively, you can use shadows to veil your subject in mystery, making the audience more interested in the image as they try to decipher what's going on.
Contrast is one of the most important concepts in visual art, and playing with light and shadow is one of the easiest ways to achieve that. So, if you're out and about with a roll of black-and-white film, you should be on the lookout for interesting light sources and dark areas. You can try shooting in the early morning or late afternoon to get highly directional natural light. Or whip out your camera at noontime when the sun is high up in the sky to get sharp shadows and bright lights that you can use to create an interesting pattern on your subject.
Focus on shapes, lines, textures, and emotions

The lack of color in black and white photography will challenge you, as you have to focus on other elements in your scene to make an image stand out. That means looking at shapes, lines, textures, and other objects and capturing them in an interesting manner.
Knowledge of basic principles of design will help you achieve this. For example, you can use the rule of thirds to situate the subject in your photo in good proportion to the rest of the frame. Or, you can use the leading lines principle to make sure background elements in the scene direct the viewer's attention to the foreground. Make sure to also utilize negative space so that the image doesn't get too crowded. Alternatively, you can use interesting textures to bring an image to life, even if it's devoid of colors. Sometimes adding textures is a result of combining multiple principles, like leading lines broken up by the play of light and shadow to create an iconic photograph.
One more thing you can use to level up your black and white photography is to practice portraiture. Using black-and-white film for this purpose will help you bring out the raw emotions of your subject because there are fewer distractions (namely color). Yousuf Karsh, one of the greatest portrait photographers of the 20th century, primarily used black-and-white film to elegantly capture the soul of his subject.
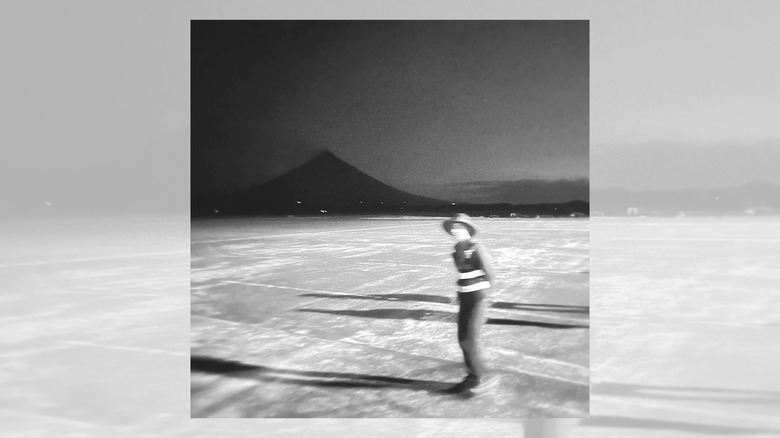
Try shooting at night

Most people do photography during the day, where there is ample light. After all, photography literally means "drawing with light." However, you can get interesting photos when the sun goes down as well. Darkness mutes a ton of the colors we see naturally, so it might actually help the subject of the photo shine if you get the lighting right. Furthermore, artificial light sources are great sources of contrast. Or, you could try going out in a full moon and capturing some photos with moonlight.
That being said, lots of times there simply won't be enough light when shooting at night to turn out great photos. The good news is, this can be a great opportunity to combine your black and white film photography training with a practice in flash photography. Try mastering the flash on your camera to capture some of the interesting things that only happen at night, like night life. You can try playing around with multiple flashes or using a handheld flash from different angles to see how it changes the light at night. Just be sure to stay in safe areas and brush up on local customs and traditions if you're traveling.
Don't be afraid to experiment
In photography, you're going to hear a lot of rules: fancy terms like rule of thirds, the exposure triangle, and so on. These things can definitely help produce quality photos and serve as a great foundation, but you shouldn't be bound by them.
Knowing when and how to change up the rules will help you create photographs that are more than just good — they'll be memorable. For example, you can use a slow shutter speed to capture a blurred image that represents movement instead keeping everything frozen in time. Alternatively, you can put a line right down the middle of your image to cut it into two and create contrast instead of using the rule of thirds. You can also break technical rules with film photography, like changing a film roll's ISO or sensitivity. This can be accomplished by intentionally underexposing the roll, like using an ISO 400 film but exposing it to ISO 1600. From there, you "push" it during the development process, resulting in photos that are grainy and high in contrast.
Film photography will help you build your technical skill as a photographer and make you a more disciplined shooter — just like it did with me. So, if you want to level up, try diving into black-and-white film photography and see what kind of magic you can create.