Raspberry Pi Low Voltage Warning: Possible Causes And How To Fix It
We may receive a commission on purchases made from links.
A Raspberry Pi custom build can be as simple or advanced as you want. Regardless of whether you're turning it into a Raspberry Pi media center or finding a way to convert it into some elaborate piece of tech like a weather station that collects environmental data, the base unit has a strict power requirement. For example, the Raspberry Pi 4 consumes approximately 2.7W when idle compared to the 1.9W draw of its predecessor, the 3 B+. If there's not enough power running to your Pi, you'll receive a "low voltage" warning, indicating that some elements of your build won't have the power needed to run properly.
A low-voltage warning can dampen an entire project, but it doesn't have to be the end. Depending on your setup, the fix to a low-voltage warning can be fairly simple. Before we get into the fixes, though, it's worth understanding what may be causing the warning. Of course, the most logical answer is that there's not enough power running to your Raspberry Pi, and you need to upgrade your power supply. This can happen if you're using a low-voltage wall plug.
Unfortunately, it's not always as simple as swapping out the plug. Finding the issue can be a game of trial and error, testing out different issues or removing and adding components until you've found the issue. To help minimize the guesswork, we've put together a breakdown of different causes that may have your Pi thirsting for more power.
What causes a low voltage warning?
If you purchase a Raspberry Pi kit, a sufficient power supply is usually included. However, your Raspberry Pi's power needs can change based on what you're using it for or how hard you're pushing the unit. Overclocking the Pi's CPU for better performance also increases its power consumption.
If you're using a supply that's properly rated for the Raspberry Pi, but still having issues, your build may have too many components that require additional power. Are you trying to run an LCD screen or a hard drive directly off your Pi? A SATA SSD alone can consume around 8W when active. You can connect these components to a separate power source. If they're USB-powered, consider a separately powered hub, like UGREEN's USB 3.0 Hub, which will draw power from your wall outlet while still allowing you to connect components to your Pi.
To avoid low-voltage warnings, it's always best to use official or high-quality cables or anything that comes shipped in a kit, try to minimize additional power consumption, and keep a close eye on overall power supply performance. Your Raspberry Pi should also be plugged into its own dedicated wall outlet or power strip plug. Don't try to power your Pi through your computer's USB port.
How can you identify if your Pi isn't receiving enough power?
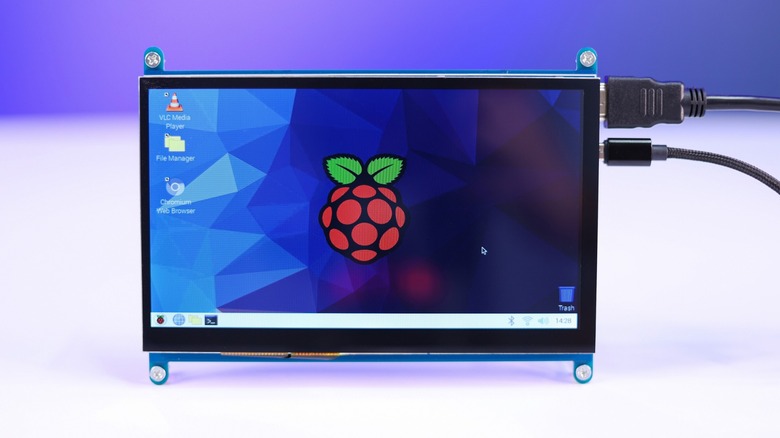
Raspberry Pi has tried to make it easy to work out if your unit is underpowered. If your Pi is attached to a monitor, it should automatically display a "low voltage" warning on the screen, sometimes indicated by a yellow lightning bolt. If your Pi doesn't boot up at all, don't start disconnecting cables without checking the PWR LED indicator light. If it's blinking, then the voltage being supplied to the Raspberry Pi is too low to turn it on.
Software crashes, component failures, and general instability are also indicators that your Pi may not be receiving enough power. If the on-screen indicator didn't pop up, you can verify if this is the issue via the terminal. Launch the terminal by pressing CTRL+ALT+T or by opening the main menu via the Raspberry Pi logo, hovering over "Accessories," and selecting "Terminal." With the terminal open, input "vcgencmd get_throttled," and press enter. If the output includes "throttled=0x50005," then your Pi hasn't been receiving enough power. You can also check log files by entering "dmesg | grep -i voltage," pressing enter, and searching for any messages that note the unit is underpowered.
How much power does a Raspberry Pi consume?
With multiple versions of Raspberry Pi available, you need to be mindful of the recommended power needs of the model you're working with. For example, a Raspberry Pi Zero requires fewer amps than the newer and bigger Raspberry Pi 4. However, even the Raspberry Pi 3 and the Pi 4, despite being relatively similar, have different current requirements. One thing you don't really have to think about is voltage, as the recommended volts are the same across the board at 5.1V.
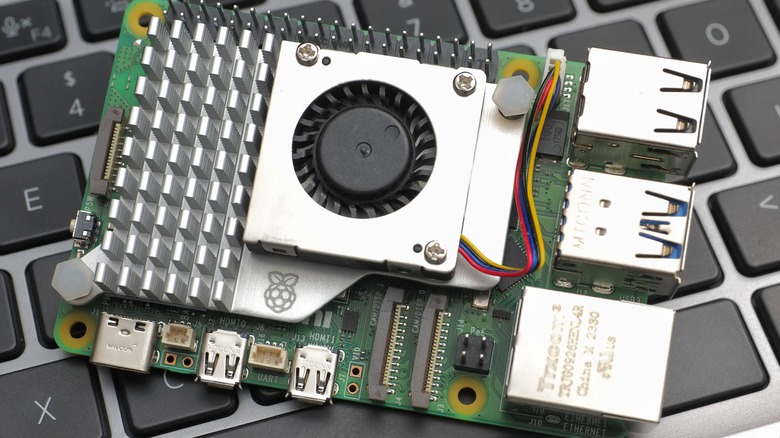
As a quick reference, the Zero requires 1.2A, the Pi 1 A and A+ require 700mA, the Pi 1 B+ and 2 B need 1.8A, the Pi 3 A and B series top out at 2.5A, the Pi 4 B and 400 run off 3.0A, and the Pi 5 requires a 5.0A power supply. To complicate matters a little more, the Pico, Zero, 1, 2, and 3 support micro USB, while the 4 uses USB-C. If you're ever unsure of how much power you need to supply your Pi, because you forgot what model you have, you can use a USB multimeter. The device plugs into your Pi and your wall outlet and gauges the wattage running to the mini-computer, which you can convert into amps by dividing it by the voltage of the power supply.


