How To Power Your Raspberry Pi With A Battery
We may receive a commission on purchases made from links.
For fans of do it yourself tech projects, the bang for your buck single board computer (SBC) that is the Raspberry Pi has been a game changer. All Pi boards feature a Broadcom system on a chip with an ARM-based CPU and VideoCore GPU, which get pretty impressive results, especially relative to the low retail price. Even the most powerful version of the Pi, the step-up model of the Raspberry Pi 5 with 8GB of RAM, retails for just $95, while the smaller and less powerful Raspberry Pi Zero tops out at $15. Which is best for you depends on what you're doing: Something intended to be a cheap general purpose computer is probably best off with a Pi 5, while physically smaller projects and those requiring a lot less computing power can work with the Raspberry Pi Zero.
Many of these projects don't have a need for portability and can easily be powered via a USB cable plugged into a charger/wall wart. However, the more experimental and adventurous you are, though, you might need more freedom. Maybe you don't want to be tied down, or you're programming something that needs to be able to move freely like a robot or a race car, or perhaps you need to set up security cameras in areas without easy access to wall outlets. In those cases, you need the ability to run your Raspberry Pi on battery power. There are a few ways to do this, so let's explore each of them.
Get a purpose-built Raspberry Pi battery kit
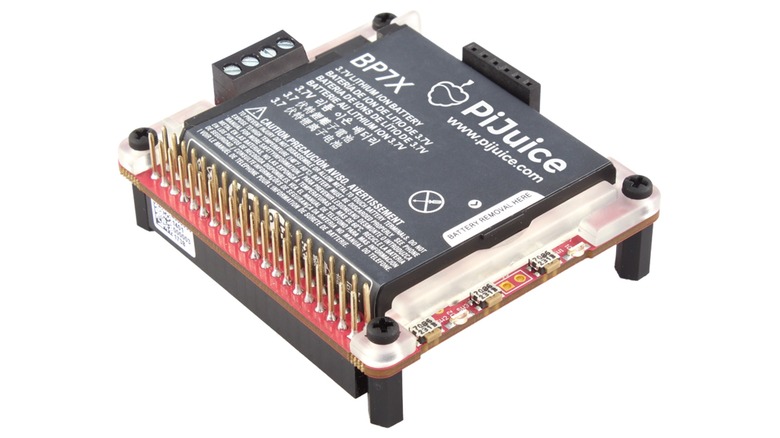
The most painless way to run a Raspberry Pi board on battery power is most likely buying one of the purpose-built battery kits available for the popular single-board computers. There are a few options in this space, which have different pros and cons when it comes to the price or form factor. The most popular is probably the PiJuice HAT, available at approved resellers like PiShop. For the uninitiated, the "HAT" in the Raspberry Pi ecosystem stands for "hardware attached on top" and is generally used to refer to Pi-specific companion boards that comfortably nest on top of Pi boards. The PiJuice is well-reviewed by sites like The Geek Pub and The MagPi Magazine, but at $79.95 with a 1820 mAh battery — more if you want to add a bigger battery — it's an expensive way to untether your Raspberry Pi.
There's also the PiSugar 2, which you can grab on Amazon for a more reasonable $45.99 with a 5,000 mAh battery. PC Guide praised its low-profile design but noted that if you want easy access to its on/off switch, it's unlikely to be easily accessible with the boards in a case. Though an older Reddit thread suggests that the battery's soldered on, Amazon reviews of the current PiSugar 2 Plus suggest that this is no longer the case and it's now fully modular. If you want to use standard rechargeable batteries, MakerHawk has a $35.99 solution that uses size 18650 batteries.
Use a standard USB power bank hooked up via the USB Type-C port
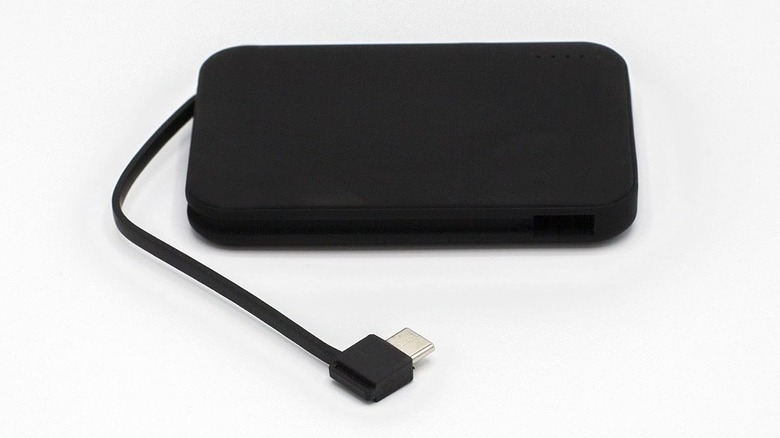
If you're familiar with Raspberry Pi boards, then you're aware that they've always been powered over USB, using Micro USB on older models and USB Type-C since the Raspberry Pi 4. That means that, as long as it's up to spec in terms of wattage and amperage, anything that can charge USB devices can power a Raspberry Pi, including a power bank/portable charger that you'd typically use for your smartphone. VGE makes one that's specifically advertised for use with (older, MicroUSB) Raspberry Pi boards "and similar SBCs," but in theory, anything that's up to spec should work fine.
What are those specs, though? The short version is that the Pi needs a 3 amp/15 watt power supply. Older and cheaper power banks are often limited to USB Type-A (old-school USB) ports, which tend to just support roughly 2 amps. This means that outside of the lightest possible Raspberry Pi use cases, you should try to avoid that kind of power bank. On a more modern power bank with USB Type-C charging ports, though, you should be fine. That's because USB Type-C can handle up to 100 watts and five amps, more than enough for powering even the most demanding Raspberry Pi. All told, this means that you can absolutely use a power bank to run your Raspberry Pi, but you need to be careful in selecting the right power bank and avoid those outputting over USB Type-A.
DIY battery pack using AA batteries
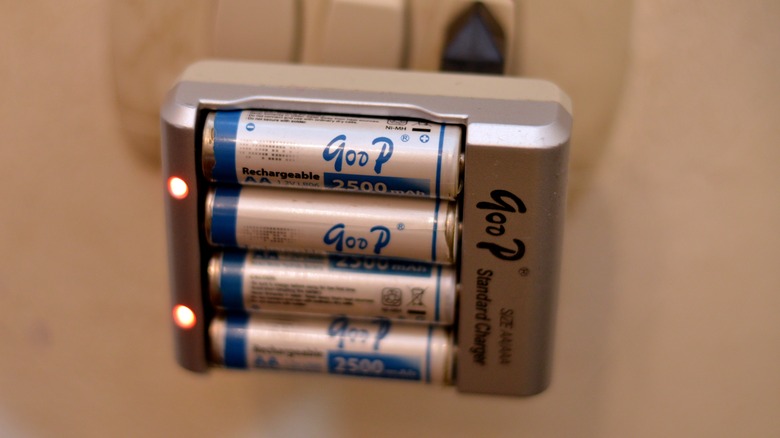
If you're working with a Raspberry Pi board in the first place, you probably already have a bit of a do-it-yourself streak. The question is just how big that streak is. Do you want a relatively simple, plug-and-play to power your more portable Pi projects, like the HATs or a power bank? Or are you willing to build something else that you can use with your board? If you're up for the challenge, then you can put together a battery box using AA batteries (at least half a dozen) and a Universal Battery Eliminator Circuit (UBEC). A UBEC converts higher voltages to lower voltages, regulating the power to keep it from damaging your Raspberry Pi board.
Finding a clear guide to how to do this is easier said than done, though. PiHut has a guide to using a UBEC with a Raspberry Pi, but it's not the same use case, using a high-end DC power supply instead of a DIY battery pack. MakeUseOf gives the basics, but that's about it. For a tinkerer, it's an interesting option, but someone who's looking to save money is probably better off with a power bank with USB Type-C or one of the less expensive HAT-based solutions.


