How To Clean A Motorcycle Engine: A Step-By-Step Guide
The heart and soul of any motorcycle (battery-powered motorcycles notwithstanding) is its engine. From its mighty roar to its fierce torque, a reliable engine can turn an average motorcycle into a great one. However, as the heart and soul of your motorcycle, the engine endures a decent amount of punishment on a regular basis. Even putting aside the rigors of regular operation, a motorcycle engine is right out in the open and relatively close to the ground, which means any dirt and crud lurking on the road will have a free pass to completely cover it.
While you can clean the majority of your bike with a bucket of soapy water and a sponge, cleaning the gunk off of your engine requires a bit of slowing down and careful work. It's a delicate process, not only ensuring that you completely rid the engine of contaminants, but do so in a way that won't hurt the engine's operation in the long run. Don't be intimidated, though; it's very possible to do by yourself. All you need are the right tools and a reliable plan of action.
Gather the tools you'll need
We're going to need to get a few tools and utilities together for a detailed motorcycle engine cleaning. Some of these things can be found around the house, but others may necessitate a visit to your local automotive or hardware store.
The simplest implements you'll need are a couple of clean buckets — one to hold water and soap and one for just water — an automotive-safe sponge, a soft-bristled scrubbing tool, and a few microfiber cloths. There's going to be a lot of water splashing around here, so you might want to put on some clothes that you don't mind getting dirty and clean your bike in a place you don't mind getting wet.
In addition to the basics, there are a few more specific utilities you'll want, including a compressed air sprayer (either a tool or can), a bottle of car-cleaning shampoo, a box of sealable plastic bags, and spray cans of degreaser, rubber protectant, and polish. You can find lots of good brands of car soap online or at an automotive store, but just make sure you dilute it in water before using it. If the plastic bags seem like an outlier, there's a good reason to have them: protecting the delicate components of the engine that may not be receptive to water and scrubbing.
Prep the engine for an in-depth scrub
Before you start cleaning your engine, you need to make sure it's in a cleaning-receptive state. The first and most important step to this is giving it time to cool off completely. If you've just recently ridden your motorcycle, the engine is definitely not safe to be touching with your bare hands. Give the engine ample time to return to a cool state, with no residual heat at all.
After the engine has cooled completely, start by pulling out the compressed air and give the engine's various narrow nooks a quick blast. This will help to loosen and remove any small, solid debris before you start splashing water on stuff.
Finally, you should also take the time to cover or remove any parts of the engine that might not be safe to clean with water. This includes electrical components like the spark plugs and ignition coil, as well as ventilation components like the air intake. Any parts you remove should be sealed in those plastic bags we mentioned to keep them safe until you're done. If these particular components can't be removed from the engine, you can instead cover them up by attaching the plastic bags directly to the engine and securing them with waterproof duct tape. Make sure to double-check the bags for holes!
Use degreaser to remove grimy buildup
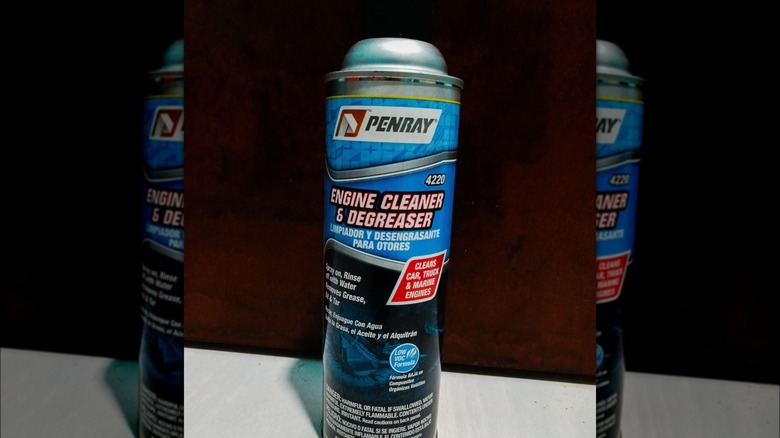
Once the engine is cooled, aired, and safety-sealed, the next step is removing any caked-on grease, grime, and residue. Even the best combustion engines end up with some scum here and there, and as long as it's there, you won't be able to get the engine completely clean. These greasy substances aren't usually receptive to water, so instead, we turn to our good friend mister engine degreaser.
Pop the top on your degreaser spray and apply it generously to any problem spots around the engine's surface. Make sure to read and follow the application directions printed on the can. While degreaser probably won't hurt your engine if you spray it in the wrong spot, it could damage your bike's paint job, so don't make your job harder than it needs to be.
After you've sprayed the greasy spots, you'll need to give the degreaser a little time to do its job. Around 15 to 30 minutes should work, though again, check the can for specific wait times. After time's up, rinse the degreaser and its captured grease off with water from your clean water bucket.
Thoroughly scrub and rinse the engine
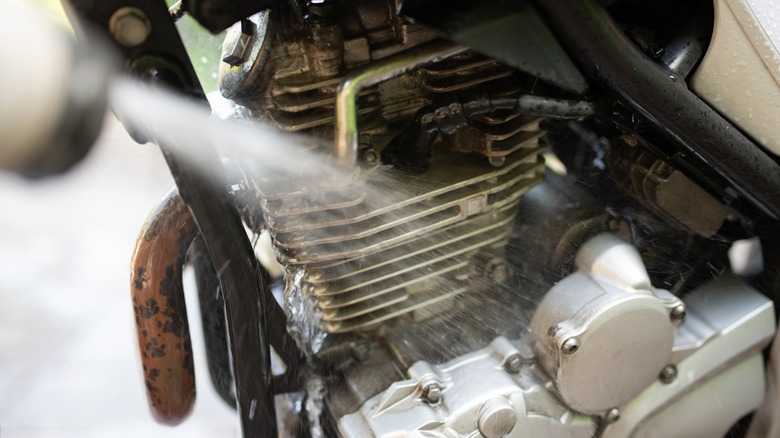
Now that the grease and debris are gone, we can get down to the real business of thorough cleaning. To do this, dilute the automotive soap in your soap bucket and dunk your sponge and scrubber in it. With a firm, yet careful hand, scrub the surface area of your engine. Use the sponge on any large, flat surfaces, and the scrubber to get into any cramped spots. It'll take a bit of force and patience to remove any stubborn stains, so keep scrubbing until they fade. Make sure to double-check those cramped spots, as that's where any surviving gunk is probably going to hole up after that initial bout of degreasing.
After you've thoroughly scrubbed the entire engine spotless, give it a couple of splashes from your clean water bucket to rinse everything off. You want to completely remove any remaining soap suds before you move onto the last step. If you find it difficult to thoroughly rinse with just the bucket, an ordinary hose will also work. Just give the full surface of your engine a good, sustained blast of water to remove any remaining soap and gunk.
Let it all dry, then apply protectant and polish
Once you've finished rinsing the engine, it's time to dry. This is where that stack of microfiber cloths comes in Using the cloths, thoroughly dry the engine's entire surface, making sure to remove as much remaining water as you can. Again, don't forget about the narrow nooks. If you're having trouble getting rid of some small drops, you can use the compressed air again to send them on their way. After you've dried the whole engine, give it a little time to dry in the sun — around 30 minutes or so.
Once the engine is completely dry, it's time for our last two tools, the protectant and the polish. Spray a bit of protectant onto any exposed rubber seals on the engine, such as fittings and hoses. This will help ensure those components' general longevity and cleanliness. As for the polish, apply some to the engine's metallic components, making sure to follow the can's directions. Give it a little buff with another microfiber cloth until it's nice and shiny.
At this point, you can remove the plastic bag seals and/or reattach the sensitive components. Turn your bike on and let the engine run for a few minutes so the ambient heat removes the last of the water droplets, and you're all done.