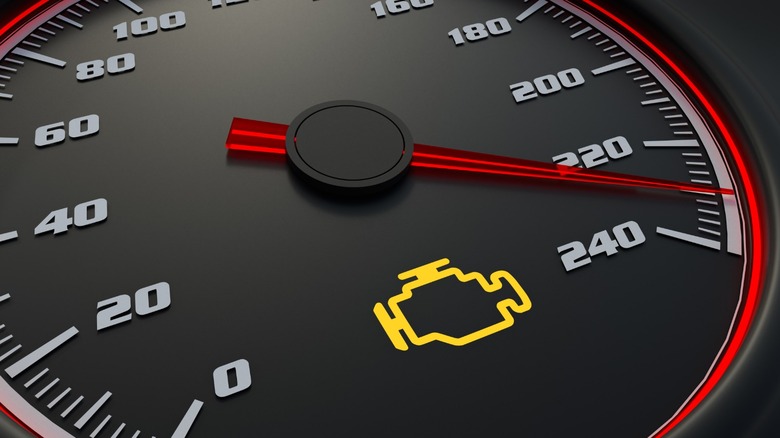
3 Ways To Identify Check Engine Light Codes Without A Scanner
Onboard diagnostics (OBD) systems have been around since the 1980s and were developed to help limit harmful automotive exhaust emissions. Between 1988 and 1995, U.S.-built vehicles came with what's now known as OBDI (OBD1) technology. These systems will display a check engine light (CEL) if the car's computer detects an issue with any emissions-related equipment. In 1996, that technology was overhauled, and OBDII (OBD2) was released. OBDII is much more comprehensive than OBDI and allows us to read diagnostic trouble codes (DTCs) detailing problems with various vehicle systems, not only emissions controls. Since then, OBDII technology has been a mandatory feature on every car and light truck sold in the United States.
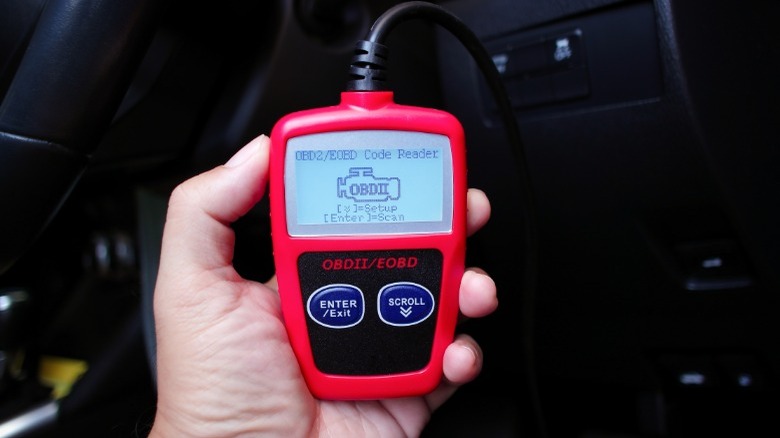
Both OBDI and OBDII systems display DTCs when activated. However, the way we read these codes can vary. We can read both OBDI and OBDII codes using a scan tool. The need for a diagnostic scan tool can make interpreting a check engine light difficult. If you don't have access to one of these devices, you may struggle to understand why your CEL is lit.
Don't worry, though. Whether you drive an older car with OBDI technology or a newer vehicle with OBDII, there are a couple of ways to read the DTCs that these systems produce. As a former automotive repair technician and lifelong car enthusiast, I'll help you understand a few methods you can use to identify CEL codes without a scanner. Keep in mind that not all of these methods will work for every car, and most of these methods may only work for vehicles with OBDI technology. That said, they may be able to help you in a pinch. So, let's go ahead and dive in. Here are three ways to diagnose your check engine light without a scanner.
Use a paperclip or bobby pin
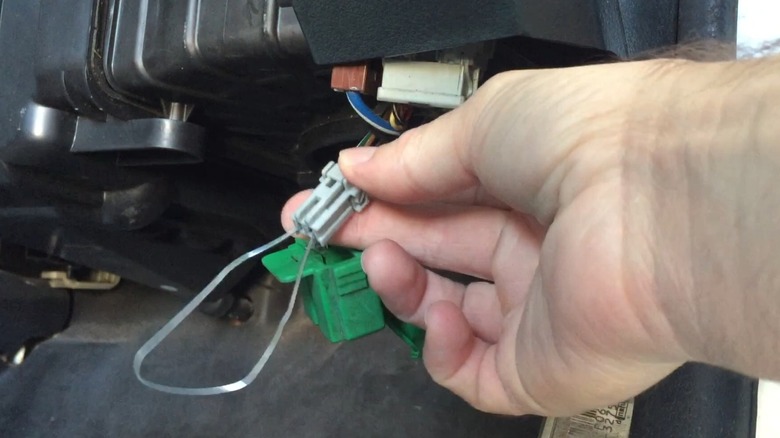
For vehicles with OBDI technology (i.e., those built between the early 1980s and 1995) and some cars with OBDII systems, you can use a simple trick to diagnose your CEL. All you'll need is your ignition key and a small piece of wire, a paperclip, or a bobby pin. For this method to work, you need to identify and locate the car's diagnostic connector. The connector's location can differ depending on the vehicle's make, but most can be found under the dash or in the engine bay near the battery. Most connectors usually look like a 12-pin rectangle, a 2-pin plug, or a two-plug setup with one 4-pin and one single-pin plug.
Once you've located the diagnostic port, you need to create a connection between two terminals using your piece of wire or paperclip while the engine is turned off. The ports are different for different makes — for example, you need to connect ports A and B on GM vehicles — and you should look this information up before you start. Once you've connected the proper terminals, turn your ignition to the ON position, but do not start the engine. With the key in the ON position, your check engine light should begin flashing.
Depending on the vehicle, the first set of flashes may be used to confirm that the system is working before the DTCs appear. You read the codes by counting the flashes. One flash followed by three short flashes stands for 13, while two flashes followed by four short flashes means 24. Each number represents a code, and you'll need a piece of paper and a pen handy to record them. Once you've recorded all of the codes, you'll have to look their meaning up in a vehicle-specific repair manual or online.
Cycle the ignition on and off

Not all vehicles with OBDI technology require you to use a paperclip or a piece of wire to read the check engine light codes. For some makes, like Chrysler, you only need to use your ignition key. This method works for most OBDI Chrysler vehicles built prior to 1996 and for some models built after 1996 with OBDII tech. It may work for some non-Chrysler vehicles, but you should not count on it. Here's how to check your CEL codes using your ignition key.
First, insert your key into the ignition. Then, cycle between OFF and ON three times, ending in the ON position. Depending on your car, performing those steps should display any DTCs either on the odometer or via a series of flashes, as covered above. If you drive a newer Chrysler with OBDII technology, you should be able to read the codes in your odometer.
However, older models will usually display any engine codes in the form of flashes. If those steps don't work, there are three other variations you can try. One, cycle the ignition between OFF and ON five times, ending in the ON position. Two, cycle the ignition between OFF and ON while holding the odometer reset button, and end in the ON position. Three, cycle your ignition between OFF and ON five times while holding the odometer reset button, and end in the ON position. If none of those variations work, you'll need to use a different method to diagnose your CEL.
As mentioned, this method is useful primarily for Chrysler products, including Jeep, Dodge, and Ram vehicles, and specifically for cars with OBDI systems. It will work for some newer Chrysler vehicles, and it may work for a few non-Chrysler models, but you shouldn't bank on it.
Visit your local auto parts store

If you don't own a scan tool and you aren't comfortable or able to perform any of the methods above, you still have some options when it comes to diagnosing your car's check engine light. Virtually every auto repair shop and dealership will be able to pull your car's DTCs to diagnose the problem. However, you'll also most likely pay a fee for that service. Instead, you can choose to visit your local auto parts store.
Places like Advance Auto Parts, AutoZone, and Napa Auto Parts will usually scan your car for you and provide you with a printout detailing any active DTCs for free. All you need to do is drive to the nearest location and ask for the service. It's a great way to get a quick diagnosis, and it can be a lot easier than trying to interpret flashing lights on your own. Furthermore, many auto parts stores also offer various other services, including free battery checks and tool rentals. If your vehicle's check engine light is lit and you don't have access to a scan tool of your own, visiting a local auto parts store is one of the best and easiest ways to identify the codes and begin diagnosing the problem.
Are there any other options?
If you've made it this far and are feeling somewhat discouraged about your options when it comes to reading DTCs without a scan tool, don't worry — it's understandable. Honestly, the onboard diagnostics systems that our cars use are flawed in that, in most cases, you do need a scan tool to interpret the codes. As mentioned, the first two methods covered here will only work for some vehicles. The majority of modern cars require you to use a scan tool to diagnose the check engine light. That's just a fact. There is some good news, though.
For one, you always have the option of visiting your local auto parts store for a free scan. However, if your vehicle is broken down and you can't drive, there are some other options. While many scan tools are incredibly advanced, designed for professional use, and extremely expensive, many others are built with amateurs in mind and come with very affordable price tags. It's not uncommon to find rudimentary scan tools for under $100. Alternatively, you can purchase a basic OBDII adaptor and use a combination of your cell phone, Bluetooth, and a mobile application to read your car's DTCs. In many cases, these adaptors cost less than $20.
The bottom line is that most modern vehicles with OBDII technology will require you to use a scan tool to diagnose check engine lights. You can get by without a scan tool when it comes to older vehicles with OBDI systems and some of the first OBDII cars. However, in most cases, you'll need to use a scan tool to get the job done.